
Old-fashioned tin-can bread

Old-fashioned tin-can bread

So, you'd like to make a loaf of homemade bread, but you don't have a bread pan. That's not a problem! Today, allow me to show you how I make basic mini loaves of bread quickly and simply by using clean, empty tin cans. Yes, it can be done easily. No pun intended. Just make sure that you grease the inside of your tin cans well with cooking spray.

Ingredients:

  • 3 cups of self-rising flour

  • 2-1/4 cups of milk

  • cooking spray for greasing your tin cans

Instructions:

For this recipe, you can use 15-ounce cans or 28-ounce cans. Only fill the cans about halfway with the dough. Today I am using two 15-ounce cans and one 28-ounce can. (The larger cans will need a little more baking time.)


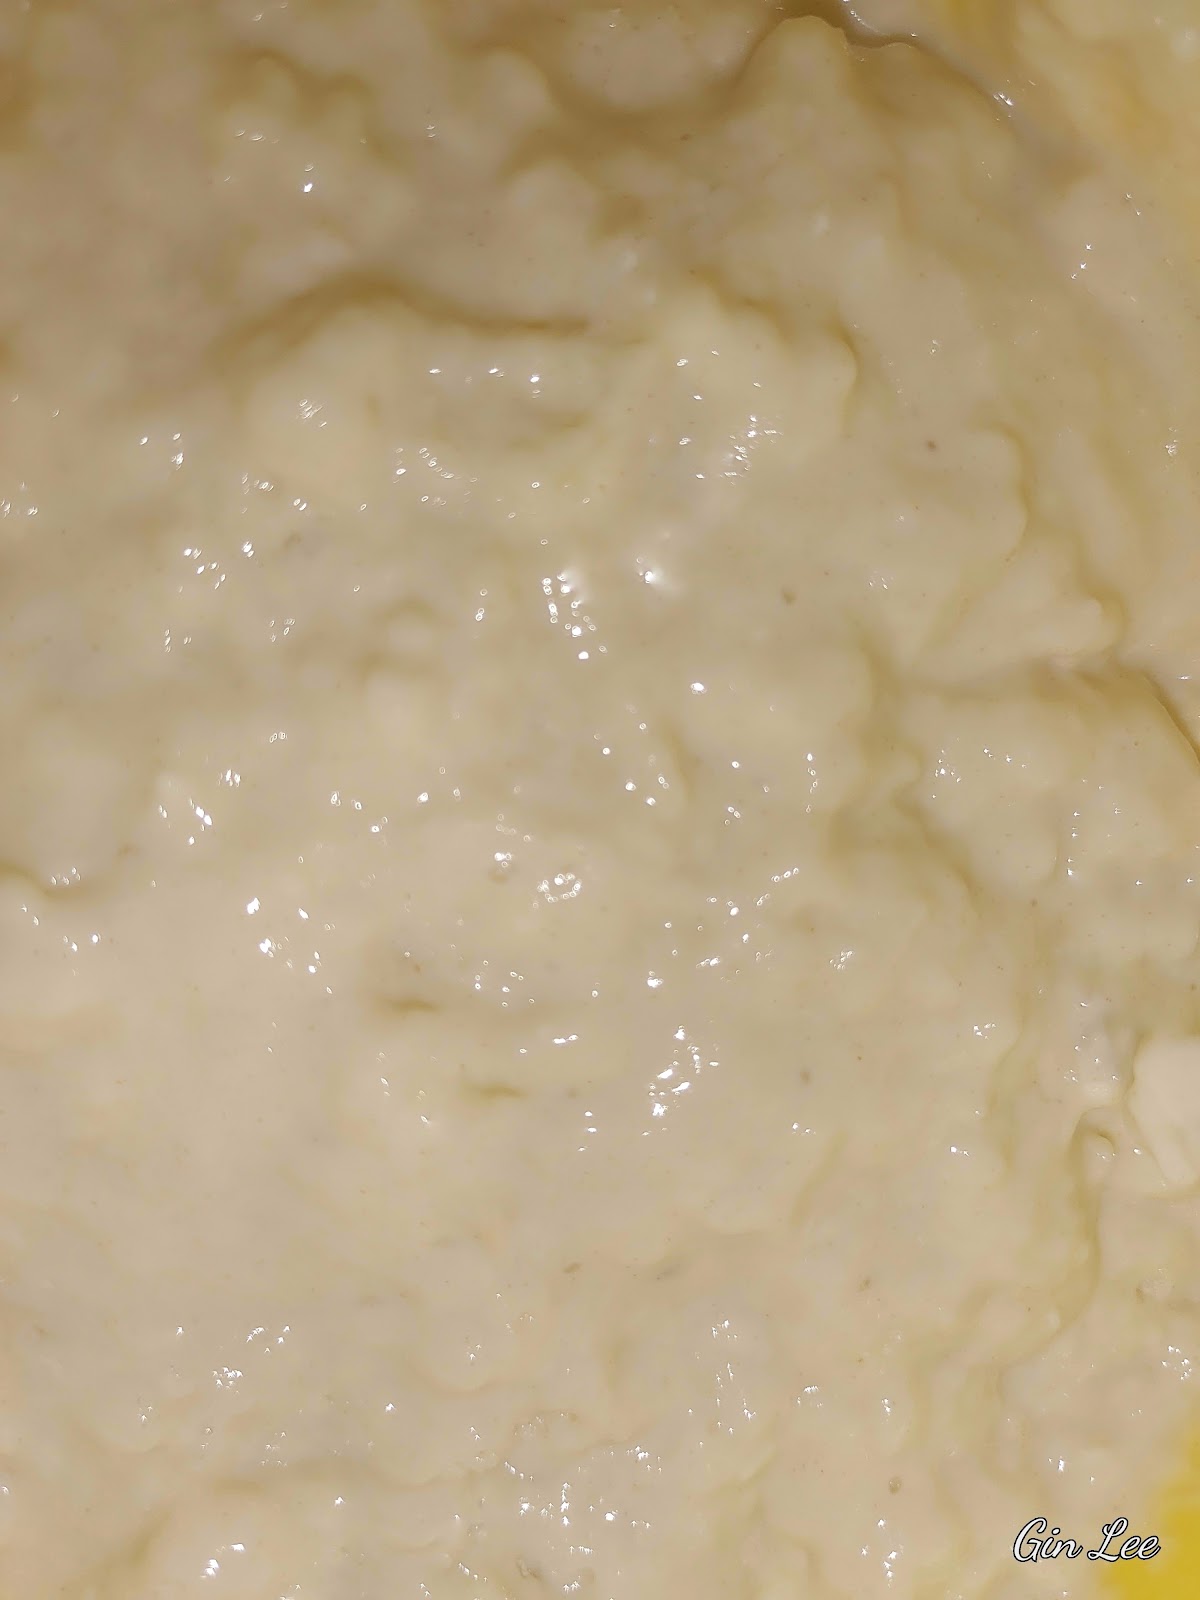
In a bowl, add the self-rising flour. Slowly pour in the milk. Mix the ingredients with a wooden spoon or spatula until they're combined. This is supposed to be a wet, unkneaded dough, but it should not be overly wet. Add extra flour if needed.


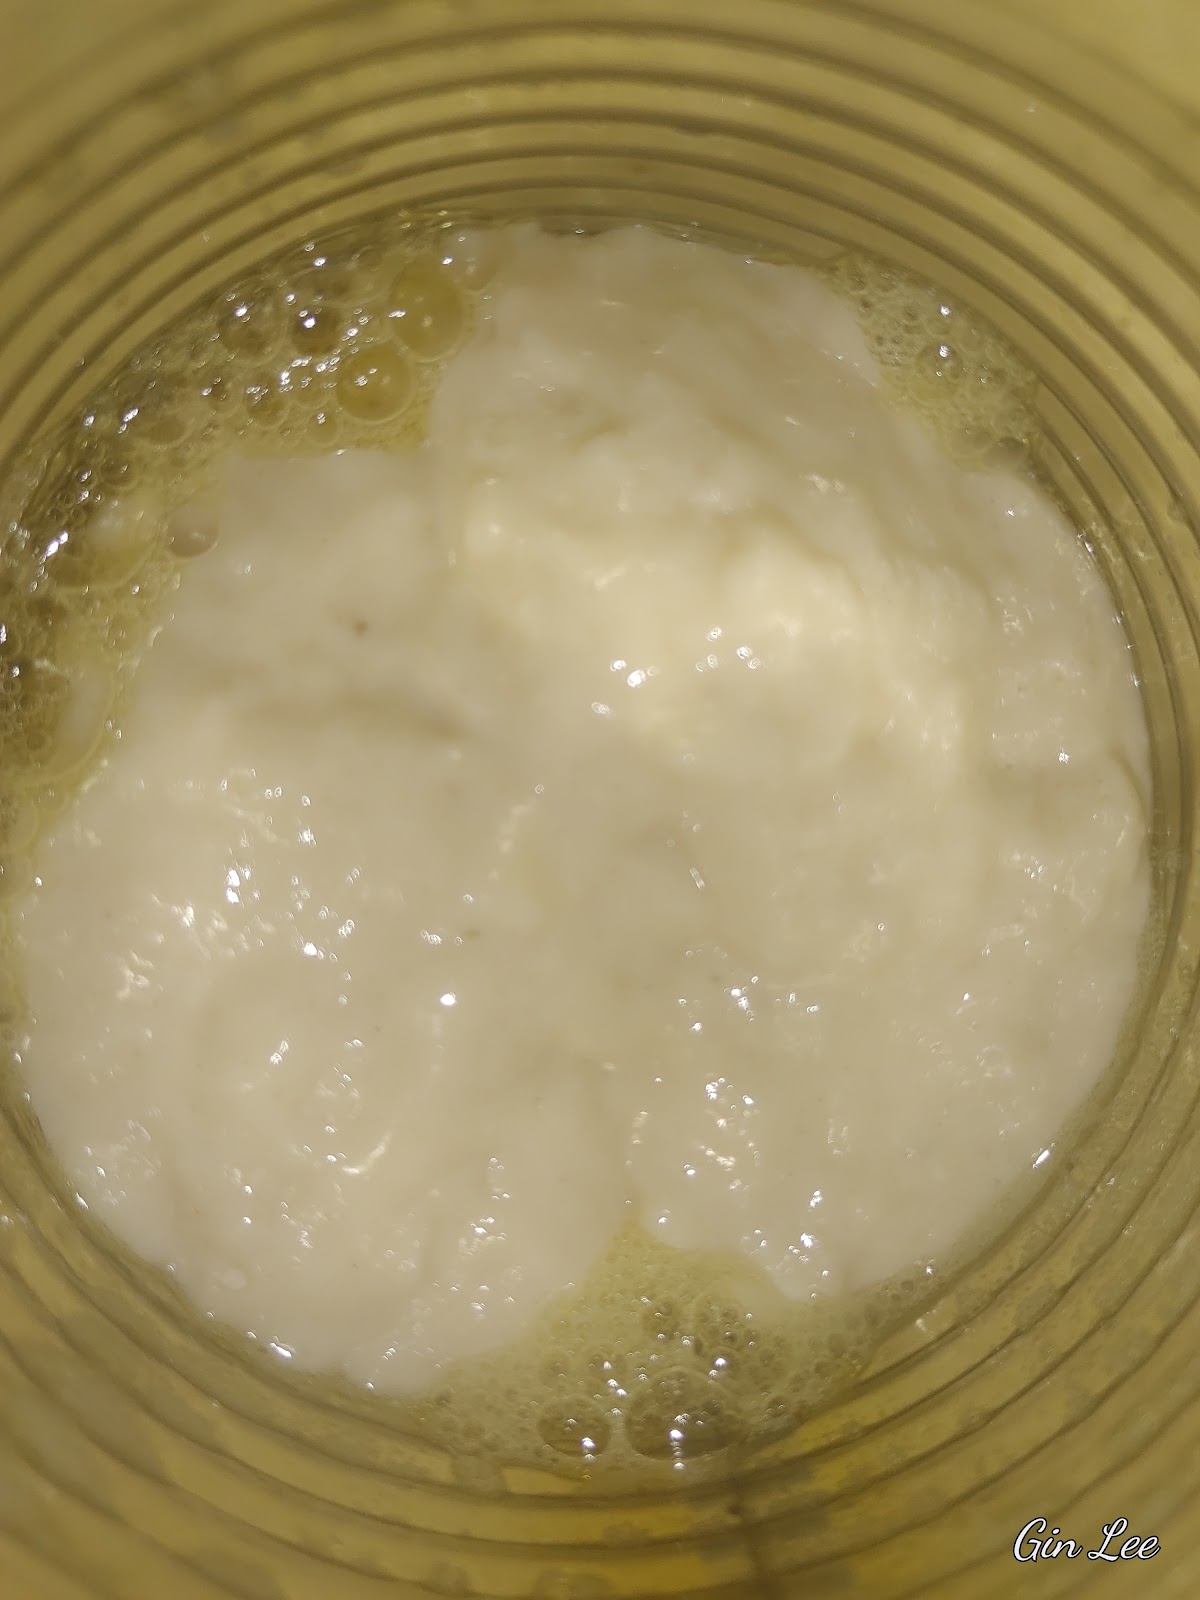
Grease your tin cans with cooking spray. Then transfer the dough to the prepared tin can or cans. Only fill the cans about halfway with the dough. Place the filled cans on a cookie tray to prevent any spillovers inside your oven during baking.


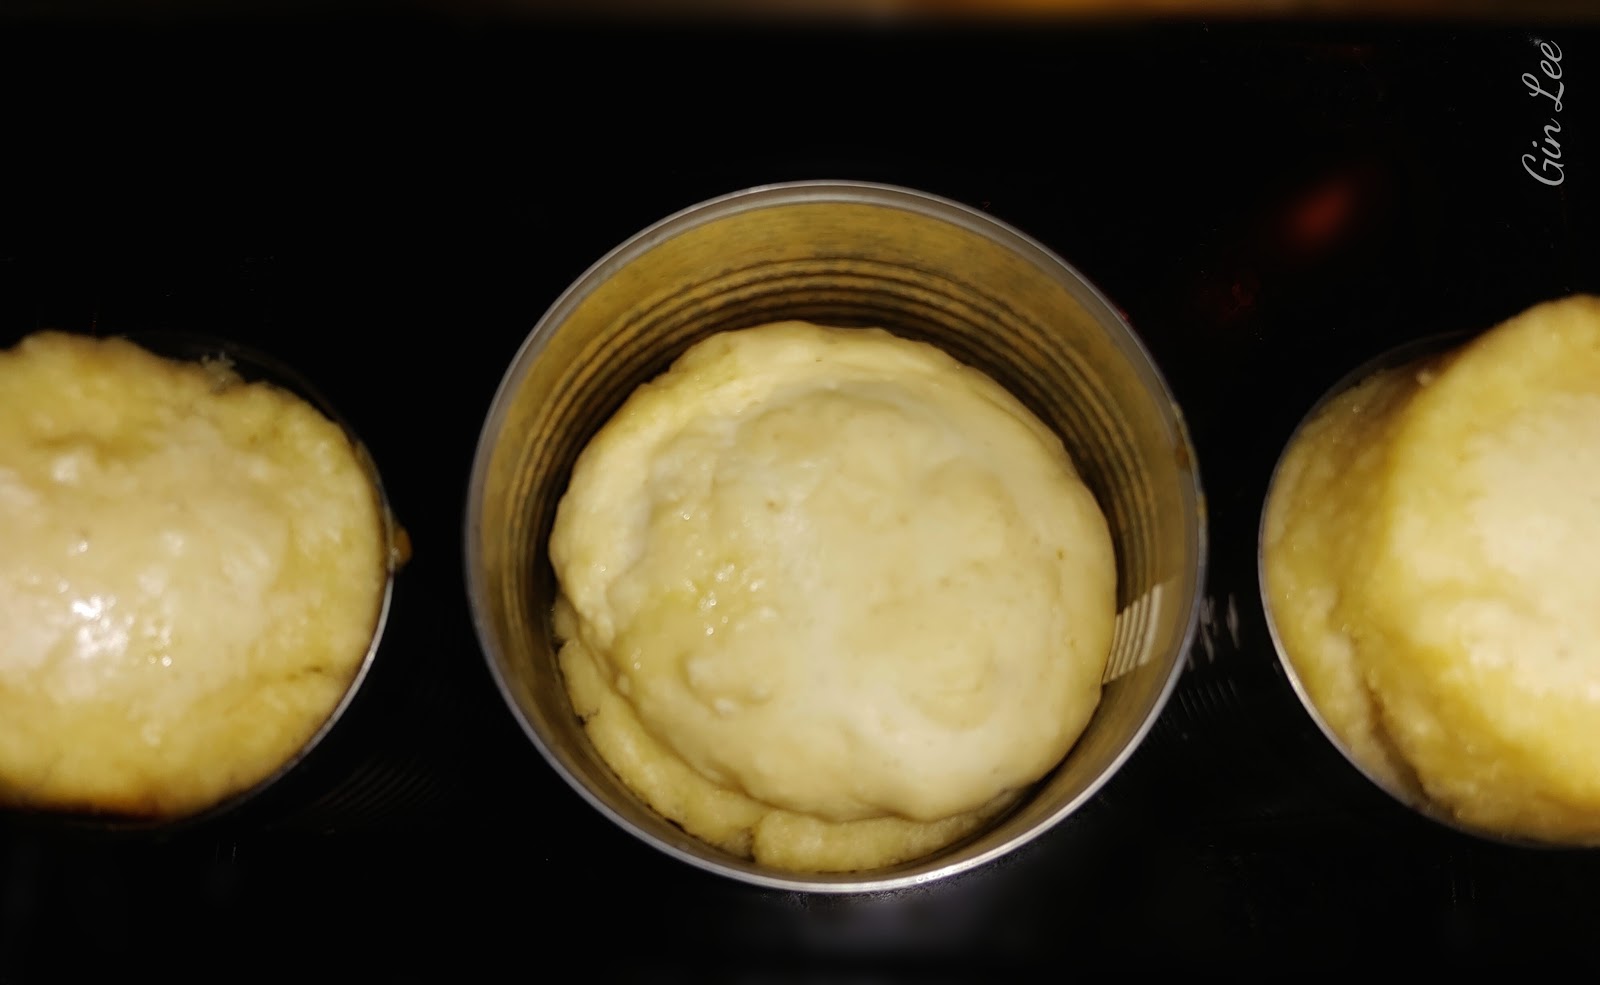
Transfer your tin cans to a 350-degree oven and bake for about 30 to 40 minutes, or until your bread is browned to your preference. Once your bread has risen and baked for at least 15 or 20 minutes, lay the cans on their sides and finish baking. You'll want to do this to ensure that the bread is cooked throughout the center.


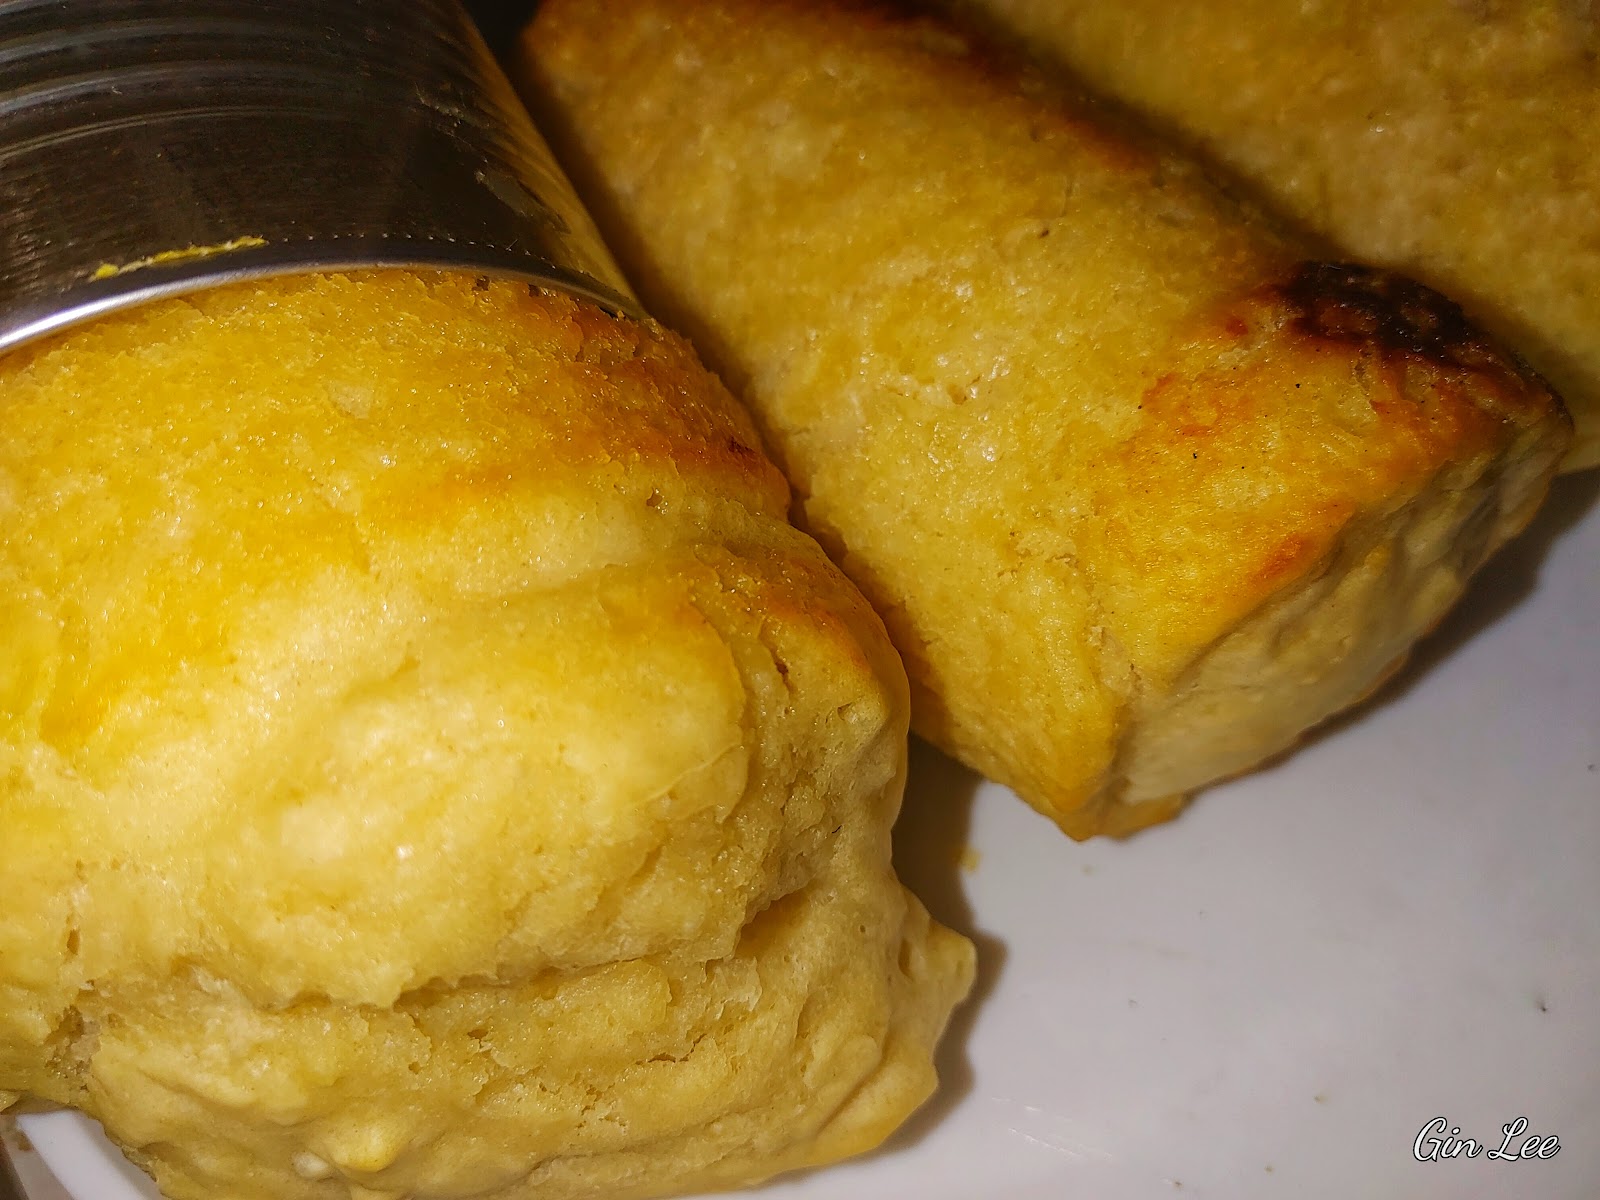
Once your tin can bread is finished baking, turn the cans upside down to flip the loaves of bread out onto a cutting board or cooling rack. Allowing it to cool completely before slicing.


© 2025 Olden Oasis

oldenoasis.blogspot.com


Popular posts from this blog

How to Grow Lentils in Hydroponic Trays

How to Grow Lentils in Hydroponic Trays Introduction Lentils are a nutritious and delicious legume that can easily be grown in hydroponic trays. Hydroponic gardening is a method of growing plants without soil, using nutrient-rich water instead. In this article, we will discuss the steps on how to grow lentils in hydroponic trays with nutrient solution and without it using only water. Materials Needed To grow lentils in hydroponic trays, you will need the following materials: Hydroponic trays Hydroponic trays that will hold the lentils and nutrient solution. Lentil seeds Make sure to use high-quality lentil seeds for the best results. Nutrient solution A mix of water and nutrient solution that will feed the lentil plants. Grow lights Since lentils need plenty of light to grow, you will need grow lights if you don't have access to natural sunlight. Steps to Grow Lentils Step 1: Prepare the Hydroponic Tray Fill the hydroponic tray with the nutrient solution according to the instru...

Introduction to Holiday Flock Blocks Made With Applesauce

Holiday Flock Blocks Made With Applesauce Welcome to my guide on creating delicious and nutritious Holiday Flock Blocks made with applesauce! Designed to provide your flock with a festive and healthy treat, these homemade blocks are packed with the goodness of applesauce and can be customized with various flavors and ingredients. In this article, we will explore the benefits of using applesauce in flock blocks, provide a step-by-step guide on how to make them, suggest creative variations and flavor combinations, offer tips on storing and presenting the blocks, discuss the health benefits for your flock, address common questions and troubleshooting, and conclude with our final thoughts. Let's dive in and create some delightful treats for your feathered friends this holiday season! Introduction to Holiday Flock Blocks Made With Applesauce What are Holiday Flock Blocks? Holiday flock blocks are a fun and nutritious treat for your feathered friends during the festive season. These hand...

Rendering Lard: A Sizzle of Tradition and Flavor

Rendering Lard: A Sizzle of Tradition and Flavor In light of rising prices, allow me to demonstrate how you can save money on cooking oil by creating your own lard at home. Rendering lard, the process of melting down and purifying pork fat to create a versatile cooking ingredient, has a rich history deeply rooted in culinary traditions around the world. While lard fell out of favor for a period, it is experiencing a resurgence due to its unique flavor profile and various benefits in cooking. My article today explores the art of rendering lard, from understanding its origins to selecting the right fats, different rendering methods, storage techniques, culinary uses, and essential tips for achieving optimal results. Historical Significance of Lard Lard holds a prestigious place in culinary history, being a key ingredient in traditional recipes across various cultures. It was prized for its versatility and ability to enhance the taste of dishes. Benefits of Rendering Lard Contrary to popu...