How to Grow Lentils in Hydroponic Trays
Introduction
Lentils are a nutritious and delicious legume that can easily be grown in hydroponic trays. Hydroponic gardening is a method of growing plants without soil, using nutrient-rich water instead. In this article, we will discuss the steps on how to grow lentils in hydroponic trays with nutrient solution and without it using only water.
Materials Needed
To grow lentils in hydroponic trays, you will need the following materials:
Hydroponic trays
Hydroponic trays that will hold the lentils and nutrient solution.
Lentil seeds
Make sure to use high-quality lentil seeds for the best results.
Nutrient solution
A mix of water and nutrient solution that will feed the lentil plants.
Grow lights
Since lentils need plenty of light to grow, you will need grow lights if you don't have access to natural sunlight.
Steps to Grow Lentils
Step 1: Prepare the Hydroponic Tray
Fill the hydroponic tray with the nutrient solution according to the instructions on the package.
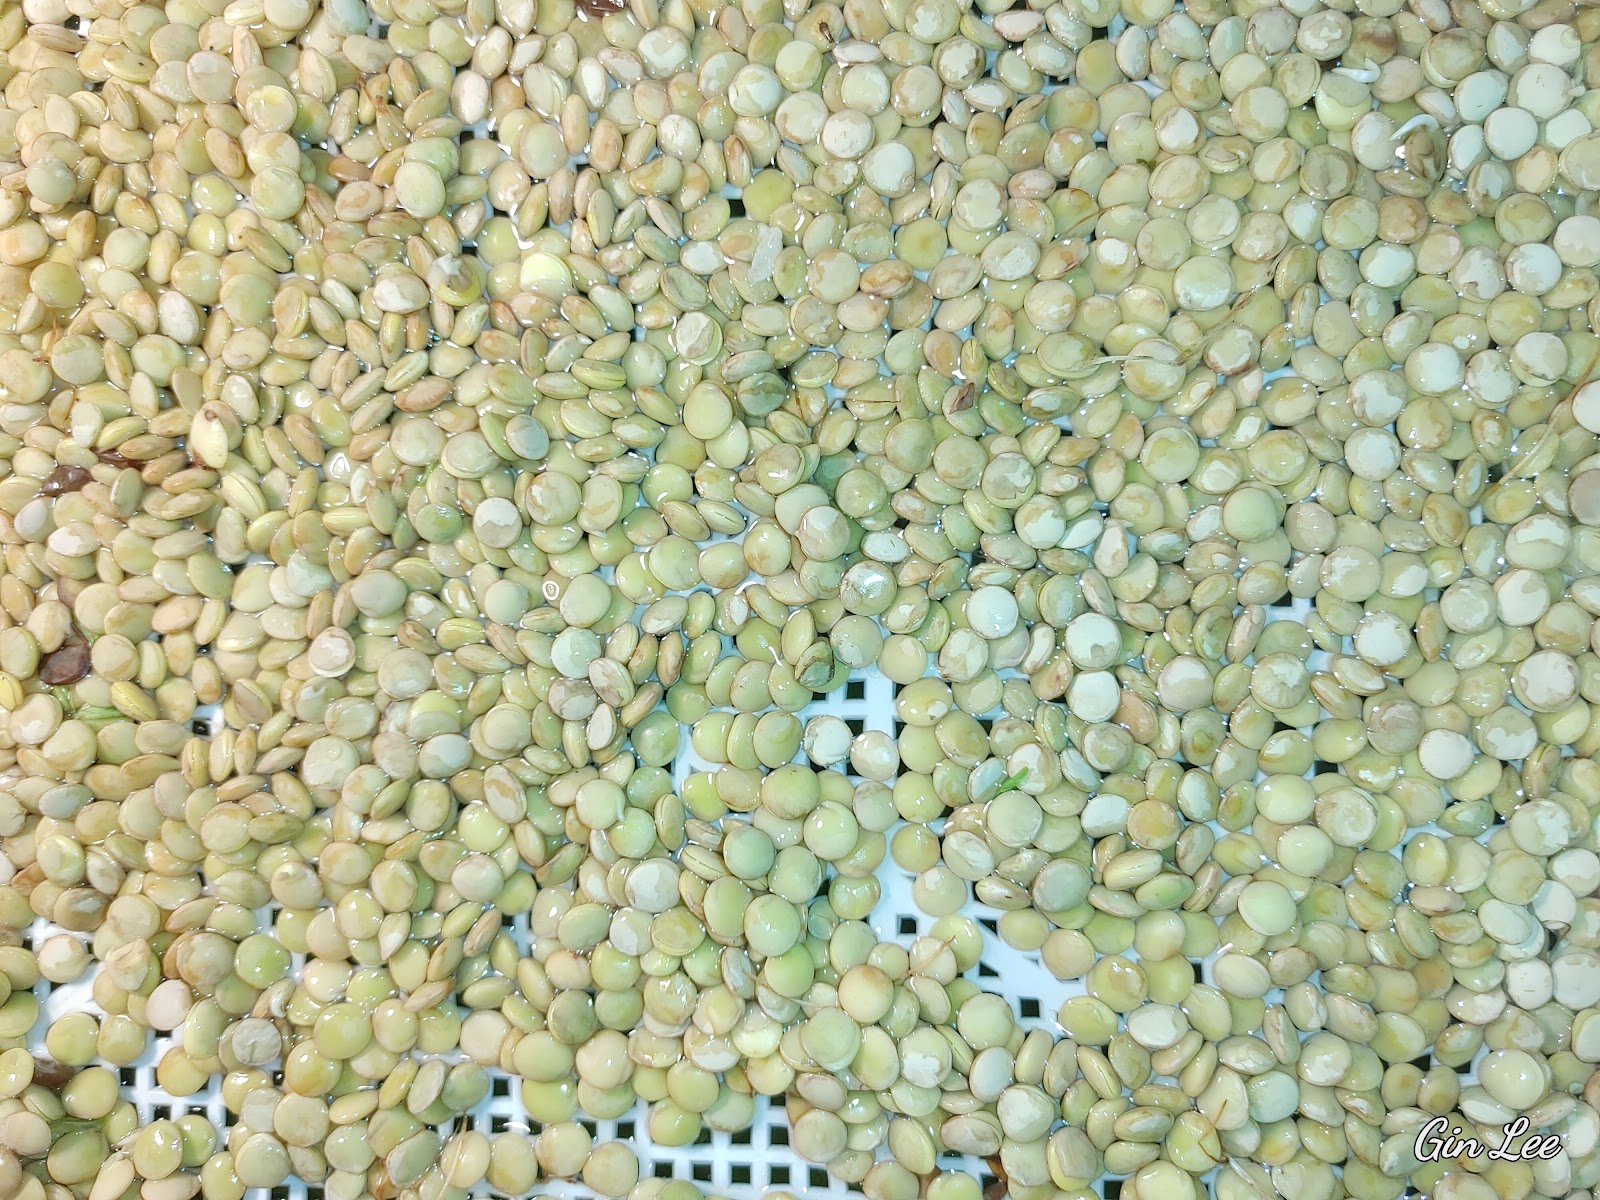
Planting lentils in hydroponic trays.
Step 2: Plant the Lentil Seeds
Place the lentil seeds evenly spaced on the tray, making sure they are submerged in the nutrient solution.
Step 3: Provide Adequate Light
If using grow lights, position them above the tray to provide enough light for the lentil plants to grow.
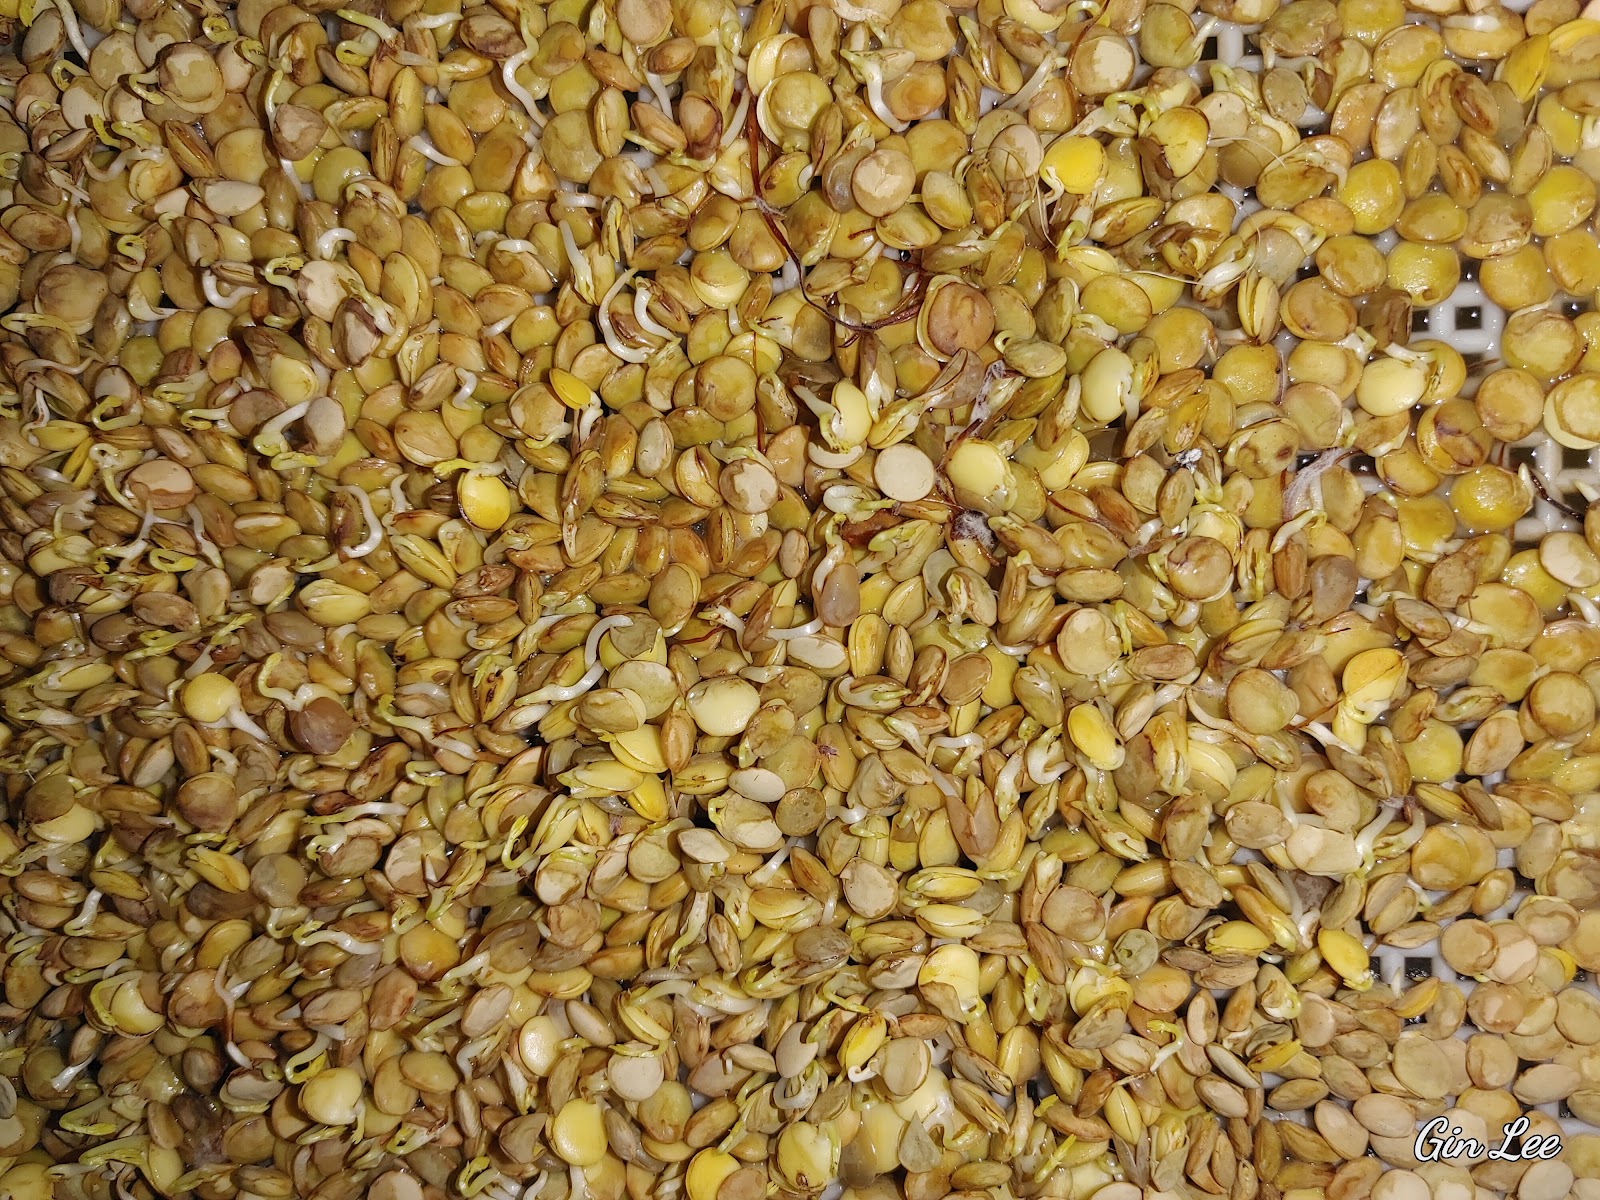
Lentils after one day are already sprouting.
Step 4: Monitor and Maintain
Check the nutrient levels regularly and top up the solution as needed. Make sure the lentil plants are growing well and adjust the light levels if necessary.
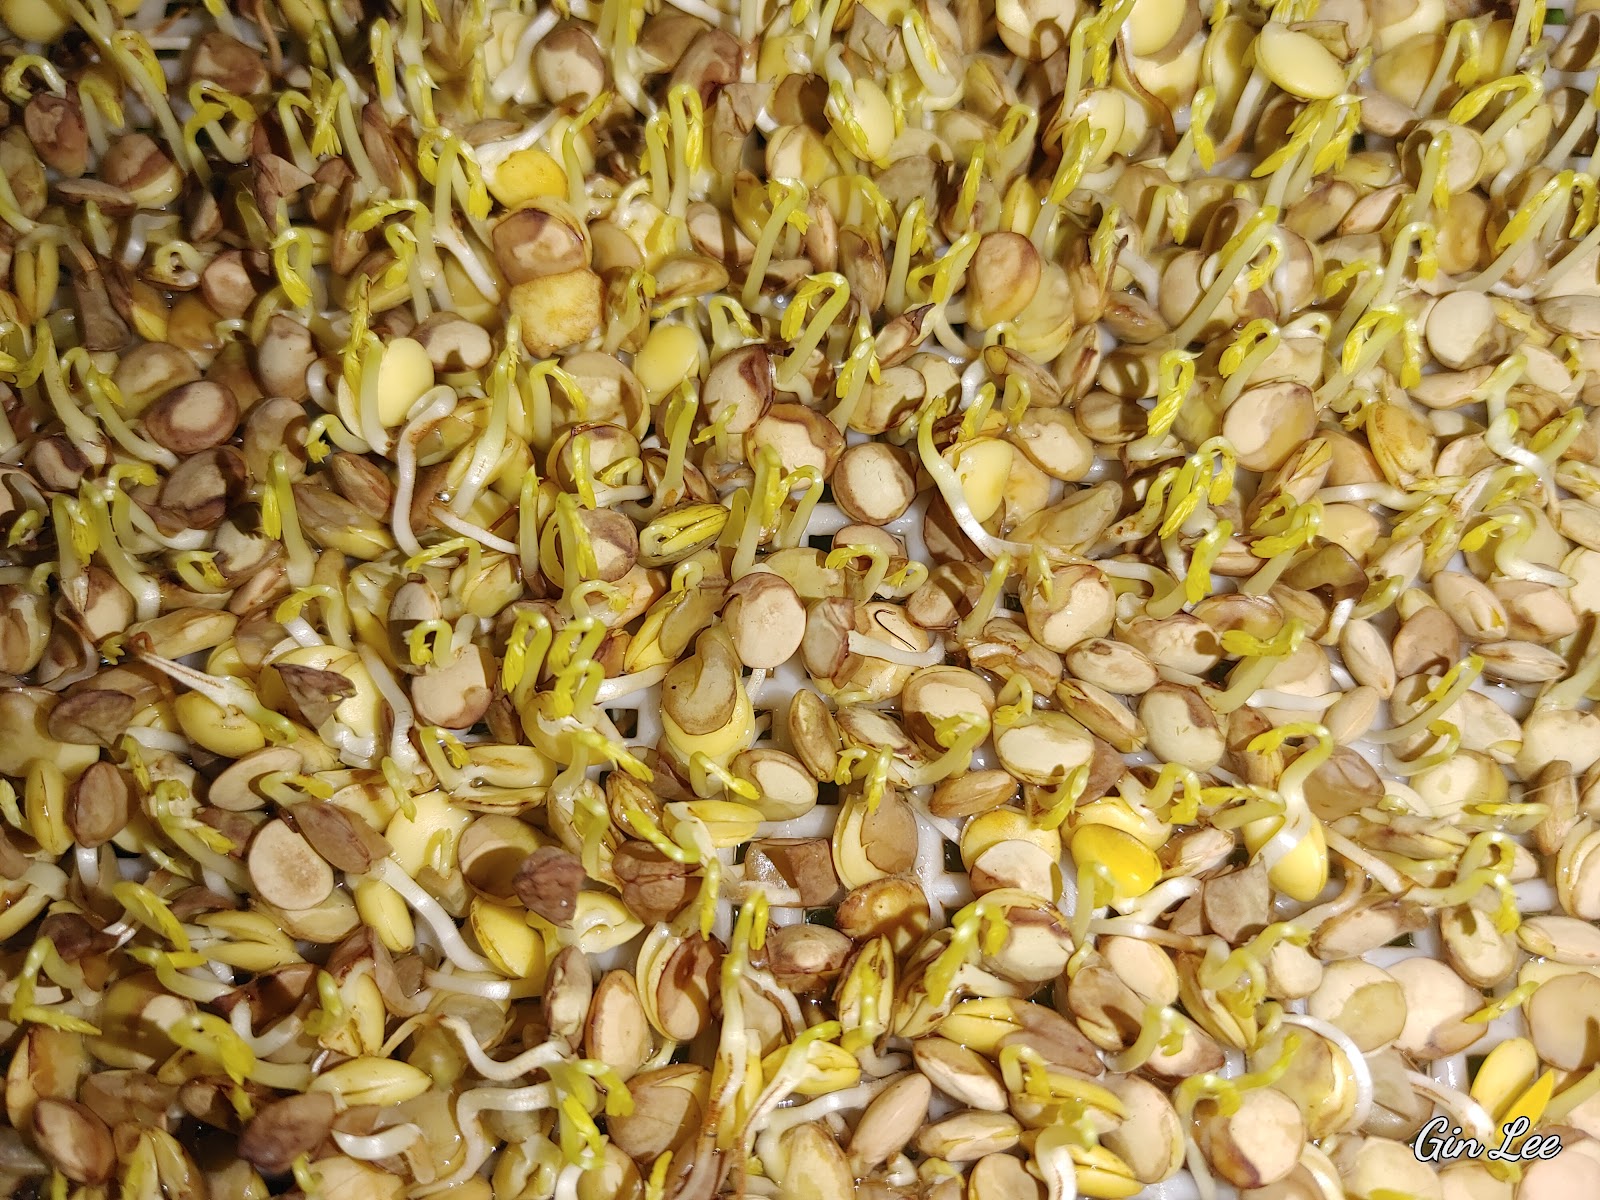
Lentils sprout after 3 days.
Step 5: Harvest the Lentils
Once the lentil plants have matured and produced pods, you can harvest the lentils and enjoy them in your favorite dishes!

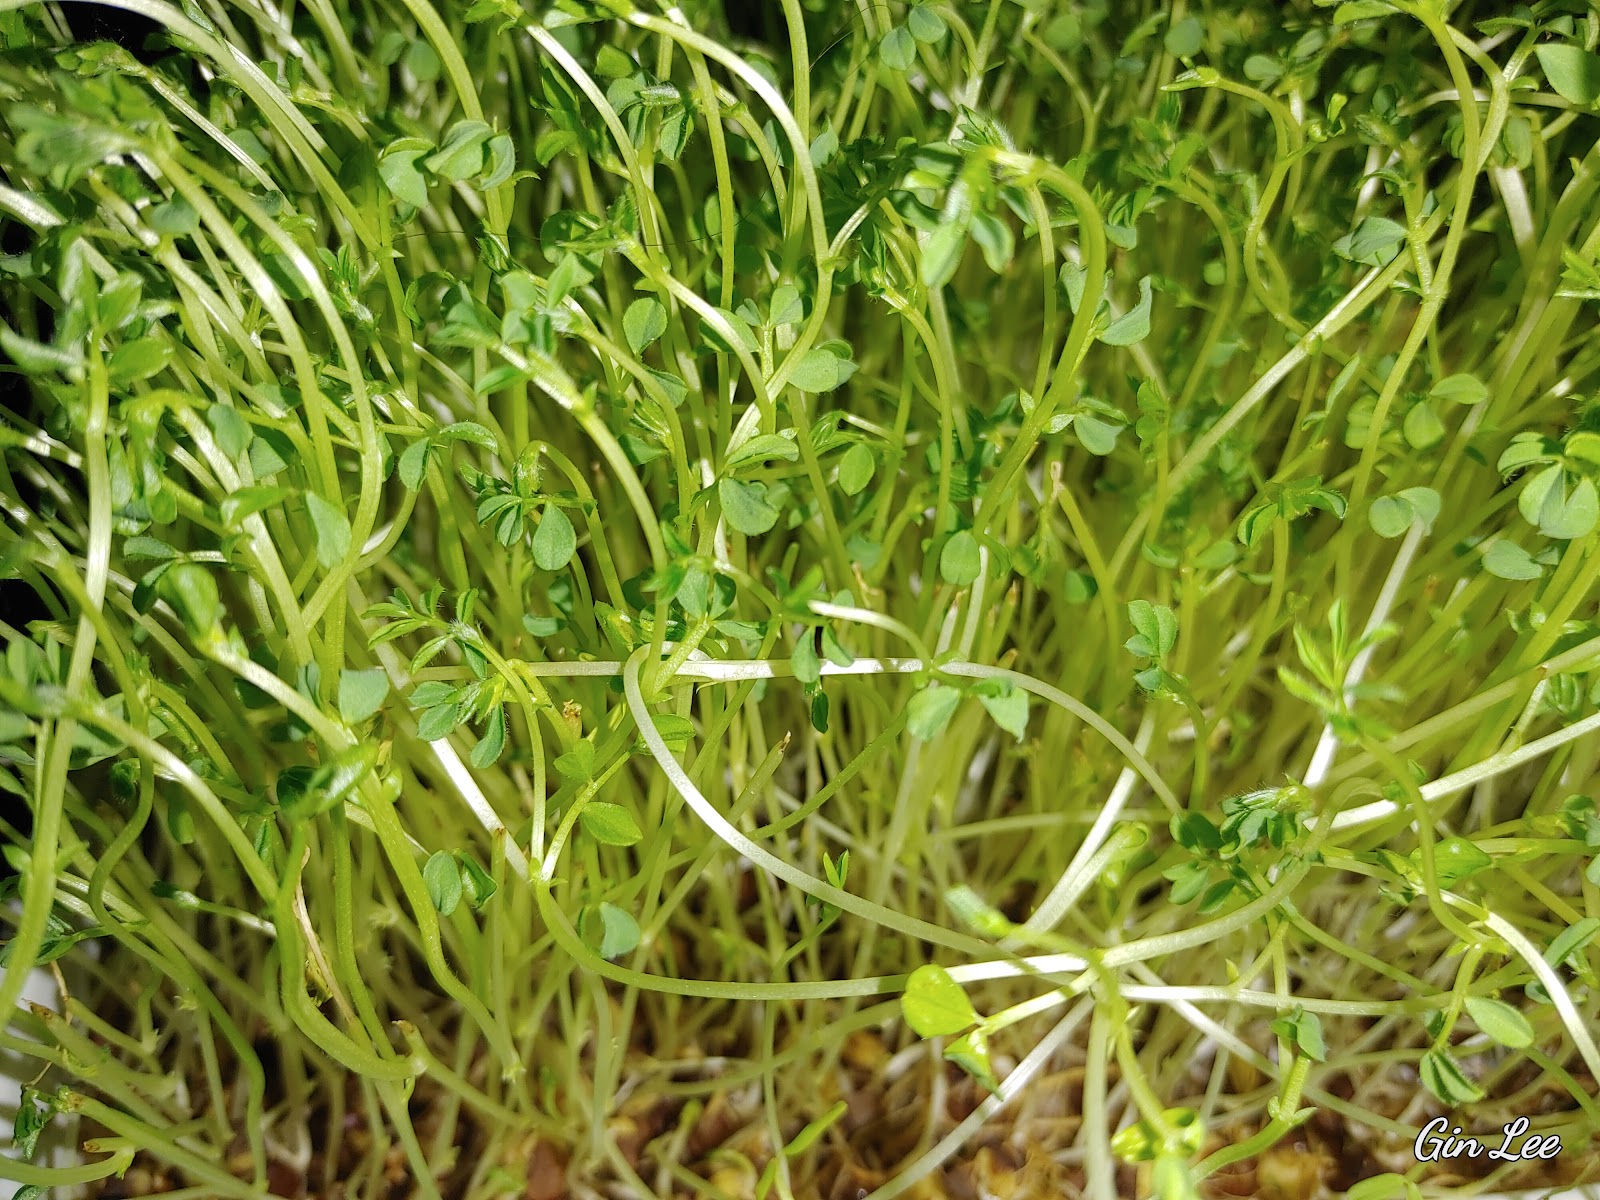
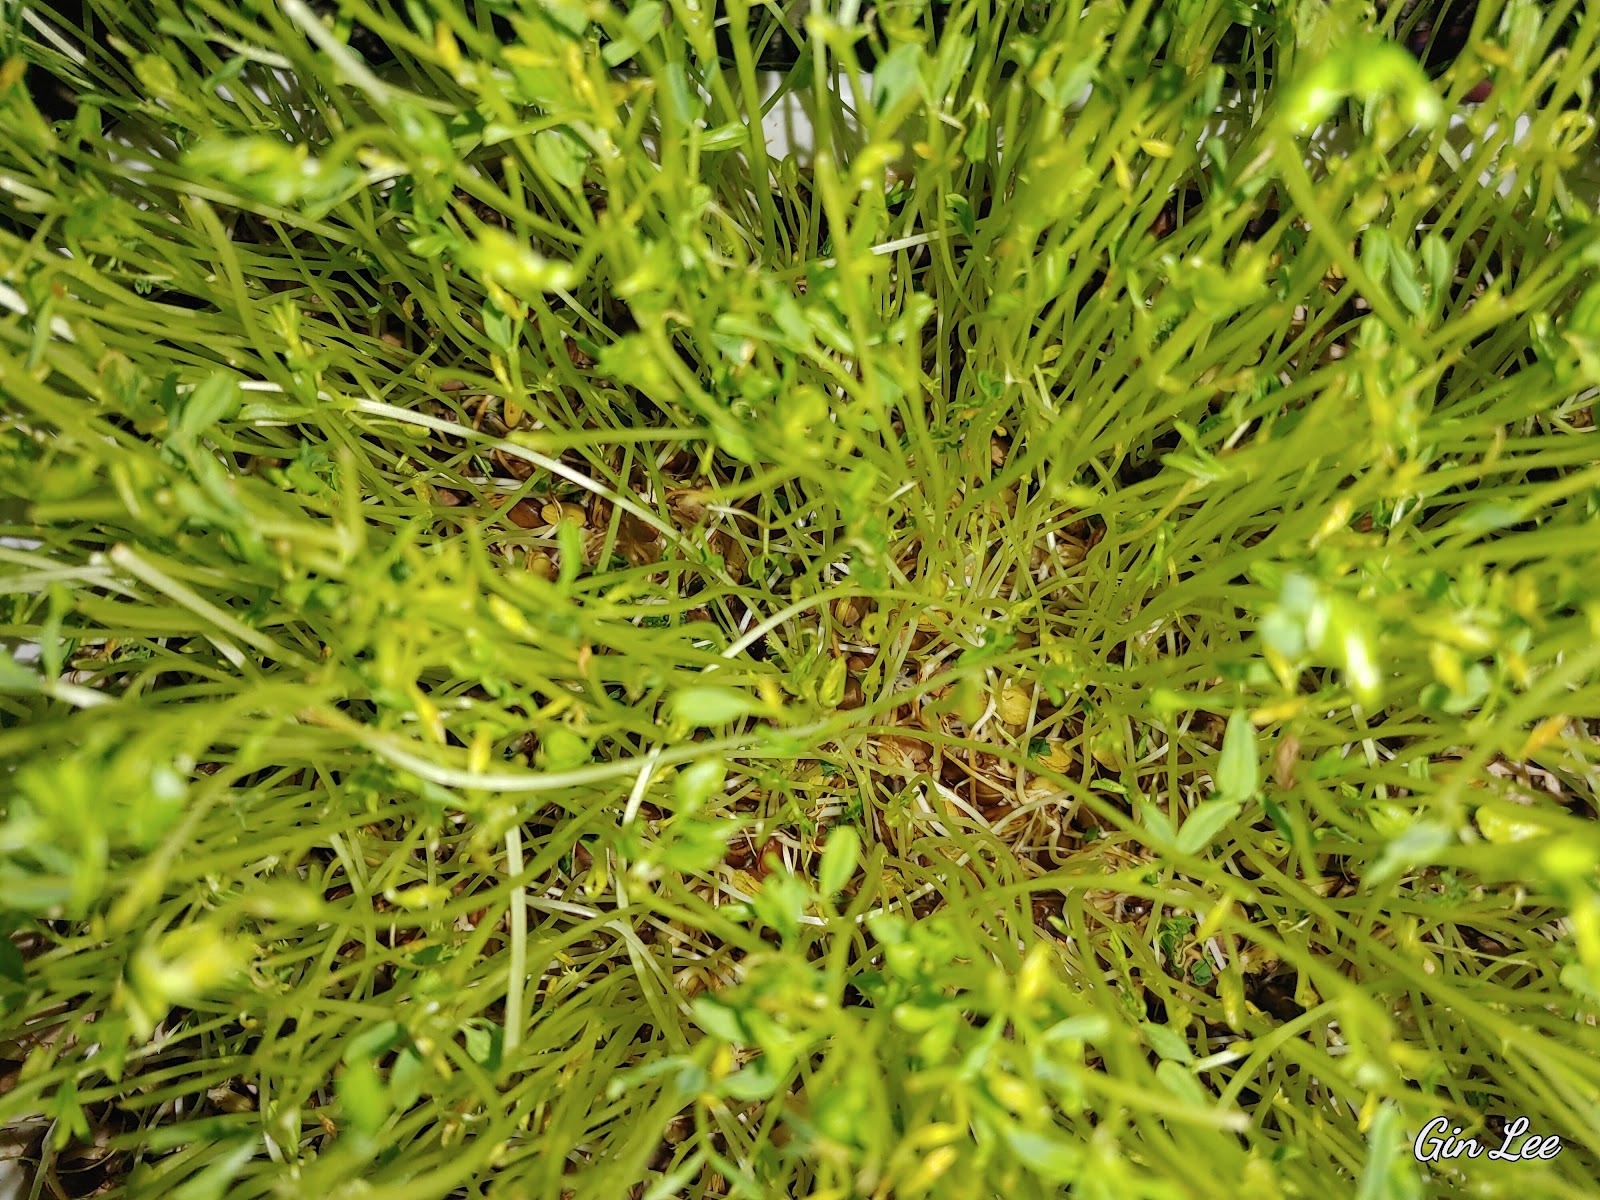
Lentil sprouts after 5 to 6 days.
Note:
You can grow lentils successfully using only water without having to use the nutrient solution. Keep reading to find out how.
How to Grow Lentils Using Only Water
If you want to grow lentils without using any special nutrients, you can do it with just water!
Materials Needed:
Lentil seeds
Water
Hydroponic trays
Steps:
Place your lentil seeds in the hydroponic trays.
Add water to cover the seeds completely.
Let the seeds soak for about 8 hours or overnight.
After soaking, drain the water. Just lift the top tray off first.
Rinse the seeds with fresh water and drain again.
Repeat rinsing and draining twice a day until you see sprouts forming.
Once the sprouts are about 1-2 inches long, your lentils are ready to eat!
Conclusion
By following these simple steps, you can grow your own lentils using only water. It's a fun and easy way to experience the joy of growing your own food!

© 2025 Olden Oasis
oldenoasis.blogspot.com