
Make Your Own Dry Cake Mixes at Home!

Make Your Own Dry Cake Mixes at Home!

If you've ever been curious about making your own dry cake mixes to keep in your pantry, you're in luck! Today, I'm going to show you how I make my basic dry cake mixes, how to store them, and the list of ingredients you'll need to bake them.

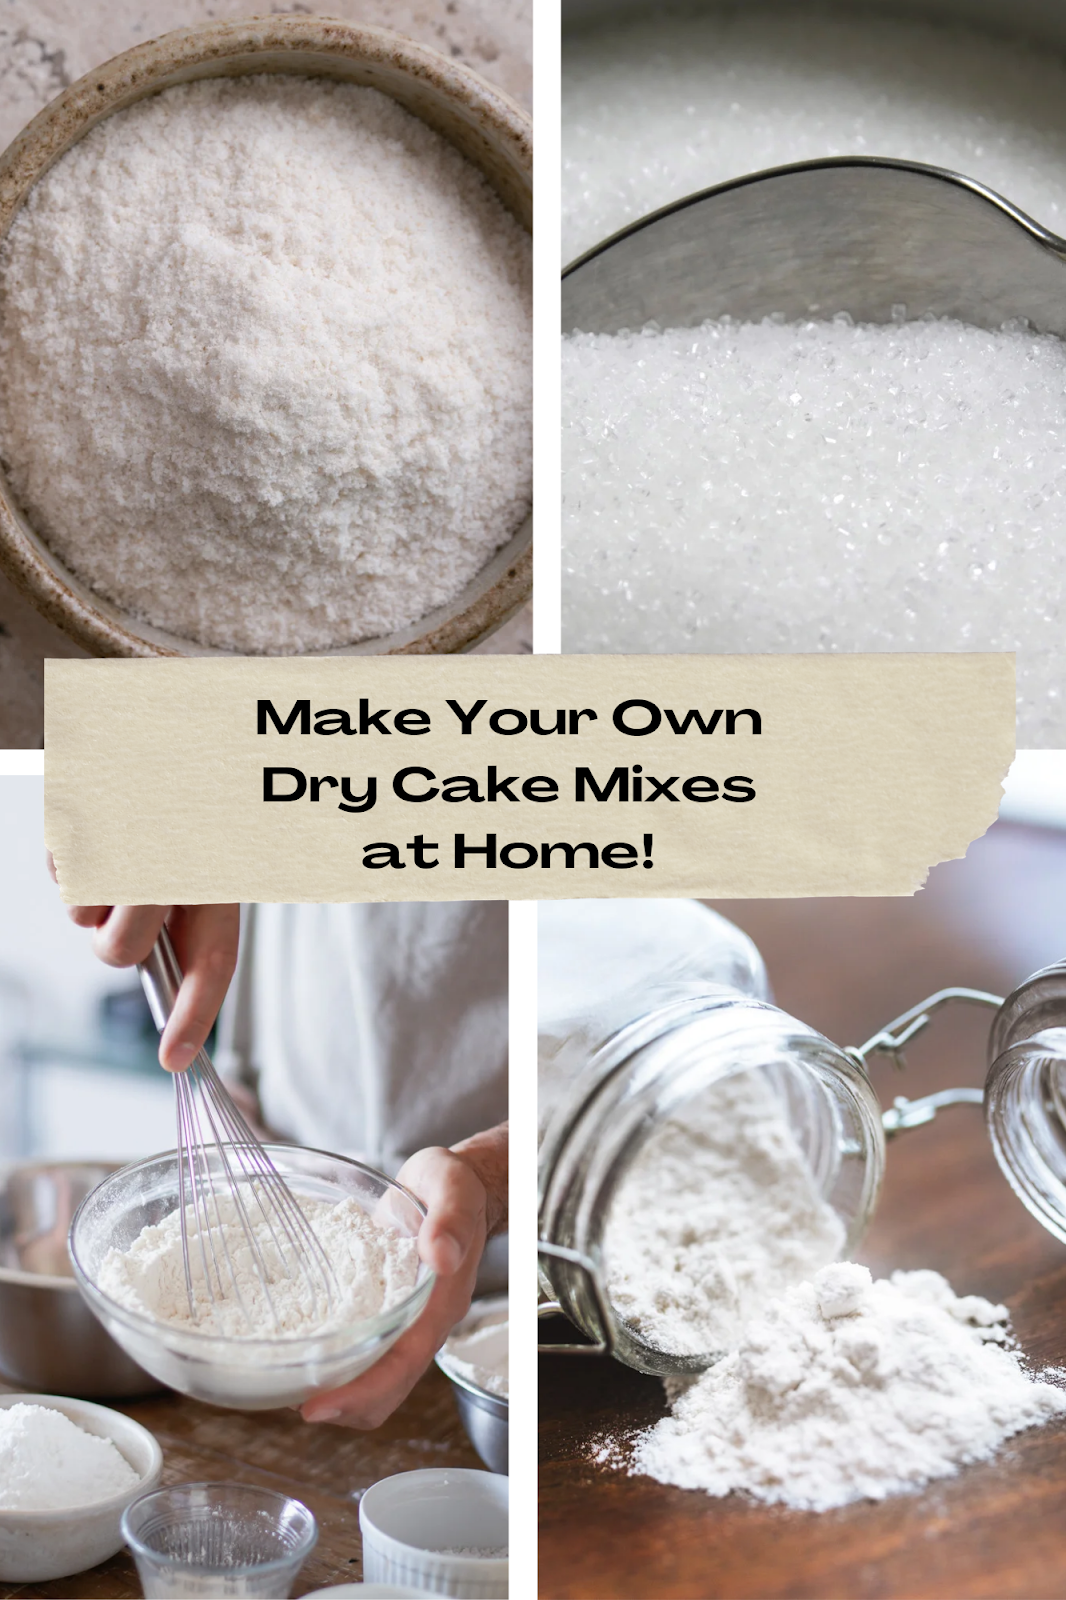
Ingredients to make one basic cake mix:

  • 2 1/2 cups all-purpose flour

  • 1 1/2 cups granulated Splenda, or sugar

  • 1 tablespoon baking powder

  • 1/2 teaspoon salt

Note: If you'd like to shorten the list of ingredients, you can use 2 1/2 cups of self-rising flour or 2 1/2 cups of Original Bisquick baking mix as a substitute. Omit the baking powder and salt.


To prepare more than one cake mix, just follow my list above and create as many batches as you desire.


To make a chocolate cake mix, just add a 1/4 cup of cocoa powder to your basic cake mix. Adjust the amount of cocoa powder to suit your chocolate preference.


To make a strawberry cake mix, add a 3-ounce package of dry strawberry Jello to your basic cake mix. You can also use Jello's Strawberry and Cream dry pudding mix, as well.

Instructions to make and store the dry cake mix:

In a large bowl, combine the flour, granulated Splenda, or sugar, baking powder, and salt. Mix well.


Transfer the mixture to an airtight container and store in a cool, dry place for up to 3 months.

Ingredients and instructions to use the cake mix:

  • 1/2 cup vegetable shortening

  • 1 cup of milk

  • 2 eggs

  • 1 teaspoon of vanilla extract (optional)

  • Optional: chocolate chips, peanut butter morsels, sprinkles, or nuts

Note: If you want to make a white cake, use 4 egg whites and leave the yolks out.

When making a strawberry cake, use 4 large eggs.


When you're ready to bake a basic cake, cut in the vegetable shortening using a pastry cutter or a fork until the mixture resembles coarse crumbs.


Add 1 cup of milk and 2 eggs to the dry mix. Stir in any optional ingredients you desire.


Pour the batter into a greased cake pan and bake at 350 degrees for 30 to 35 minutes, or until a toothpick inserted in the center comes out clean.

Baking the cake in a microwave-safe pan

You can also bake your cake in a microwave-safe cake pan. Just fill your cake pan about a half of an inch deep. Then bake the cake in the microwave for about 6 to 8 minutes, or until a toothpick inserted in the center comes out clean.


Let the cake cool before slicing and serving. Enjoy your homemade cake made from your own dry cake mix!


© 2024 Olden Oasis

oldenoasis.blogspot.com


Popular posts from this blog

How to Grow Lentils in Hydroponic Trays

How to Grow Lentils in Hydroponic Trays Introduction Lentils are a nutritious and delicious legume that can easily be grown in hydroponic trays. Hydroponic gardening is a method of growing plants without soil, using nutrient-rich water instead. In this article, we will discuss the steps on how to grow lentils in hydroponic trays with nutrient solution and without it using only water. Materials Needed To grow lentils in hydroponic trays, you will need the following materials: Hydroponic trays Hydroponic trays that will hold the lentils and nutrient solution. Lentil seeds Make sure to use high-quality lentil seeds for the best results. Nutrient solution A mix of water and nutrient solution that will feed the lentil plants. Grow lights Since lentils need plenty of light to grow, you will need grow lights if you don't have access to natural sunlight. Steps to Grow Lentils Step 1: Prepare the Hydroponic Tray Fill the hydroponic tray with the nutrient solution according to the instru...

Introduction to Holiday Flock Blocks Made With Applesauce

Holiday Flock Blocks Made With Applesauce Welcome to my guide on creating delicious and nutritious Holiday Flock Blocks made with applesauce! Designed to provide your flock with a festive and healthy treat, these homemade blocks are packed with the goodness of applesauce and can be customized with various flavors and ingredients. In this article, we will explore the benefits of using applesauce in flock blocks, provide a step-by-step guide on how to make them, suggest creative variations and flavor combinations, offer tips on storing and presenting the blocks, discuss the health benefits for your flock, address common questions and troubleshooting, and conclude with our final thoughts. Let's dive in and create some delightful treats for your feathered friends this holiday season! Introduction to Holiday Flock Blocks Made With Applesauce What are Holiday Flock Blocks? Holiday flock blocks are a fun and nutritious treat for your feathered friends during the festive season. These hand...

Rendering Lard: A Sizzle of Tradition and Flavor

Rendering Lard: A Sizzle of Tradition and Flavor In light of rising prices, allow me to demonstrate how you can save money on cooking oil by creating your own lard at home. Rendering lard, the process of melting down and purifying pork fat to create a versatile cooking ingredient, has a rich history deeply rooted in culinary traditions around the world. While lard fell out of favor for a period, it is experiencing a resurgence due to its unique flavor profile and various benefits in cooking. My article today explores the art of rendering lard, from understanding its origins to selecting the right fats, different rendering methods, storage techniques, culinary uses, and essential tips for achieving optimal results. Historical Significance of Lard Lard holds a prestigious place in culinary history, being a key ingredient in traditional recipes across various cultures. It was prized for its versatility and ability to enhance the taste of dishes. Benefits of Rendering Lard Contrary to popu...