
Dehydrated Vegetables and Fruit Chips

Dehydrated Vegetables and Fruit Chips

Snack time can be such a fun time, especially when you've done all the work preparing your dehydrated chips! When I prepare my fruit and vegetable chips, I never peel any of them, and I never remove the seeds (unless I am dehydrating apples, citrus fruits, grapes, or fruit with pits). Why? Both the seeds and vegetable peels are loaded with antioxidants, and they contain digestive fiber. Both are loaded with vitamins, among other needed nutrients. Plus, eating the skins and seeds also helps to improve your metabolism and gut health.

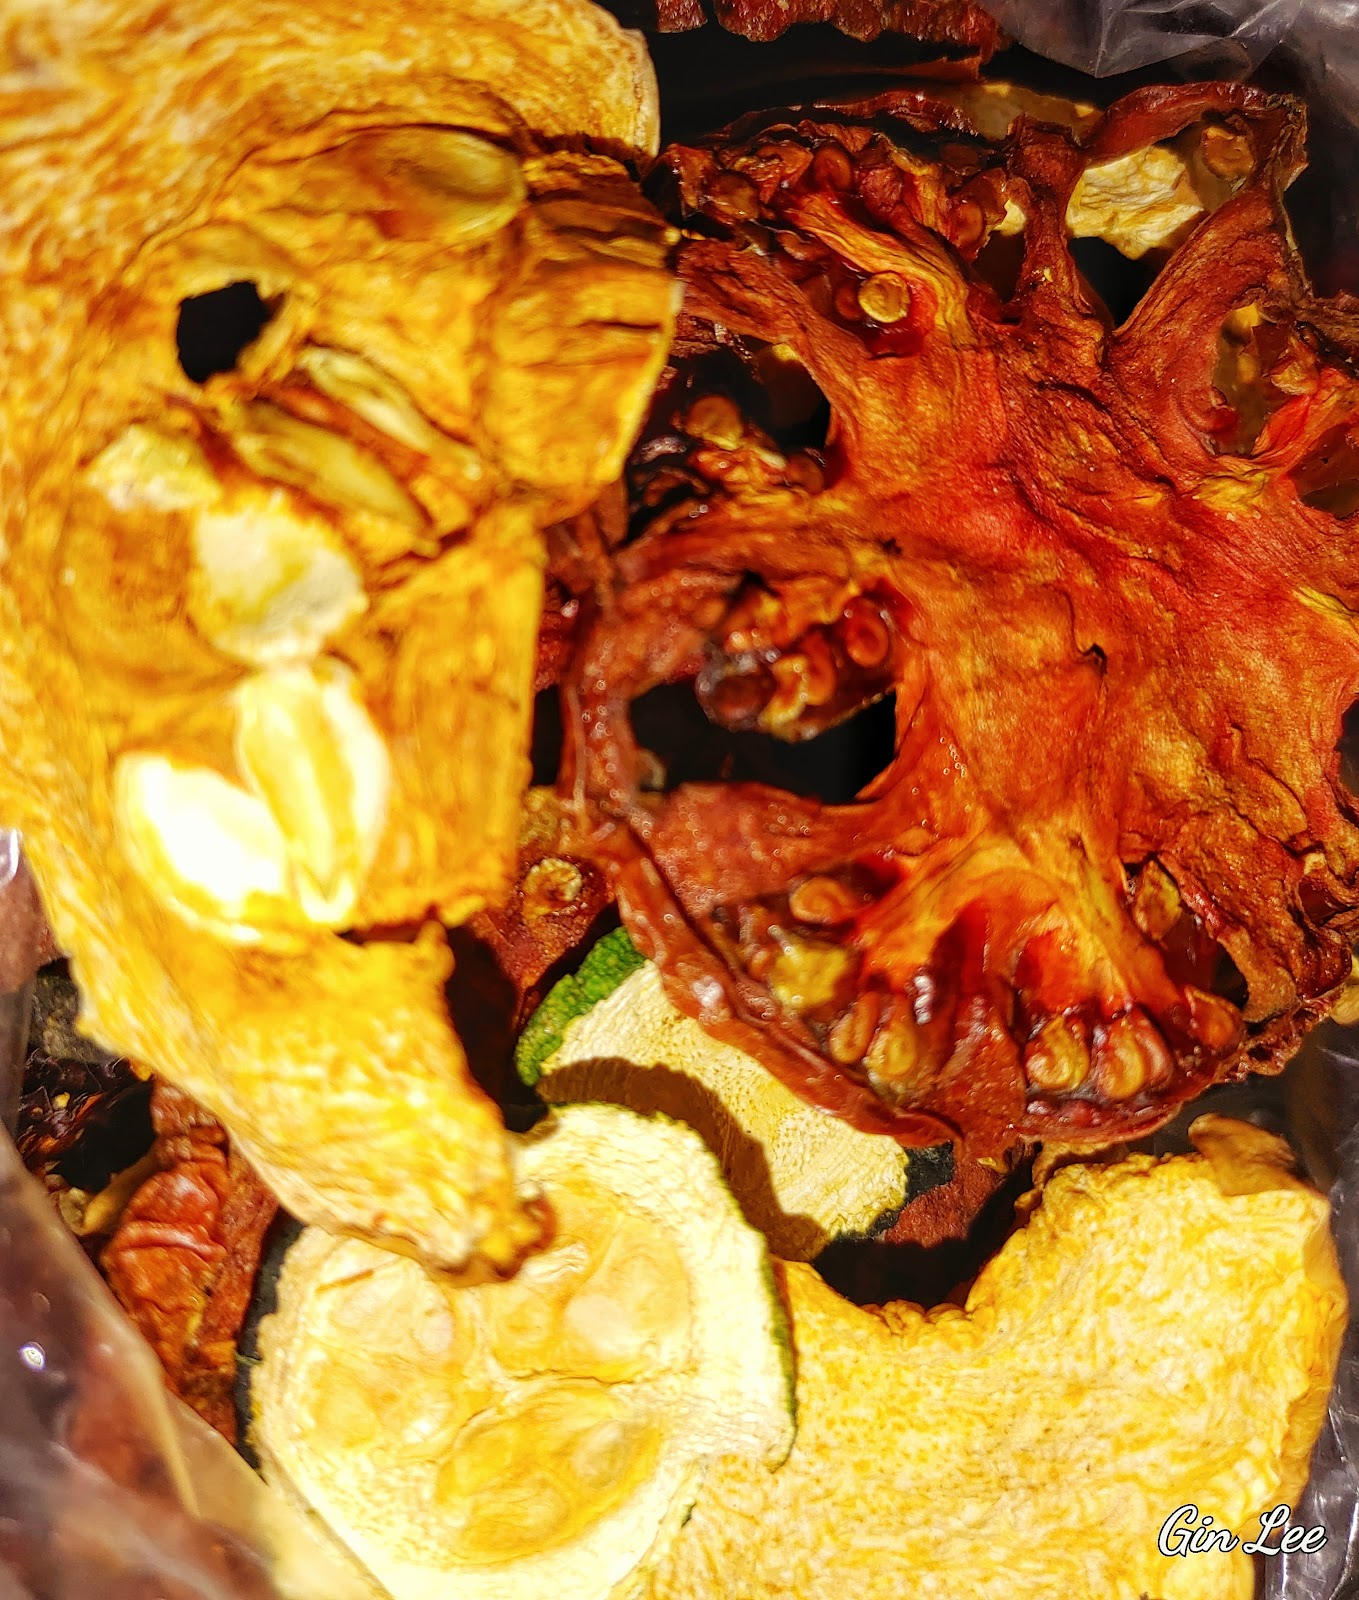
For this recipe, I am using tomatoes, summer squash, zucchini, and butternut squash. I don't soak the slices of tomatoes or any of the squash in citrus juice or citric acid solution. If you're concerned about browning, you can soak yours before dehydrating. My fruit and veggie chips never last long. However, if I was planning to make the chips for a gift or to put them away for long-term storage, I most certainly would go ahead and soak them first.

Of course, if I were dehydrating apples, bananas, pears, etc., I would soak them prior to drying them.

Ingredients:

  • 2 to 4 tomatoes, depending on their size

  • 2 summer squashes

  • 1 zucchini squash

  • 1 butternut squash

  • Seasoning salt to taste (optional)

Instructions:

Rinse and thinly slice 2 to 4 tomatoes, 2 summer squashes, 1 zucchini squash, and 1 butternut squash. The thinner you slice your vegetables, the crispier they'll be after they've been dehydrated.


Sprinkle seasoning salt over the sliced vegetables, to taste.


Place the vegetable slices on dehydrating trays, leaving about two inches of space between each piece.


Turn your dehydrator on and set the temperature to 140 F. Dehydrate the sliced tomatoes for 12 to 14 hours, and dehydrate the squash for about 8 to 12 hours.


I like to check on mine every few hours and flip my chips over about midway through the dehydrating process.


You'll need to let your dehydrated chips cool before placing them into a Ziploc bag or any other airtight container. If you don't, the chips will sweat.


© 2025 Olden Oasis

oldenoasis.blogspot.com


Popular posts from this blog

How to Grow Lentils in Hydroponic Trays

How to Grow Lentils in Hydroponic Trays Introduction Lentils are a nutritious and delicious legume that can easily be grown in hydroponic trays. Hydroponic gardening is a method of growing plants without soil, using nutrient-rich water instead. In this article, we will discuss the steps on how to grow lentils in hydroponic trays with nutrient solution and without it using only water. Materials Needed To grow lentils in hydroponic trays, you will need the following materials: Hydroponic trays Hydroponic trays that will hold the lentils and nutrient solution. Lentil seeds Make sure to use high-quality lentil seeds for the best results. Nutrient solution A mix of water and nutrient solution that will feed the lentil plants. Grow lights Since lentils need plenty of light to grow, you will need grow lights if you don't have access to natural sunlight. Steps to Grow Lentils Step 1: Prepare the Hydroponic Tray Fill the hydroponic tray with the nutrient solution according to the instru...

Introduction to Holiday Flock Blocks Made With Applesauce

Holiday Flock Blocks Made With Applesauce Welcome to my guide on creating delicious and nutritious Holiday Flock Blocks made with applesauce! Designed to provide your flock with a festive and healthy treat, these homemade blocks are packed with the goodness of applesauce and can be customized with various flavors and ingredients. In this article, we will explore the benefits of using applesauce in flock blocks, provide a step-by-step guide on how to make them, suggest creative variations and flavor combinations, offer tips on storing and presenting the blocks, discuss the health benefits for your flock, address common questions and troubleshooting, and conclude with our final thoughts. Let's dive in and create some delightful treats for your feathered friends this holiday season! Introduction to Holiday Flock Blocks Made With Applesauce What are Holiday Flock Blocks? Holiday flock blocks are a fun and nutritious treat for your feathered friends during the festive season. These hand...

Rendering Lard: A Sizzle of Tradition and Flavor

Rendering Lard: A Sizzle of Tradition and Flavor In light of rising prices, allow me to demonstrate how you can save money on cooking oil by creating your own lard at home. Rendering lard, the process of melting down and purifying pork fat to create a versatile cooking ingredient, has a rich history deeply rooted in culinary traditions around the world. While lard fell out of favor for a period, it is experiencing a resurgence due to its unique flavor profile and various benefits in cooking. My article today explores the art of rendering lard, from understanding its origins to selecting the right fats, different rendering methods, storage techniques, culinary uses, and essential tips for achieving optimal results. Historical Significance of Lard Lard holds a prestigious place in culinary history, being a key ingredient in traditional recipes across various cultures. It was prized for its versatility and ability to enhance the taste of dishes. Benefits of Rendering Lard Contrary to popu...