
Dehydrating mangos

Dehydrating mangos

For a healthier snack, why not dehydrate some fresh mangos? Yesterday I water-bath canned, dehydrated, and froze multitudes of mangos. Today I still have the dehydrator going full swing. 

Dehydrating mangos is extremely simple to do. First, you'll need to peel and slice the flesh of the fruit off of the seed. I prefer trying to slice each mango in halves to the best of my ability, because once the mangos are dehydrated they shrink down a good bit.


When dehydrating food of any kind, the dehydrating process dries out all the juices from whatever it is you're preserving.


For pre-treating the fruit, I use lemon juice to soak the mangos in. You will need to use the juice of one lemon for every four mangos that you slice. A lemon produces about ¼ cup of freshly-squeezed lemon juice. That equals about four tablespoons per lemon. Bottled lemon juice can also be used.


You'll want to pretreat the mangos, so that they'll have a good texture when they're finished dehydrating. Pre-treating also prevents bad bacteria from forming while the mangos are dehydrating, plus it keeps the fruit from turning an ugly brown color.


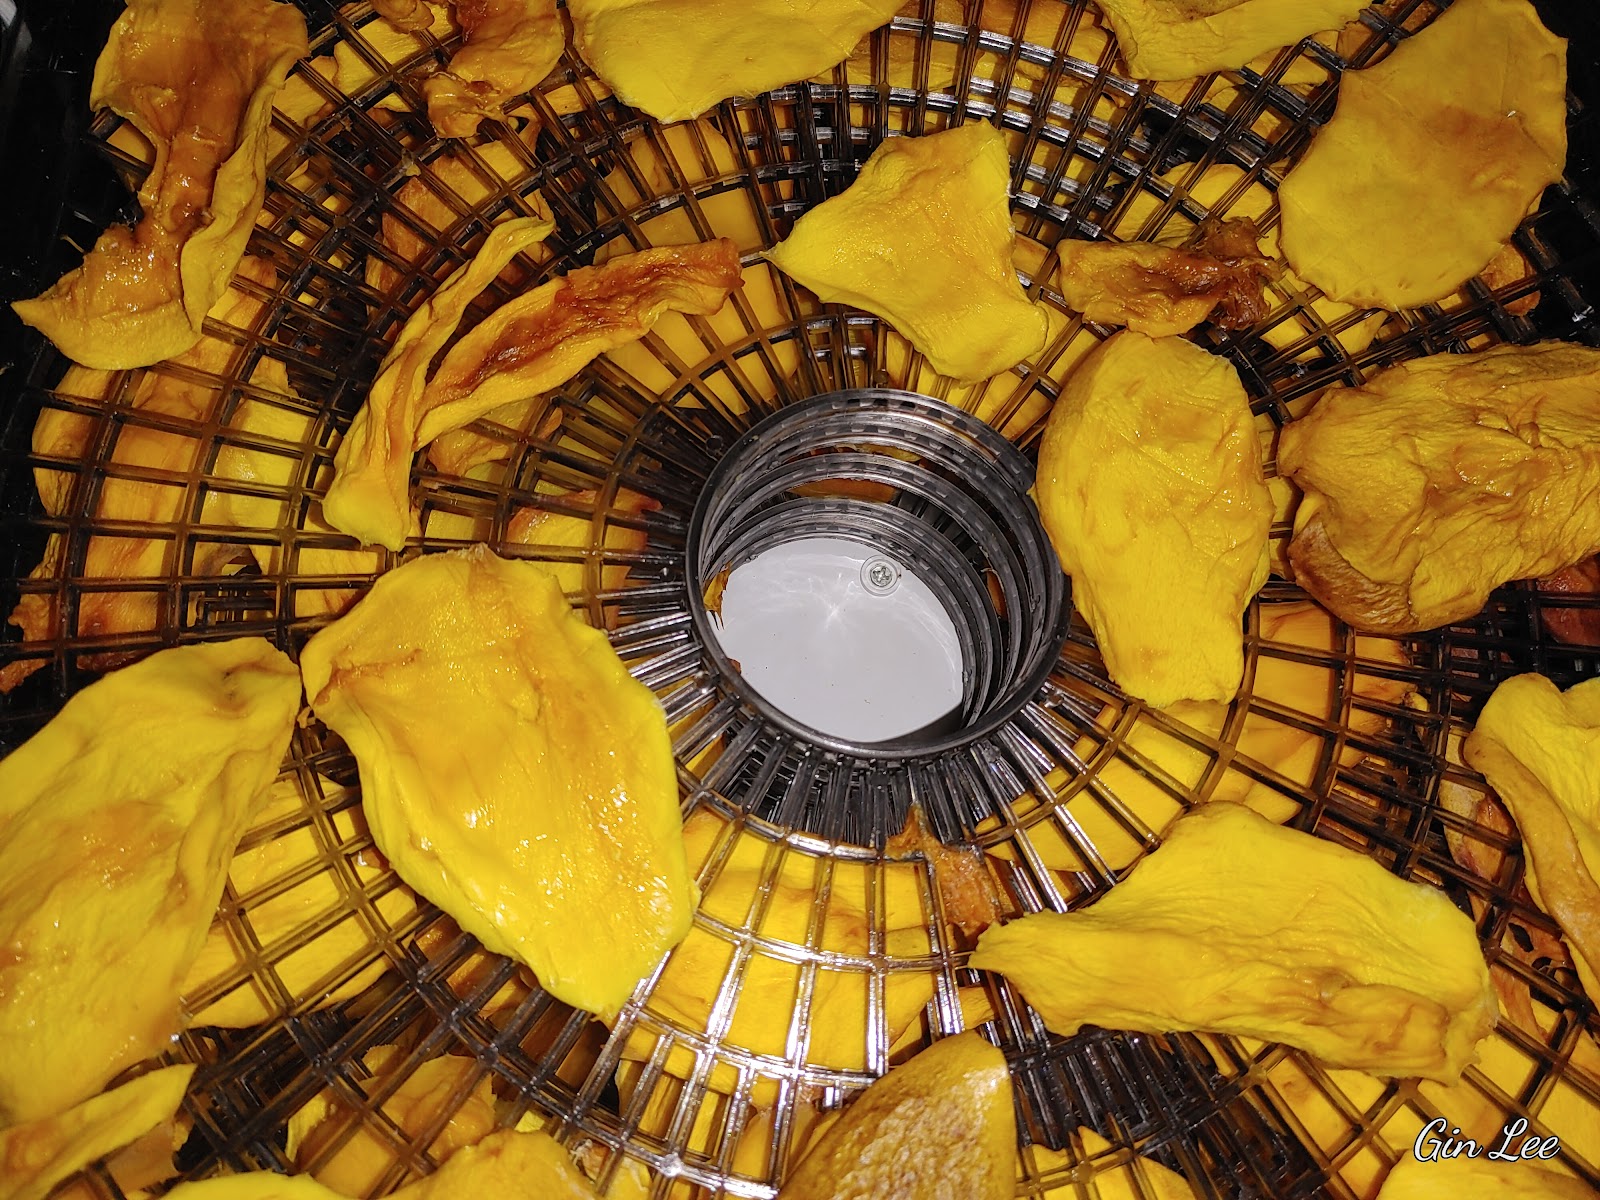
So, after you have peeled, sliced, seeded, and pre-treated the mangos, it's time to transfer the mango slices to the dehydrator trays. Leave spaces in between the slices and try not to overlap any. The secret to good dehydrating is to never over crowd the trays. 


In between dehydrating times, turn the fruit pieces over. This isn't something that you have to do, but I do it. It seems to even out the drying time.


Set the dehydrator temperature to 145 degrees F and dry for about fourteen hours or longer. Once the fruit is dehydrated to your liking, take the dehydrated mangos from the trays and transfer them into Ziploc bags, or some other type of airtight container. I placed mine in vacuum-sealed jars.


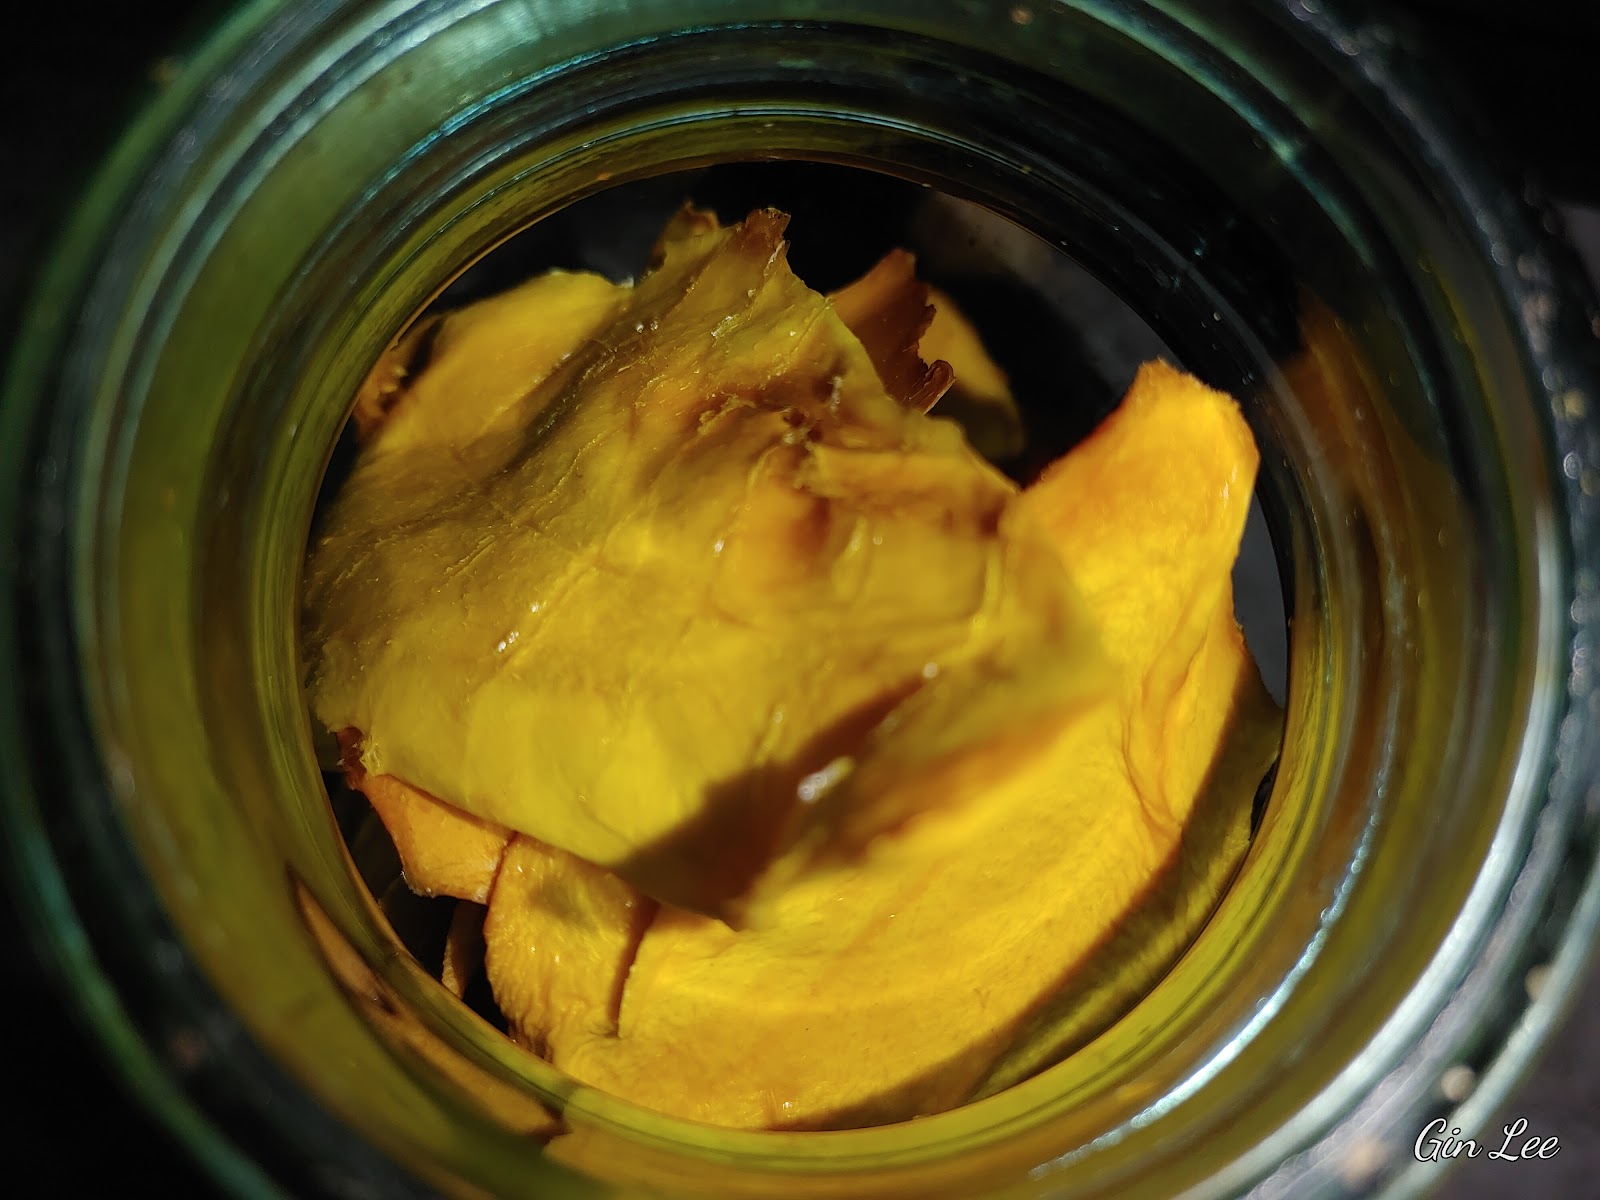
Do not worry about over dehydrating. You CAN NOT over-dry foods! The longer you allow your food to dehydrate, the drier it will become, and that means that it can be stored safely and for longer periods. 


To rehydrate the mangos, place the amount that you need in a bowl of hot water, steep for about fifteen minutes. Then drain the water off.


© 2025 Olden Oasis

oldenoasis.blogspot.com


Popular posts from this blog

How to Grow Lentils in Hydroponic Trays

How to Grow Lentils in Hydroponic Trays Introduction Lentils are a nutritious and delicious legume that can easily be grown in hydroponic trays. Hydroponic gardening is a method of growing plants without soil, using nutrient-rich water instead. In this article, we will discuss the steps on how to grow lentils in hydroponic trays with nutrient solution and without it using only water. Materials Needed To grow lentils in hydroponic trays, you will need the following materials: Hydroponic trays Hydroponic trays that will hold the lentils and nutrient solution. Lentil seeds Make sure to use high-quality lentil seeds for the best results. Nutrient solution A mix of water and nutrient solution that will feed the lentil plants. Grow lights Since lentils need plenty of light to grow, you will need grow lights if you don't have access to natural sunlight. Steps to Grow Lentils Step 1: Prepare the Hydroponic Tray Fill the hydroponic tray with the nutrient solution according to the instru...

Introduction to Holiday Flock Blocks Made With Applesauce

Holiday Flock Blocks Made With Applesauce Welcome to my guide on creating delicious and nutritious Holiday Flock Blocks made with applesauce! Designed to provide your flock with a festive and healthy treat, these homemade blocks are packed with the goodness of applesauce and can be customized with various flavors and ingredients. In this article, we will explore the benefits of using applesauce in flock blocks, provide a step-by-step guide on how to make them, suggest creative variations and flavor combinations, offer tips on storing and presenting the blocks, discuss the health benefits for your flock, address common questions and troubleshooting, and conclude with our final thoughts. Let's dive in and create some delightful treats for your feathered friends this holiday season! Introduction to Holiday Flock Blocks Made With Applesauce What are Holiday Flock Blocks? Holiday flock blocks are a fun and nutritious treat for your feathered friends during the festive season. These hand...

Rendering Lard: A Sizzle of Tradition and Flavor

Rendering Lard: A Sizzle of Tradition and Flavor In light of rising prices, allow me to demonstrate how you can save money on cooking oil by creating your own lard at home. Rendering lard, the process of melting down and purifying pork fat to create a versatile cooking ingredient, has a rich history deeply rooted in culinary traditions around the world. While lard fell out of favor for a period, it is experiencing a resurgence due to its unique flavor profile and various benefits in cooking. My article today explores the art of rendering lard, from understanding its origins to selecting the right fats, different rendering methods, storage techniques, culinary uses, and essential tips for achieving optimal results. Historical Significance of Lard Lard holds a prestigious place in culinary history, being a key ingredient in traditional recipes across various cultures. It was prized for its versatility and ability to enhance the taste of dishes. Benefits of Rendering Lard Contrary to popu...