
Dehydrated mixed fruit with almonds

Dehydrated mixed fruit with almonds

Are you interested in a healthy snack? Well, I am spending the day dehydrating mixed fruit to make a highly healthy and snack-able treat. Once the fruit is fully dehydrated, I will mix it with almonds, then store the fruit mix in vacuum-sealed mason jars. 

I enjoy having a healthier snacking option throughout the day. Even though I enjoy baking and making homemade candy, I crave the wholesome, sweet goodness of mixed fruit with a crunch of almonds, pecans, or walnuts.

Mixed dehydrated fruit snack ingredients:

  • 3 peaches, sliced

  • 8 plums, sliced

  • 3 tangerines, peeled and segmented

  • 3 apples, cored and sliced

  • ½ cup of lemon juice, for soaking the fruit in (You can use any type of acidic fruit juice for this.)

  • 1 cup of almonds, walnuts, pecans, or any other type of nut that you prefer

Instructions:

First, wash and prepare all the fruits. I like leaving the peelings on the peaches, plums, and apples, but they can also be peeled if that's what you prefer. 


Slice the peaches, plums, and apples. (I prefer to slice my peaches and plums a bit thicker than the apple slices. However, the extra thickness will make the dehydrating time somewhat longer.) Peel the tangerines, then pull them apart in segments.


Next, pour the lemon juice, or whichever type of citrus juice you prefer, into a bowl and toss your prepared fruit into the juice. Allow the fruit to soak in the juice for a few minutes.


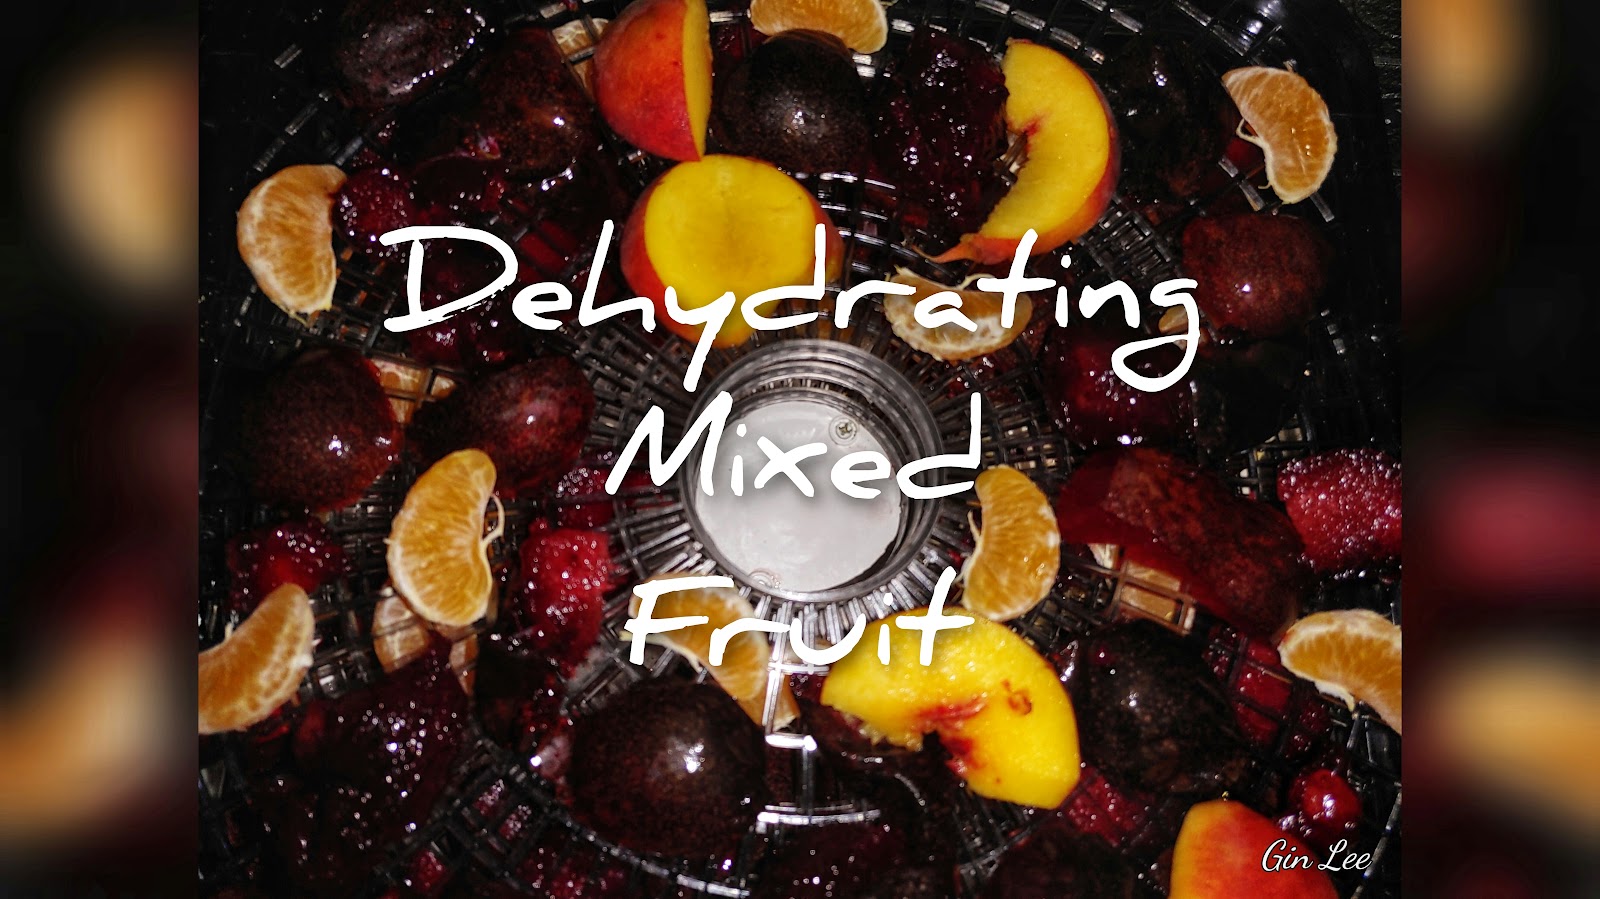
Place the fruit on your dehydrating trays, spacing each sliced piece at least a half inch apart. You can use silicone trays and mats to make cleaning your dehydrator easier.


Set your dehydrator temperature to 135 degrees F and place the trays of fruit inside. 


Dehydrating times will vary; some of the fruit will be finished dehydrating by around six hours, while other pieces will need to dehydrate longer. However, this mixed fruit shouldn't take much longer than fifteen hours to dehydrate. 


Once your mixed fruit is fully dehydrated, transfer it to a bowl, add in the nuts. Allowing the dried fruit mix to cool helps prevent mold from forming on it. Once your fruit mix has cooled, transfer it to airtight jars, or Ziploc bags.


Enjoy snacking on your sweet, but wholesomely healthy, dehydrated fruit mix. Don't forget every now and again to shake your jars or bags of dehydrated fruit to keep the pieces from sticking together.


© 2025 Olden Oasis

oldenoasis.blogspot.com


Popular posts from this blog

How to Grow Lentils in Hydroponic Trays

How to Grow Lentils in Hydroponic Trays Introduction Lentils are a nutritious and delicious legume that can easily be grown in hydroponic trays. Hydroponic gardening is a method of growing plants without soil, using nutrient-rich water instead. In this article, we will discuss the steps on how to grow lentils in hydroponic trays with nutrient solution and without it using only water. Materials Needed To grow lentils in hydroponic trays, you will need the following materials: Hydroponic trays Hydroponic trays that will hold the lentils and nutrient solution. Lentil seeds Make sure to use high-quality lentil seeds for the best results. Nutrient solution A mix of water and nutrient solution that will feed the lentil plants. Grow lights Since lentils need plenty of light to grow, you will need grow lights if you don't have access to natural sunlight. Steps to Grow Lentils Step 1: Prepare the Hydroponic Tray Fill the hydroponic tray with the nutrient solution according to the instru...

Introduction to Holiday Flock Blocks Made With Applesauce

Holiday Flock Blocks Made With Applesauce Welcome to my guide on creating delicious and nutritious Holiday Flock Blocks made with applesauce! Designed to provide your flock with a festive and healthy treat, these homemade blocks are packed with the goodness of applesauce and can be customized with various flavors and ingredients. In this article, we will explore the benefits of using applesauce in flock blocks, provide a step-by-step guide on how to make them, suggest creative variations and flavor combinations, offer tips on storing and presenting the blocks, discuss the health benefits for your flock, address common questions and troubleshooting, and conclude with our final thoughts. Let's dive in and create some delightful treats for your feathered friends this holiday season! Introduction to Holiday Flock Blocks Made With Applesauce What are Holiday Flock Blocks? Holiday flock blocks are a fun and nutritious treat for your feathered friends during the festive season. These hand...

Rendering Lard: A Sizzle of Tradition and Flavor

Rendering Lard: A Sizzle of Tradition and Flavor In light of rising prices, allow me to demonstrate how you can save money on cooking oil by creating your own lard at home. Rendering lard, the process of melting down and purifying pork fat to create a versatile cooking ingredient, has a rich history deeply rooted in culinary traditions around the world. While lard fell out of favor for a period, it is experiencing a resurgence due to its unique flavor profile and various benefits in cooking. My article today explores the art of rendering lard, from understanding its origins to selecting the right fats, different rendering methods, storage techniques, culinary uses, and essential tips for achieving optimal results. Historical Significance of Lard Lard holds a prestigious place in culinary history, being a key ingredient in traditional recipes across various cultures. It was prized for its versatility and ability to enhance the taste of dishes. Benefits of Rendering Lard Contrary to popu...