
Peppered beef jerky

Peppered beef jerky

If you like spicy jerky, my peppered jerky will be right up your alley. Today, I used lean cut organic Angus beef round steak for this recipe, with a dry rub marinade. The jerky was completely done in about five hours; some of the pieces were done dehydrating in three hours. So you can start the beef jerky early in the morning and it will be done some time before lunch.

Beef jerky is a wonderful meat snack to have on hand. It can simplify your meals when you're going hiking, camping, fishing, traveling, working, or when you're just sitting home relaxing. It's also nice to have on hand should the power go off and you get the munchies, but have no way to cook. 


My peppered jerky recipe is very simple to make and the best part is that it doesn't take an entire day to prepare it. 

Ingredients:

  • 2 pounds of lean beef, cut into slices (I used round steak)

  • 2 teaspoons of cumin powder

  • 4 teaspoons of ground black pepper

  • 2 teaspoons of cayenne pepper

  • 1 teaspoon of smoked paprika

  • 2 teaspoon of garlic flakes

  • 2 teaspoons of onion powder

  • 2 teaspoons of seasoning salt

  • 2 teaspoons of mesquite seasoning

Instructions:

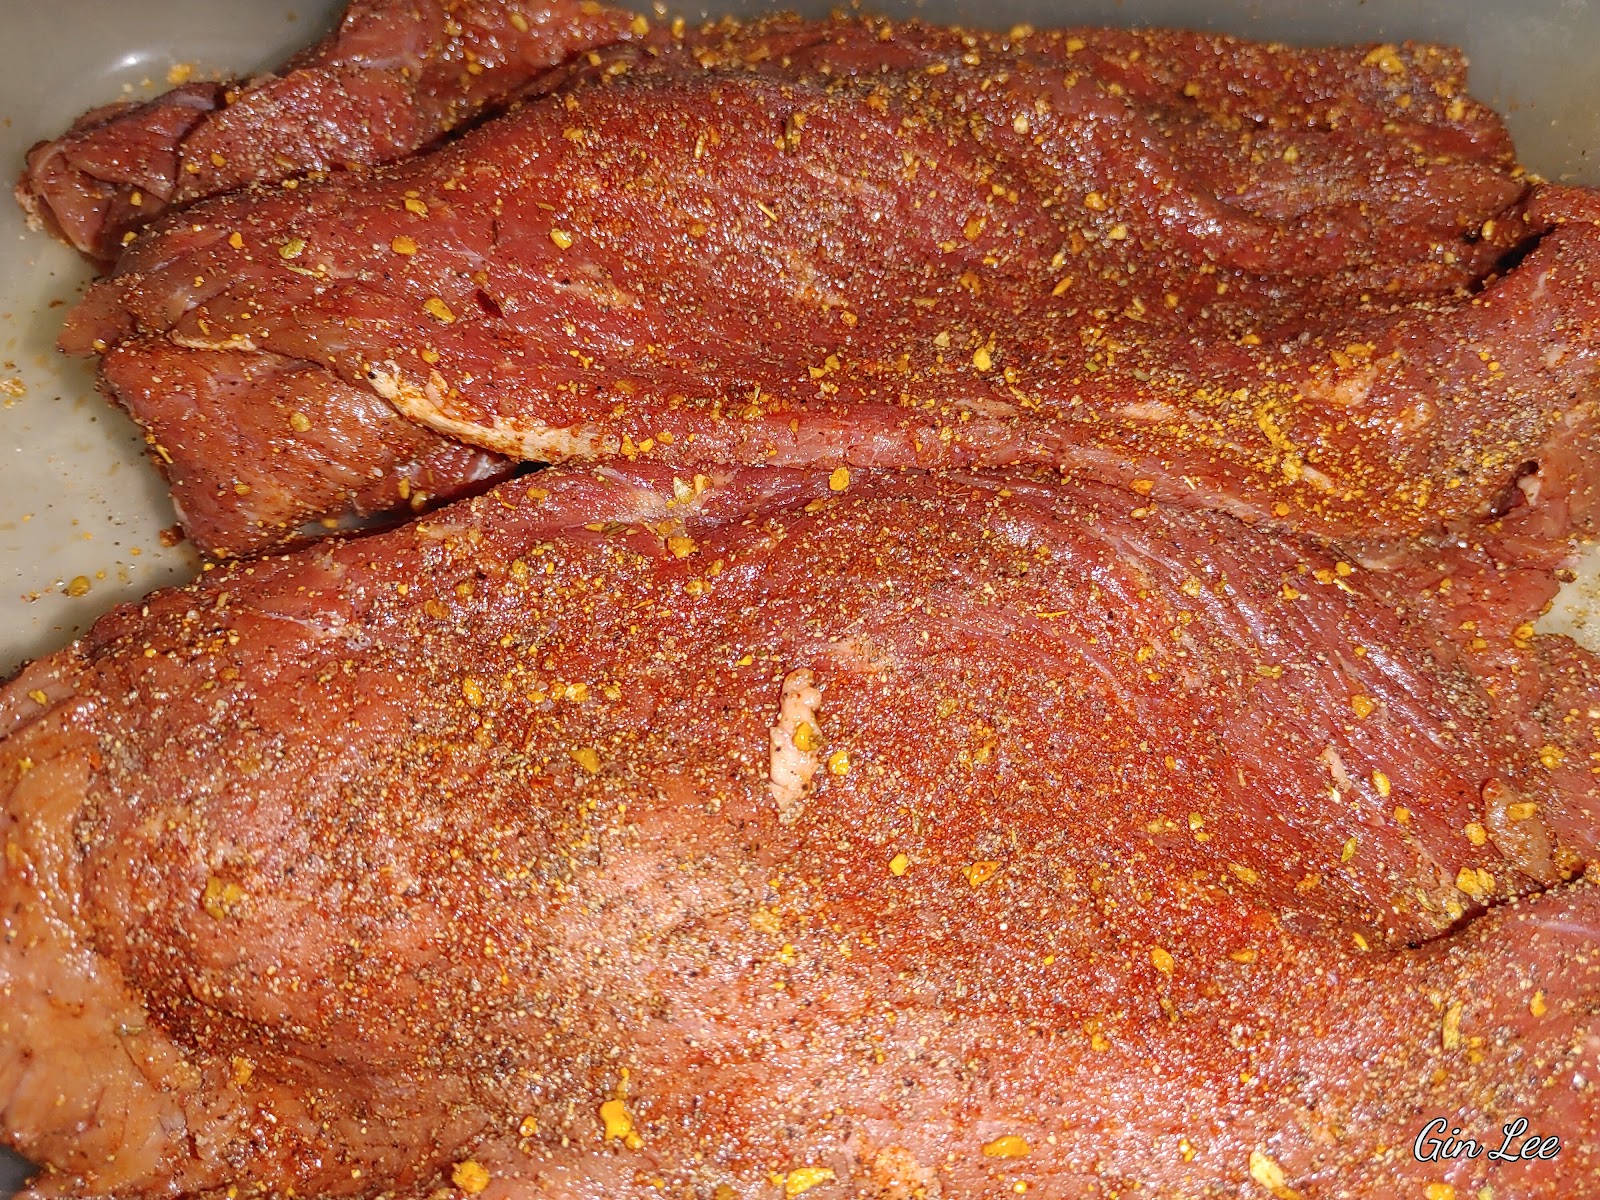
In a spice bowl, combine all the seasonings. Season both sides of the beef well, then rub the seasonings into it. Allow the meat to marinate for at least thirty minutes to one hour.


Trim any fat off the round steak. Slice the meat into the size pieces that you want your jerky to be. I cut mine into fairly big strips because once the meat has been dehydrated it will shrink. This step can be done before you season the meat. Today I did it afterwards.


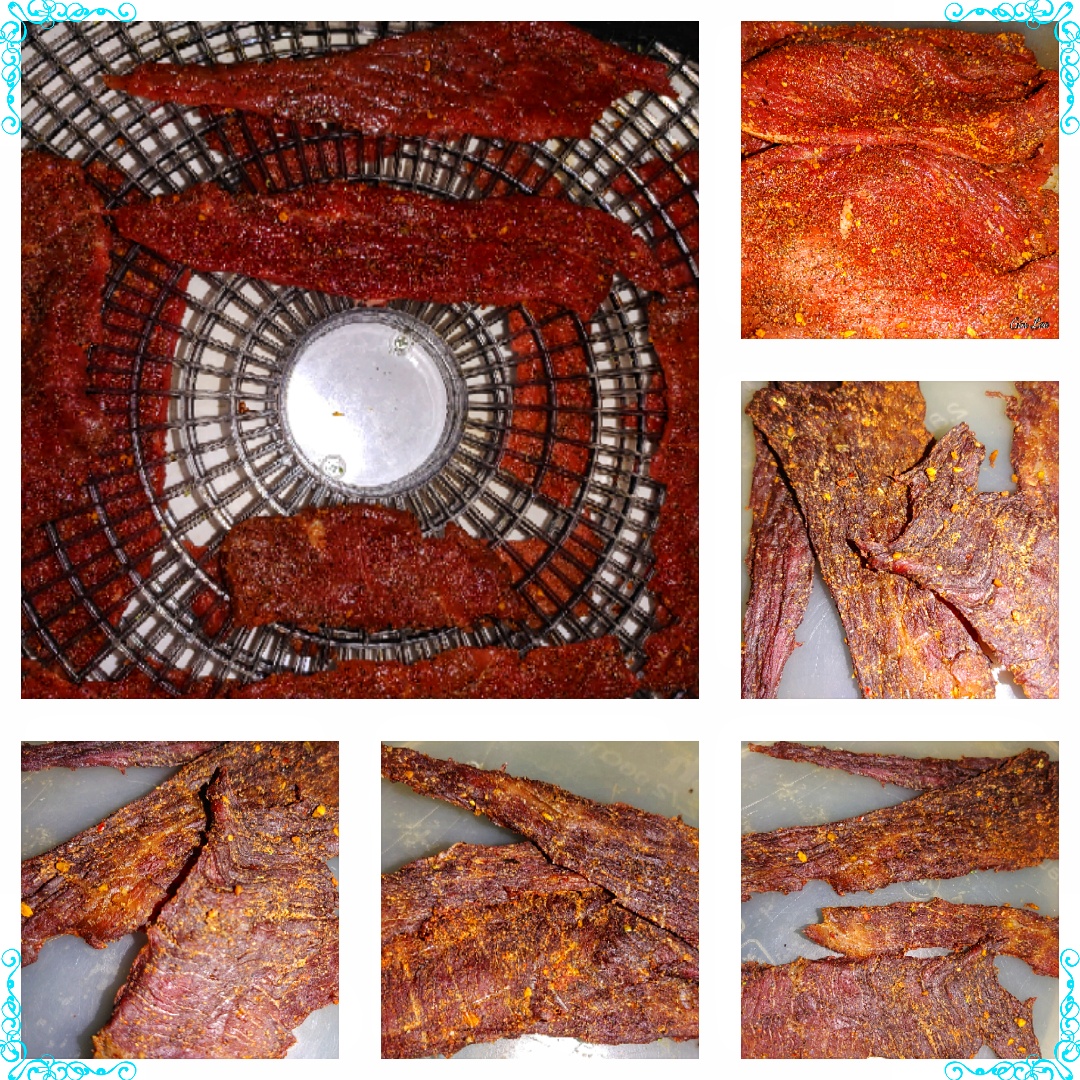
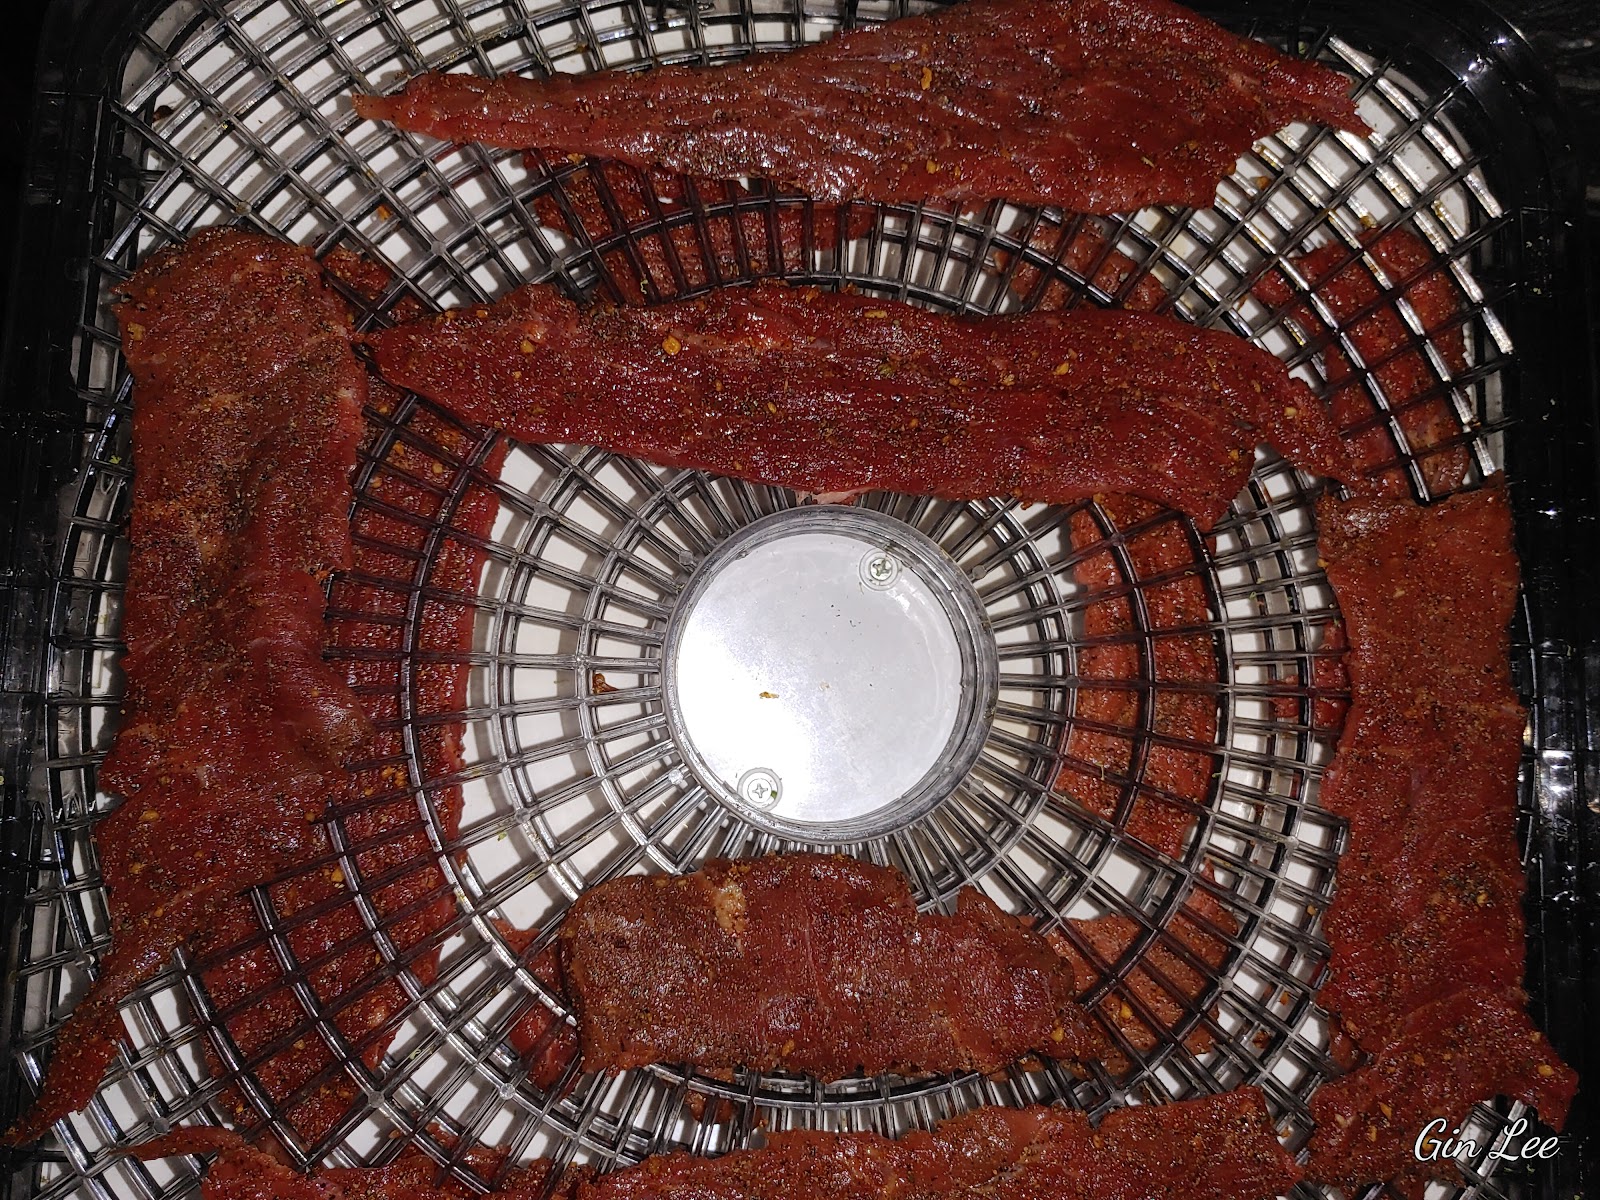
Place the beef on the dehydrator trays. Space the pieces out and do not overlap any of them.


Set the dehydrator temperature to 160-180 degrees F. After three hours have passed, begin checking the beef jerky. Flip the pieces over if needed. Some of my jerky was completely done in three hours, while the rest needed more time to finish. 


The jerky should still be somewhat bendable, but the meat should all feel dried to the touch. The internal temperature of the jerky should be read at 160 degrees F with a meat thermometer when it's finished. If you are using a thicker cut of beef, the dehydrating time will be longer. 


Transfer the peppered beef jerky into an airtight container when it's done. The jerky will keep for about two months and longer if it's kept in the freezer, or vacuum sealed.


© 2025 Olden Oasis

oldenoasis.blogspot.com


Popular posts from this blog

How to Grow Lentils in Hydroponic Trays

How to Grow Lentils in Hydroponic Trays Introduction Lentils are a nutritious and delicious legume that can easily be grown in hydroponic trays. Hydroponic gardening is a method of growing plants without soil, using nutrient-rich water instead. In this article, we will discuss the steps on how to grow lentils in hydroponic trays with nutrient solution and without it using only water. Materials Needed To grow lentils in hydroponic trays, you will need the following materials: Hydroponic trays Hydroponic trays that will hold the lentils and nutrient solution. Lentil seeds Make sure to use high-quality lentil seeds for the best results. Nutrient solution A mix of water and nutrient solution that will feed the lentil plants. Grow lights Since lentils need plenty of light to grow, you will need grow lights if you don't have access to natural sunlight. Steps to Grow Lentils Step 1: Prepare the Hydroponic Tray Fill the hydroponic tray with the nutrient solution according to the instru...

Introduction to Holiday Flock Blocks Made With Applesauce

Holiday Flock Blocks Made With Applesauce Welcome to my guide on creating delicious and nutritious Holiday Flock Blocks made with applesauce! Designed to provide your flock with a festive and healthy treat, these homemade blocks are packed with the goodness of applesauce and can be customized with various flavors and ingredients. In this article, we will explore the benefits of using applesauce in flock blocks, provide a step-by-step guide on how to make them, suggest creative variations and flavor combinations, offer tips on storing and presenting the blocks, discuss the health benefits for your flock, address common questions and troubleshooting, and conclude with our final thoughts. Let's dive in and create some delightful treats for your feathered friends this holiday season! Introduction to Holiday Flock Blocks Made With Applesauce What are Holiday Flock Blocks? Holiday flock blocks are a fun and nutritious treat for your feathered friends during the festive season. These hand...

Rendering Lard: A Sizzle of Tradition and Flavor

Rendering Lard: A Sizzle of Tradition and Flavor In light of rising prices, allow me to demonstrate how you can save money on cooking oil by creating your own lard at home. Rendering lard, the process of melting down and purifying pork fat to create a versatile cooking ingredient, has a rich history deeply rooted in culinary traditions around the world. While lard fell out of favor for a period, it is experiencing a resurgence due to its unique flavor profile and various benefits in cooking. My article today explores the art of rendering lard, from understanding its origins to selecting the right fats, different rendering methods, storage techniques, culinary uses, and essential tips for achieving optimal results. Historical Significance of Lard Lard holds a prestigious place in culinary history, being a key ingredient in traditional recipes across various cultures. It was prized for its versatility and ability to enhance the taste of dishes. Benefits of Rendering Lard Contrary to popu...