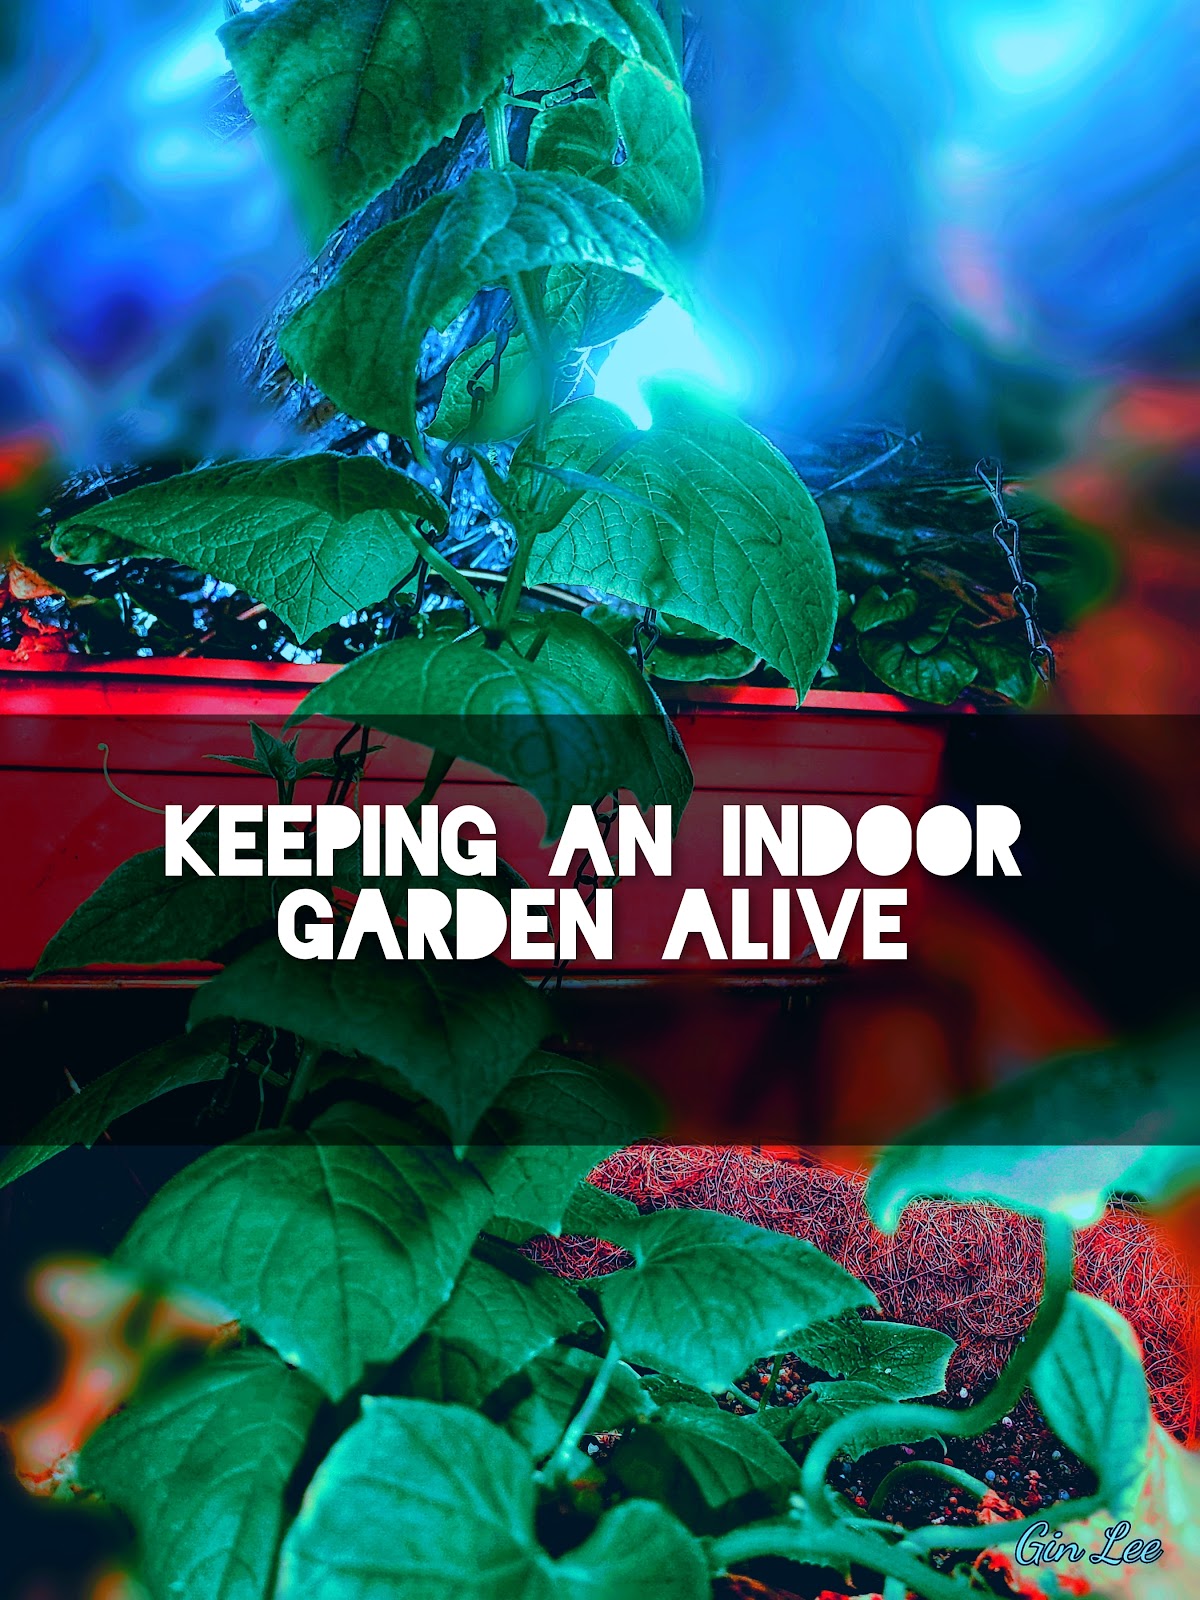
Keeping an indoor garden alive
If you have an indoor garden, or want to have one, and need some gardening tips, such as how to keep vegetable plants alive indoors, when to water your plants, what to do if your plants are dying, then today's article is just for you!
Most of the edible plants that can be grown outside can also be grown inside in containers, hydroponic systems, and greenhouses and really do well under the right conditions. As we go into fall, your gardening doesn't have to end!
If you're a beginner, there are several basic vegetable plants that are fairly easy to grow inside. These plants can be picked all throughout their growing season and, with some TLC, you can keep growing them all year long inside.
Micro-greens include a mix of greens and herbs, and can also include beets, radishes, kale, Swiss chard, basil, and arugula. Grow your micro greens in a large container and cut them as seedling plants.
To stay ahead of the game, sow new seeds every couple of weeks to have an ample supply of fresh food.
Micro-greens do extremely well when placed close to a south-facing window (if it's sunny). However, if you don't have a south-facing window in your home, your micro-greens will need to be placed underneath LED grow lights for about twelve hours daily.
Lettuce, any variety. I find that leaf lettuce and Romaine grows best for me inside. I never pull the entire plant by its roots, instead I clip only the leaves off, allowing the lettuce to continue to grow back.
Kale, spinach, collards, and turnip greens. The majority of leafy greens will do quite well indoors in containers. As for my greens, I tend to do them the same as I do with my lettuce (clipping only the leaves).
Root vegetables such as radishes, potatoes, and carrots.
Plant your root vegetables in a large, deep containers so that they can establish their roots properly.
Potatoes can be easily grown inside in grow bags and other containers indoors year-round.
Herbs, such as thyme, oregano, basil, parsley, cilantro, rosemary, lemon balm, and various mints, grow really well inside kitchen window sills. If you don't have a window inside your kitchen, any windowsill will work, as well as inside indoor greenhouses. Just make sure that you have adequate lighting for them.

Strawberries are one of the easiest fruits to start growing indoors. Choose a good soil that drains well, and a planter with good drainage.
Strawberries need close to seventeen hours of daylight and they need to be in complete darkness for the other seven hours. Why is this? Different varieties of strawberries need various amounts of light, and this rule of thumb typically works well for different strawberry varieties.
Avoid allowing the soil in your strawberry planters from getting both too dry and too wet. The trick is to water the strawberry plants numerous times daily on extremely hot days. You'll need the soil to stay damp, but never allow the plant's soil to be over-watered or dry.
Mulberry trees are another fruit tree that grows very well inside. Plant the saplings in large five gallon containers, with adequate drainage, and good soil. Water them as needed. I honestly don't do anything overly special to grow mulberry trees indoors, or outdoors other than that, and pruning them often.
You'll need to prune the trees to get them to grow smaller and bush-like. Prune always after the tree has finished bearing its fruit and never prune limbs that are two inches or thicker around. Doing so can harm the tree. Pruning will help the tree's fruit production.
You may also want to try growing a dwarf everbearing mulberry tree, as well as other dwarf-sized citrus trees.
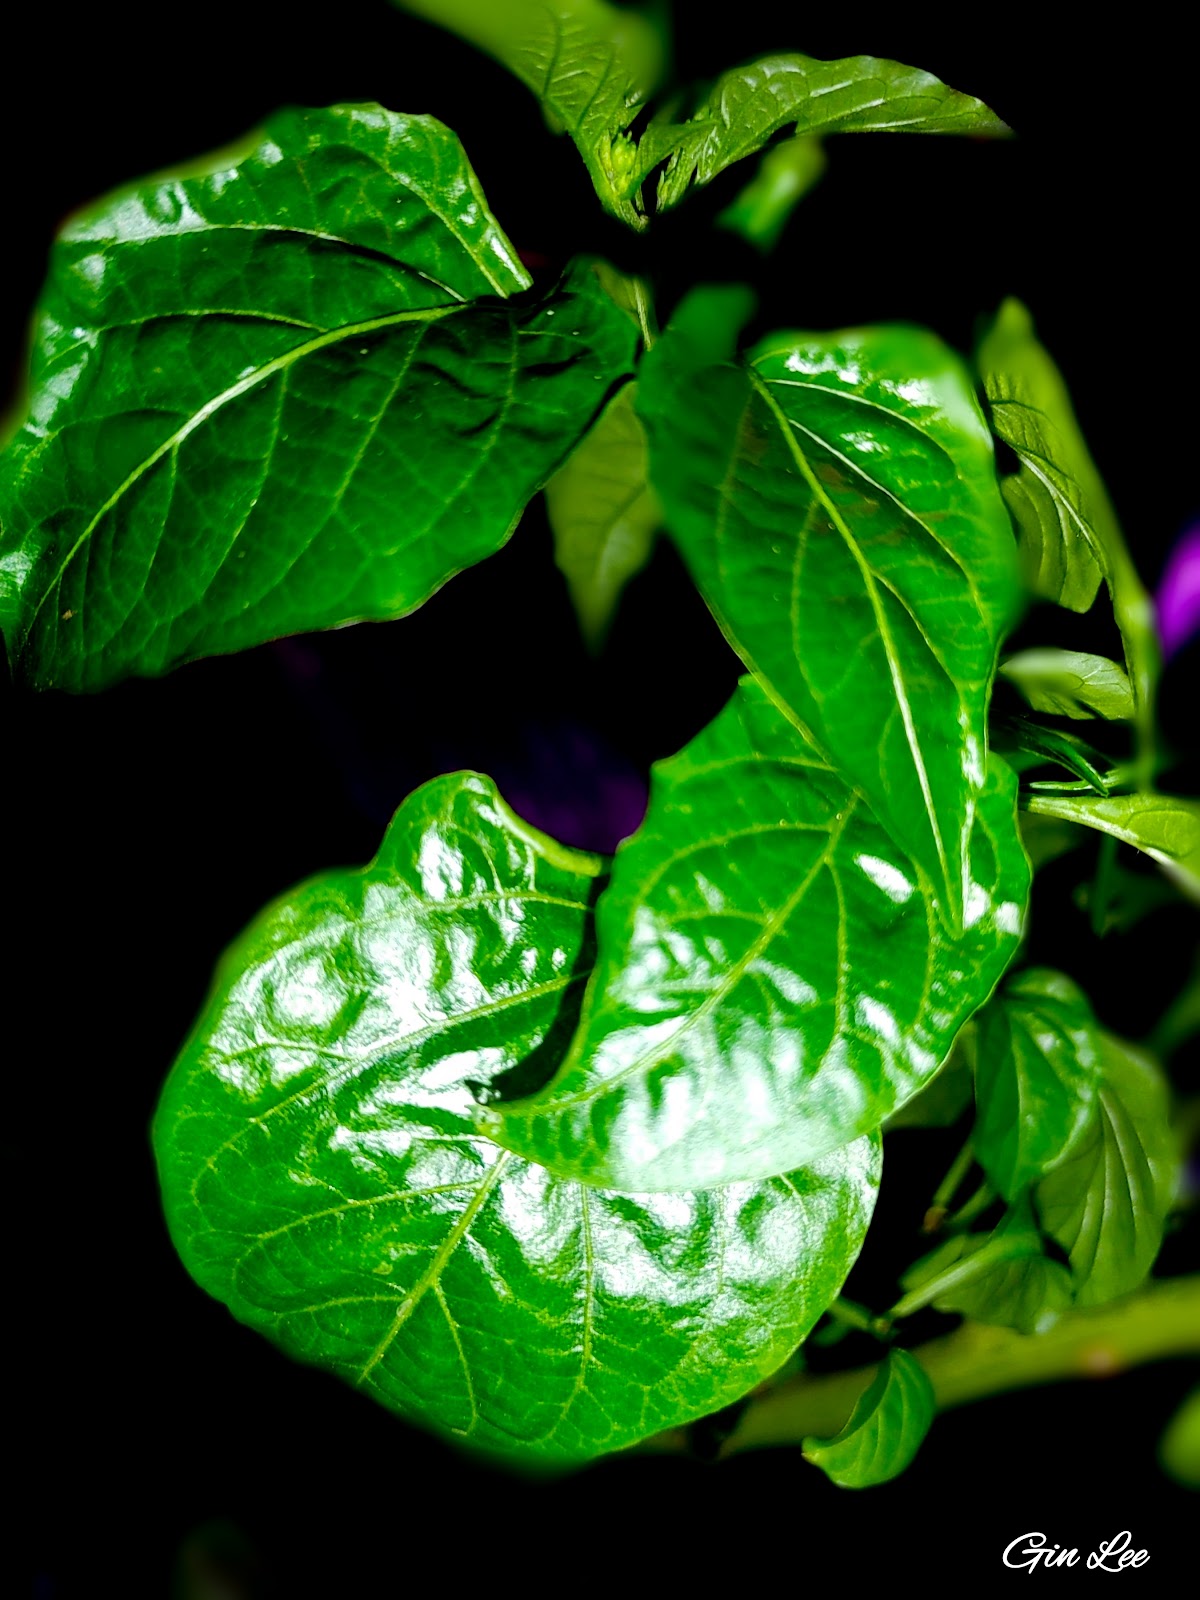
Peppers, any type. I grow pepper plants all year long and have peppers throughout the winter. I believe that pepper plants are quite possibly one of the easiest vegetable plants to grow indoors.
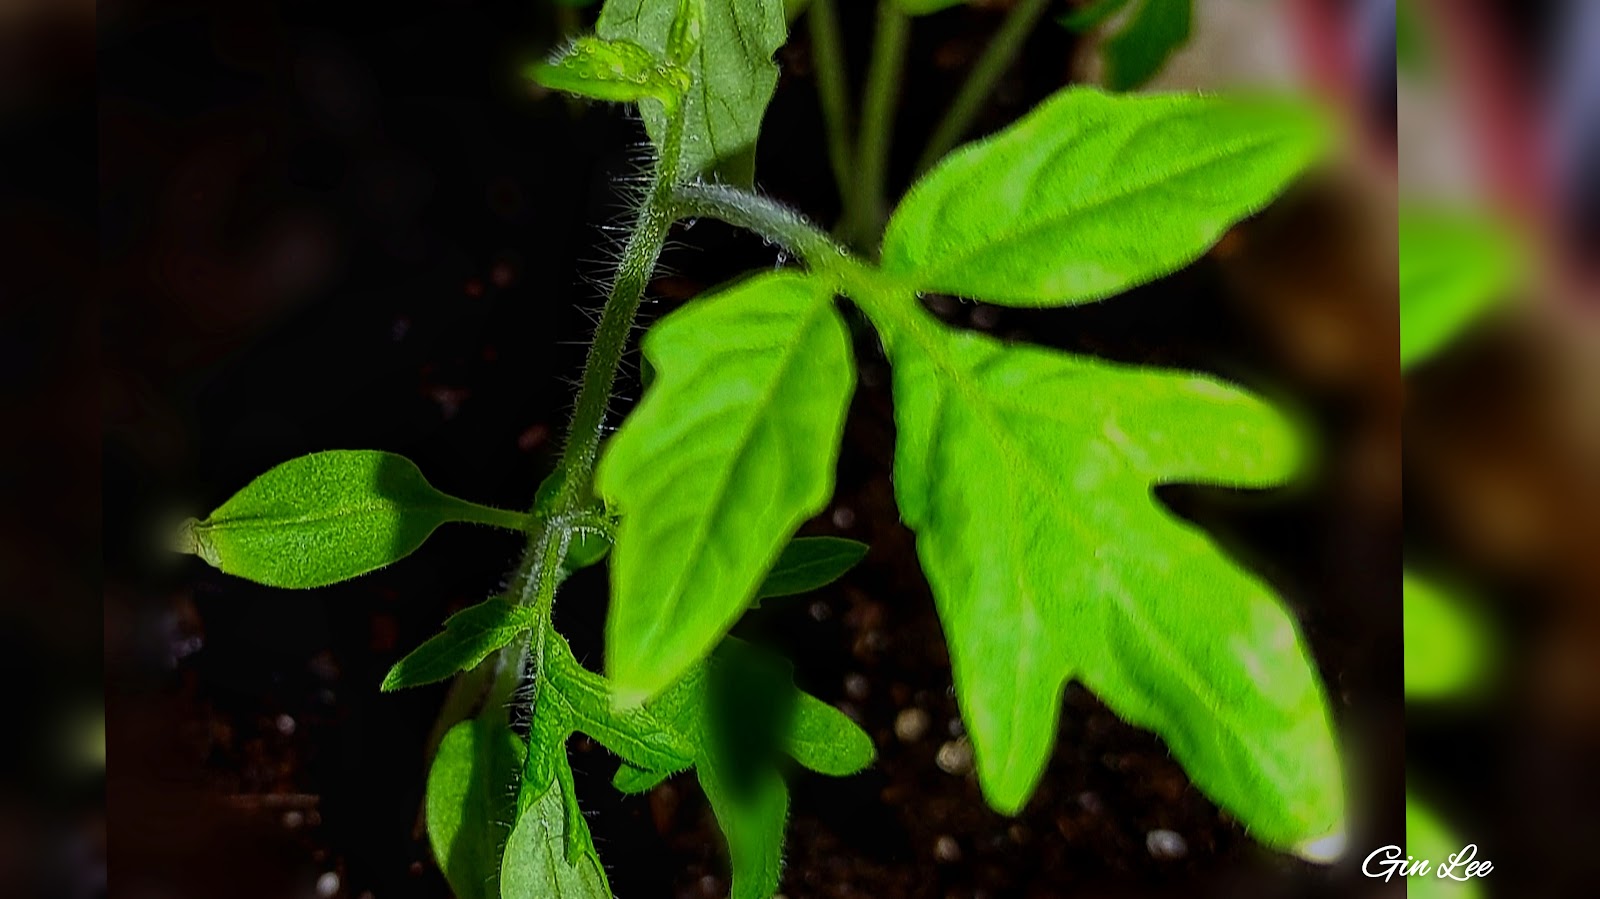
Tomato plants require a lot of light indoors or outside. The best location to grow tomato plants inside is a south-facing window, but if you don't have a south window, then you'll need to place the tomato plants under full spectrum lighting.
Cucumbers, any variety.
Onions and garlic, any variety. Both onions and garlic can be grown very well indoors. I usually root my onions in water inside the refrigerator before planting them.
For beginners, I would suggest that you start out growing the more basic vegetables and herbs such as micro greens, lettuce, kale, herbs, and root vegetables, such as carrots and radishes. After you get a hang of indoor gardening, then work on planting more advanced fruit and vegetable plants. There are a lot more vegetables and fruit plants that can be grown inside with great success, but starting out with simple things such as greens will maximize your chances of growing some of your food successfully from the start.
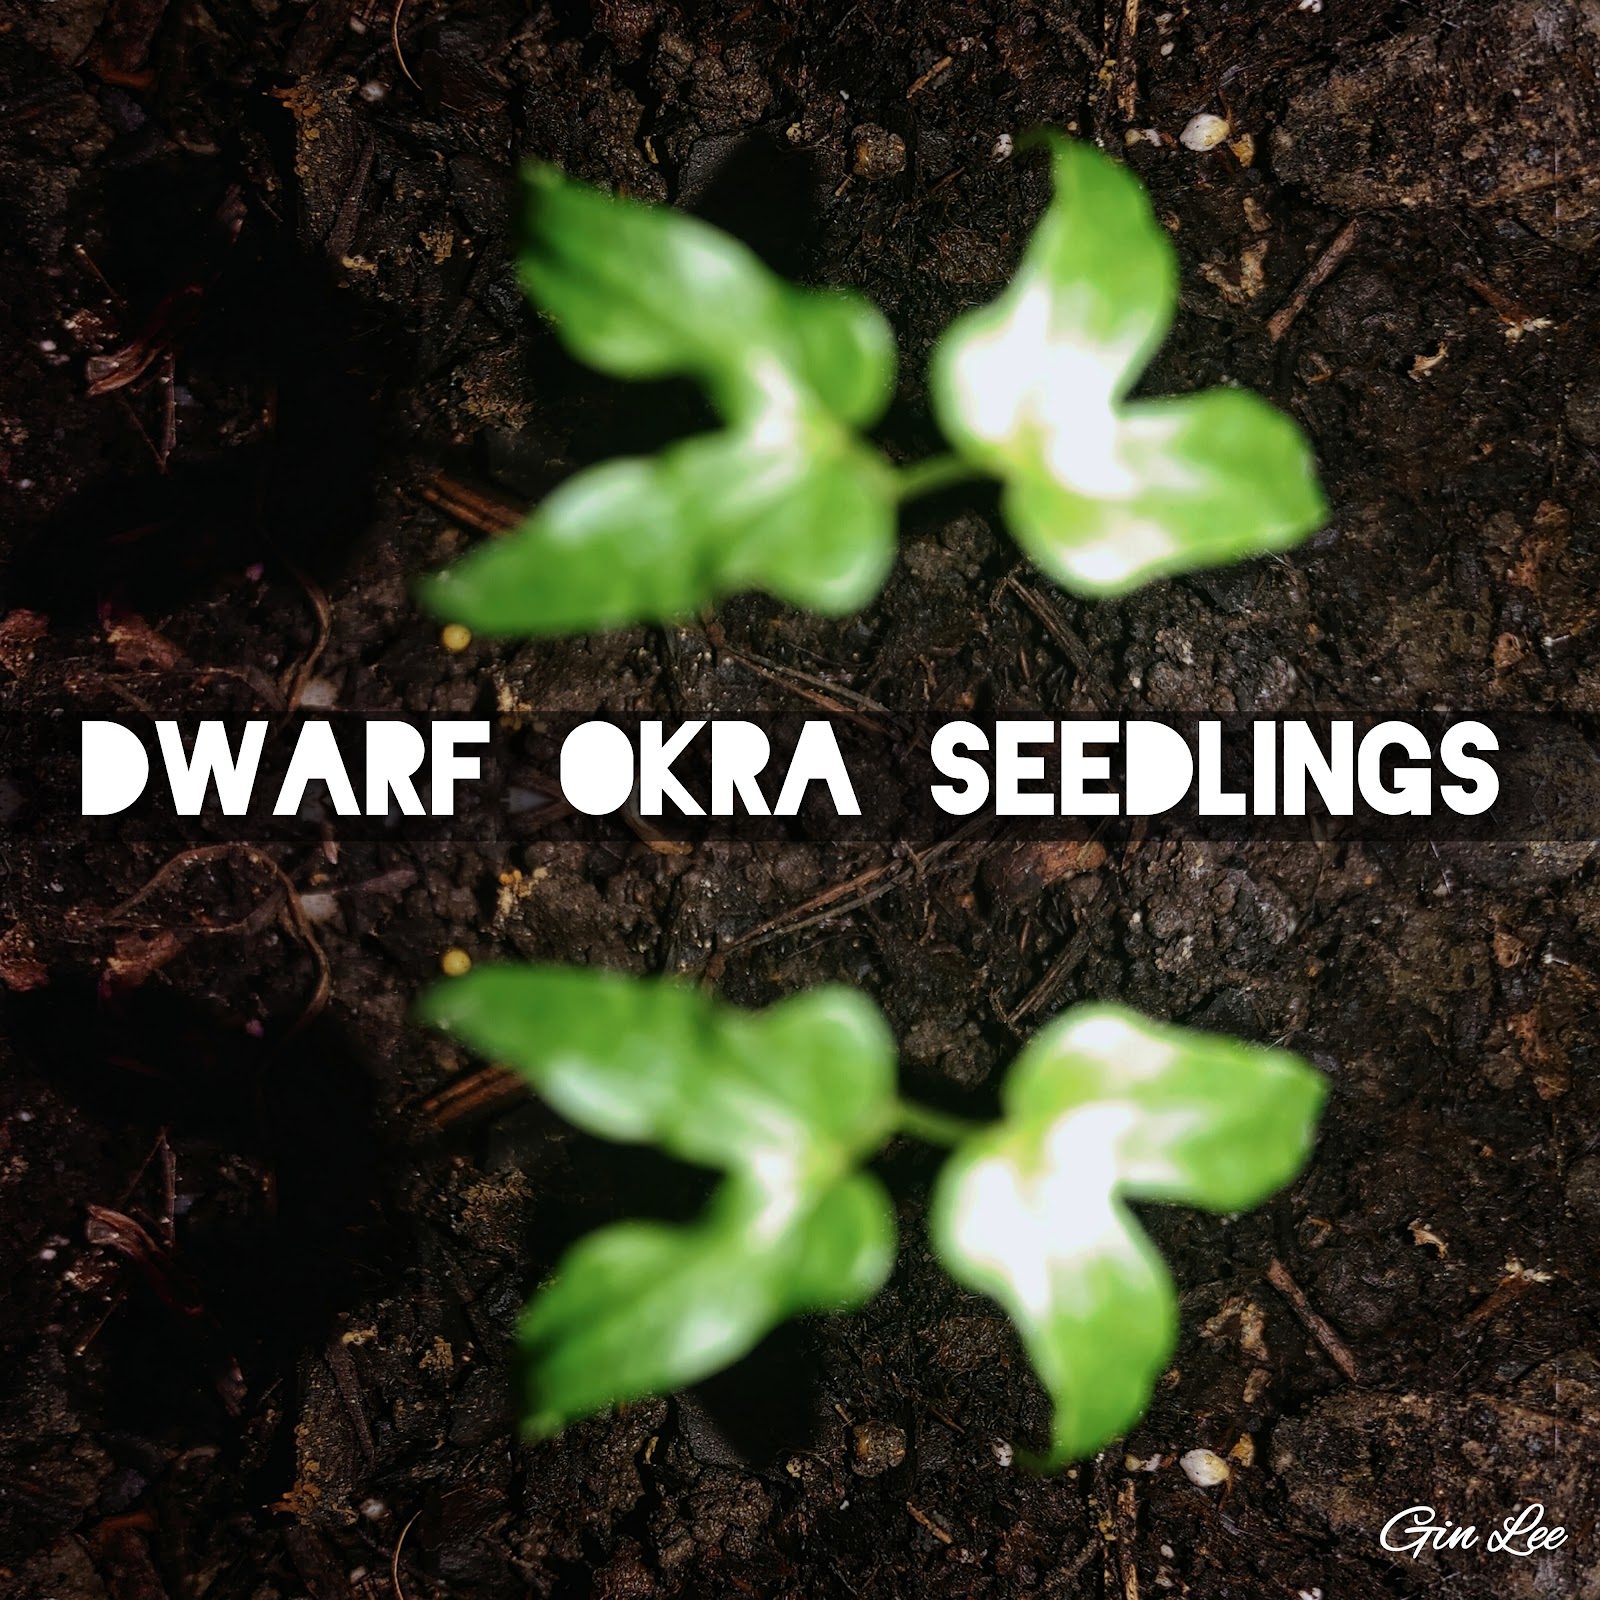
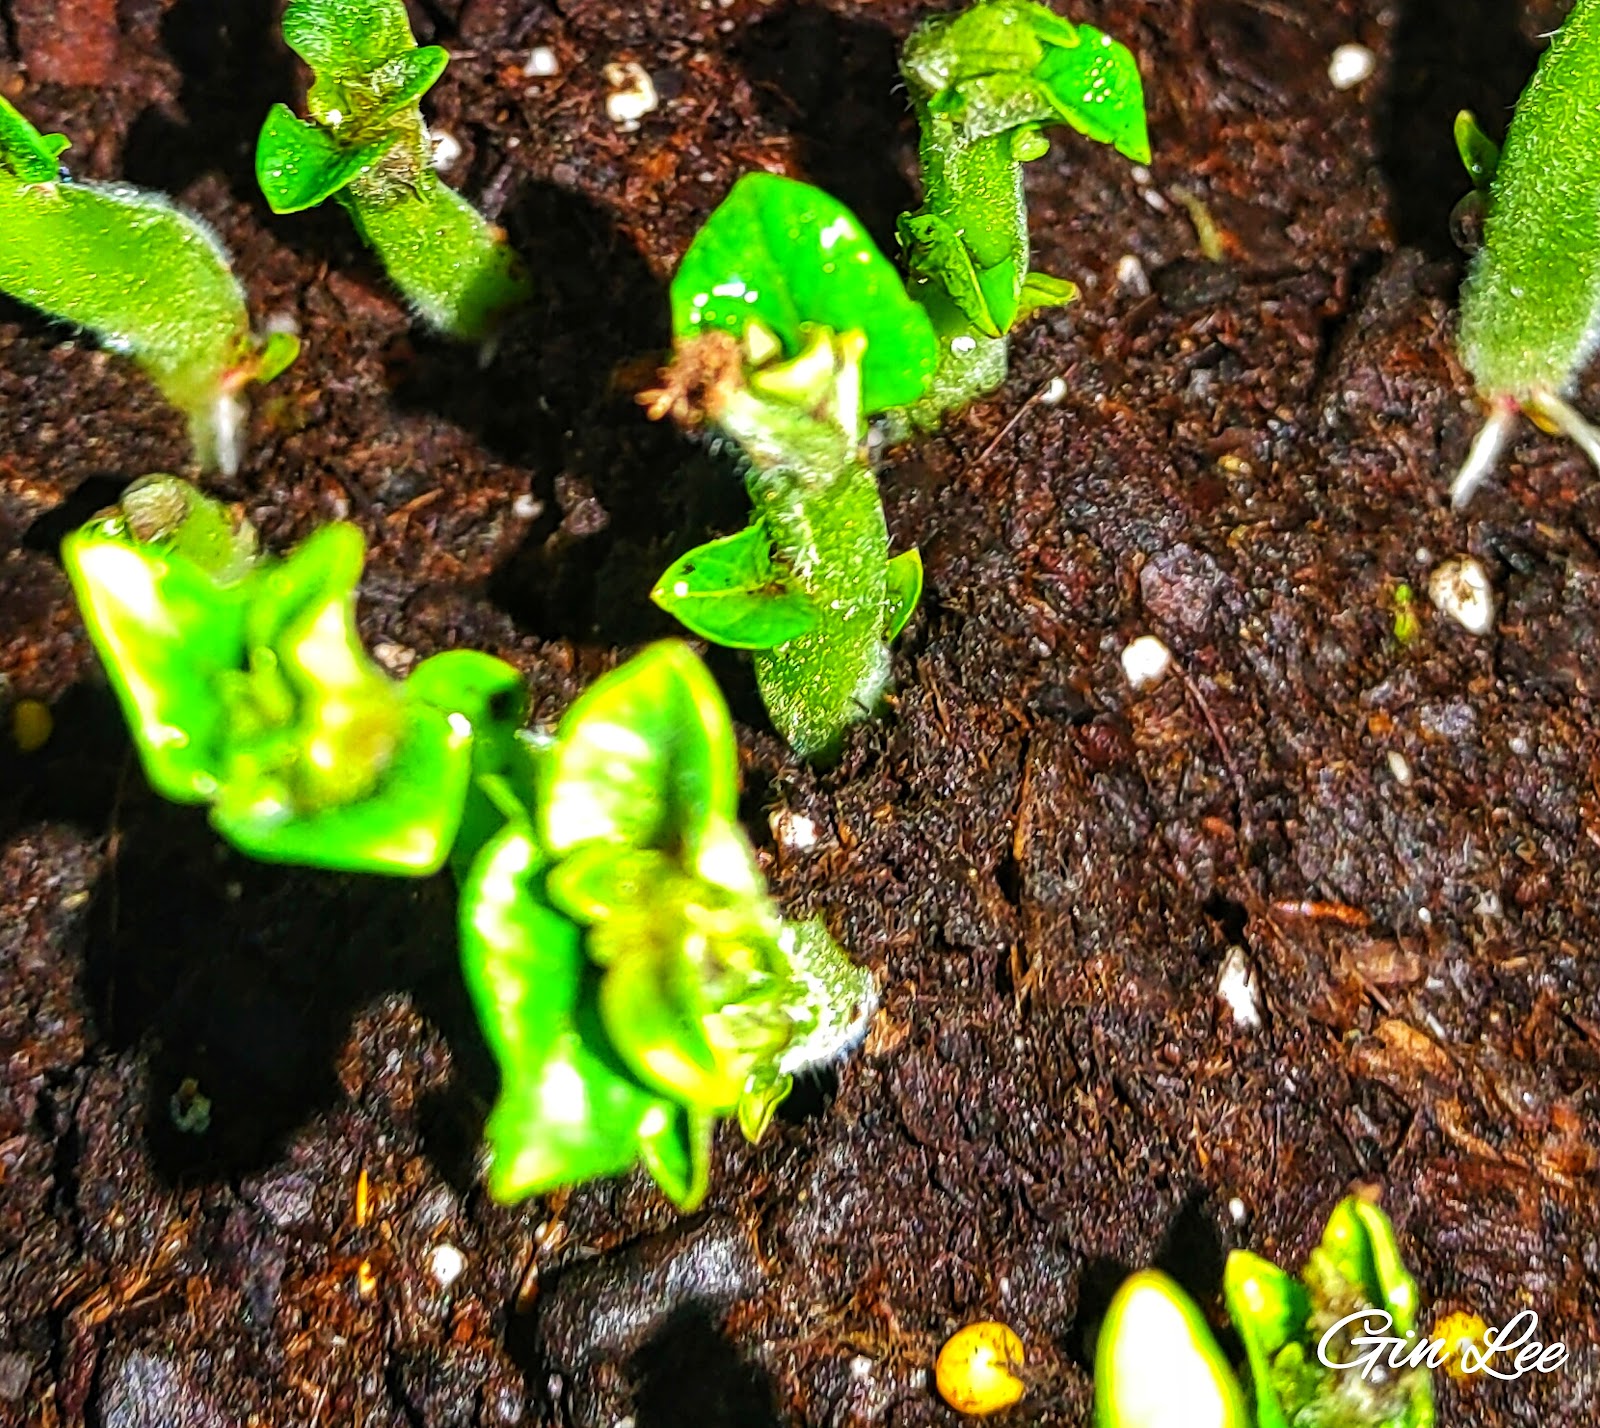
At the present time, I am working on planting new vegetable seeds and have dwarf okra seedlings already growing inside my greenhouse.
More indoor gardening tips
Always use top quality organic potting soil for planting your seeds and plants in containers and always make sure your containers have good drainage. Use drip trays, or sit plates underneath the containers to catch excess water in.
I keep large pitchers filled with water in my greenhouses, as well as my green room. This makes watering my plants less time-consuming. Once I have used the water, then I refill the pitchers and place them back in their designated space.
Never over-water, nor allow your plants' soil to become completely dry. Doing either of these things will cause multitudes of problems, usually resulting in the plants dying.
Always choose an indoor space with good lighting or add additional grow lights to your space.
Avoid placing your plants in locations where it's overly cold and drafty. Try to keep the temperature from at least sixty degrees F to seventy-five degrees F.
Avoid placing your plants too close to heat sources and woodstoves, or fireplaces.
Keep the humidity levels in the fifty percent range.
Use fans to circulate air flow around your plants. This is extremely important to aid in pollinating your plants and fungus/mold prevention.
Fertilize your plants' soil regularly.
Watering indoor plants
Use containers that are around twelve inches deep. Water your plants until you see water run out from the bottom of the planters. Water your vegetables and fruit plants every morning, checking the soil around midday in the heat of summer, and again late in the evening. Some plants will not need daily watering. Instead, water deeply but less frequently. This encourages the roots to grow downward.
Plant solutions
If a plant is over-watered, it will more than likely develop yellowish brown leaves. A sign of over-watering a plant is wilting leaves combined with soggy soil. This generally means that root rot has happened or is going to happen. So if you can catch it in time, repot your plants in a different container, with fresh dry soil, then lightly sprinkle with a sugar and water solution. (I will tell you how to make the solution in a minute.)
If you happen to forget to water your plants for a few days, it's quite possible that the roots will dry up, which in turn will mean there's a high chance that the plants won't survive. Sometimes they can be brought back to life with an apple cider vinegar and water solution, or by watering them with an aspirin and water solution, and another solution for dying plants is making a sugar water solution (read below to learn how to make it).
Sugar water plant solution
Why sugar? There are nutrients in sugar that help plants build back their energy. However, you don't want to water them too much with the solution.
To make the sugar water solution, use only white granulated sugar. You'll need to add two teaspoons of white granulated sugar with two cups of water. Stir until the sugar has completely dissolved. Then use the solution to water your distressed plants. Do this absolutely sparingly and only give them a small sip of it.
Note:
There's one other trick that I have used with success for distressed, wilting plants, and that's club soda. When given to my plants, they perked up fast. Club soda contains phosphate and other nutrients that help plants grow.
If you'd like to know how I grow potatoes, tomatoes, cucumbers, and greens, etc. you can go back and read those separate articles.