
Black-eyed peas and ham, a Southerner’s New Year’s dinner

Black-eyed peas and ham, a Southerner’s New Year's dinner

Hey there, have you ever heard about the magical powers of black-eyed peas with ham and collard greens? They're said to bring good luck and good fortune for a prosperous new year!

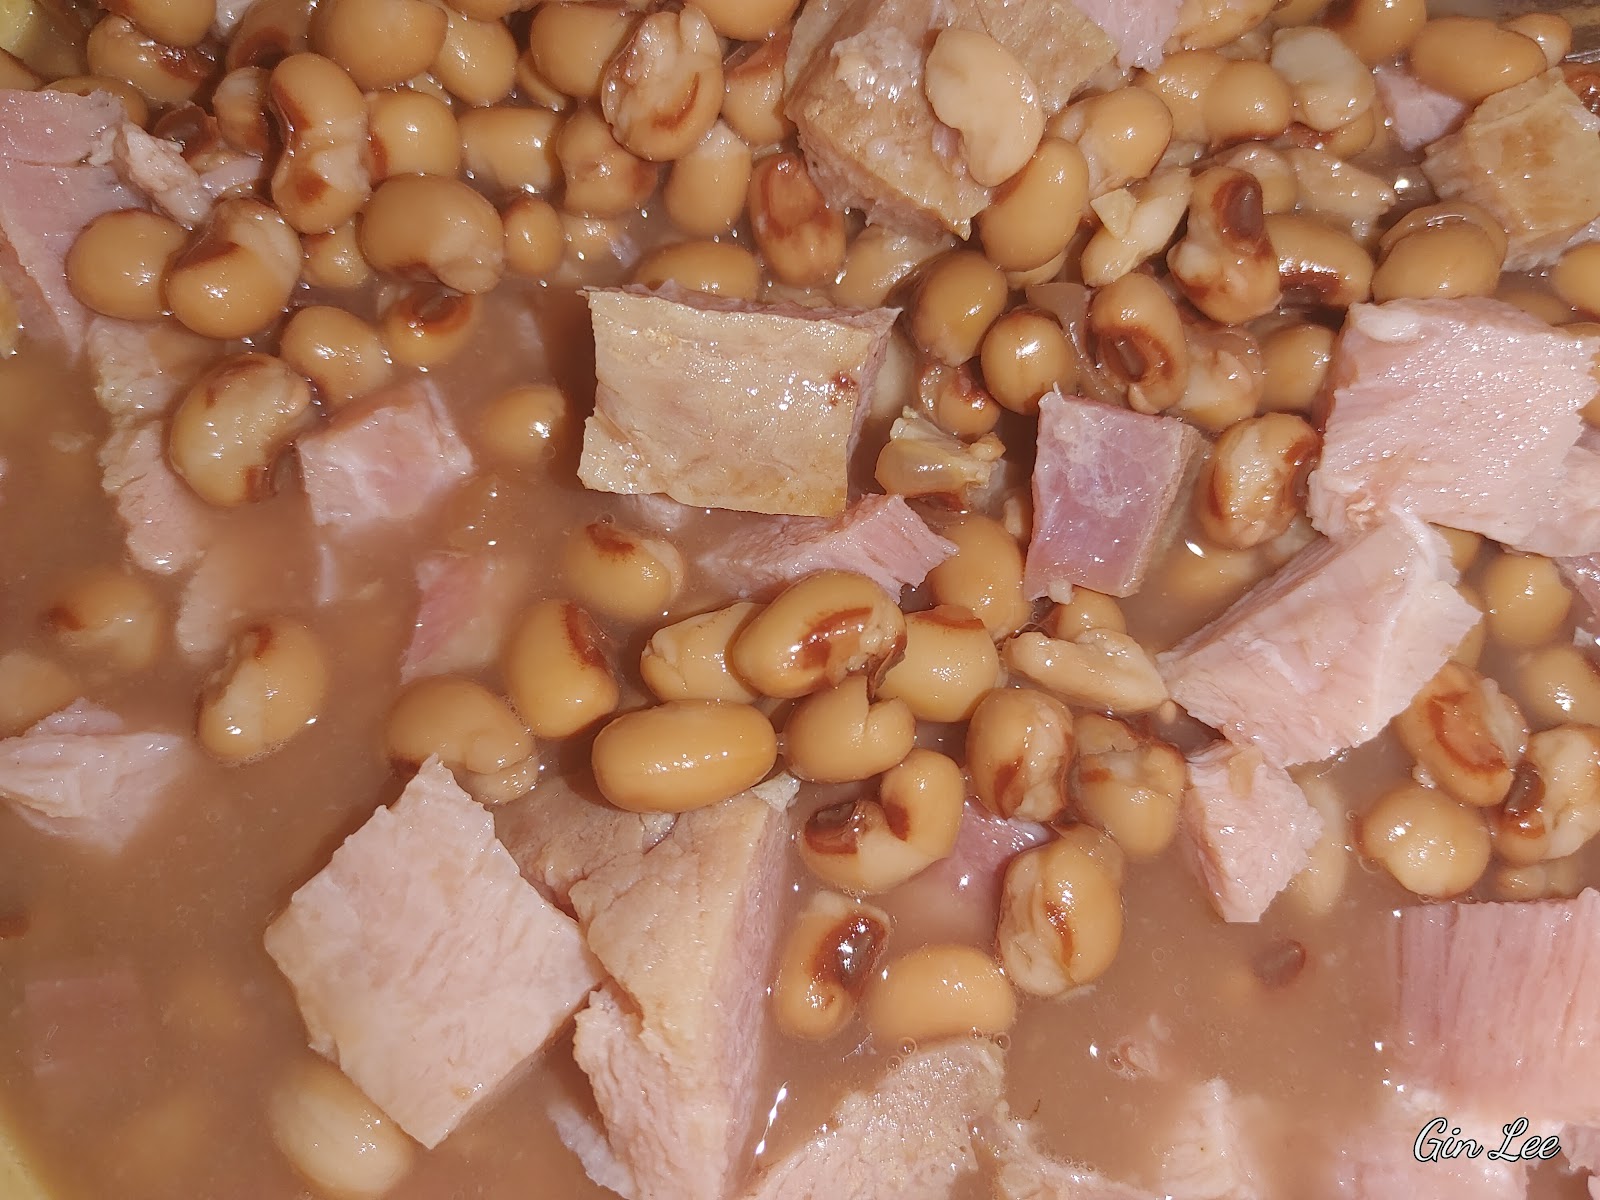
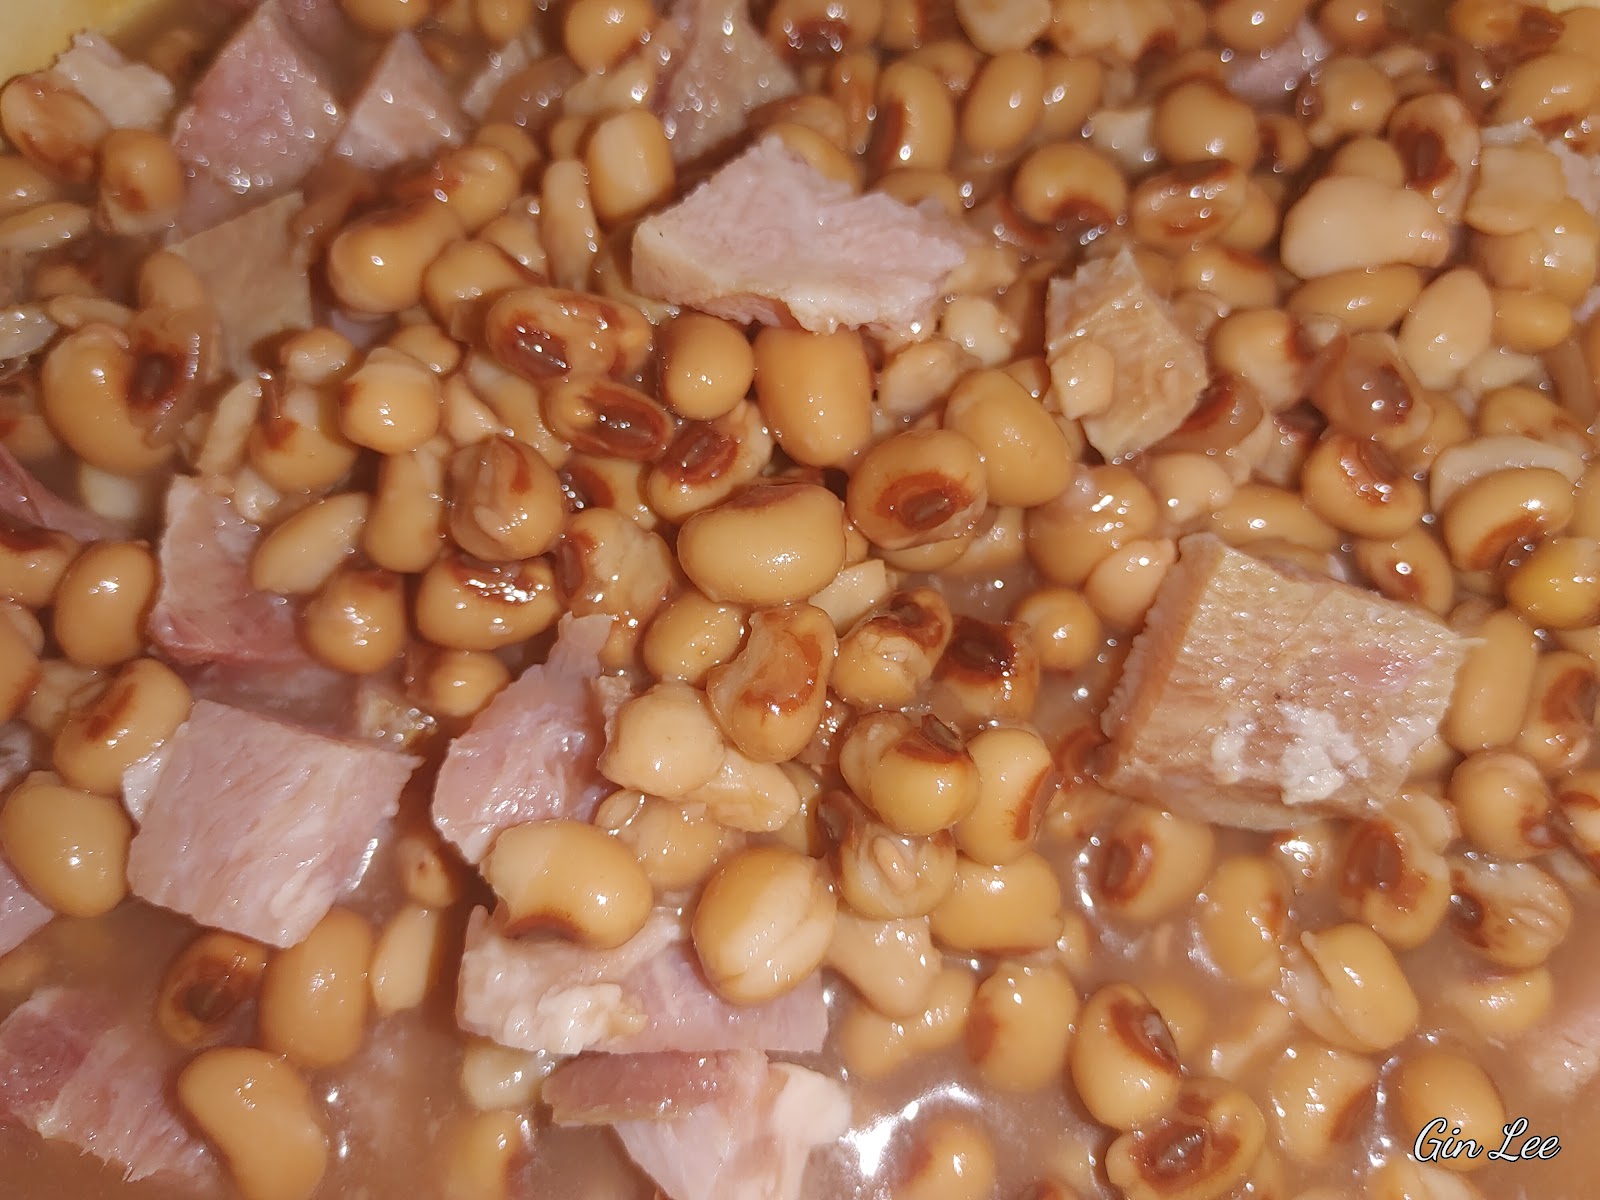
Today, I'm whipping up a pot of black-eyed peas and ham, with collard greens on the side. It's a tradition here in the South to have this meal every New Year's Day. But this time, I'm making my peas ahead of time so I can share my recipe with you in time for the new year.

Ingredients:

  • 1 16-ounce bag of dried black-eyed peas

  • 2 pounds of cooked ham, bacon, or ham hocks, diced

  • 1 onion, diced

  • 2 teaspoons of freshly ground black pepper

  • 2 teaspoons of seasoning salt

  • 1 teaspoon of red cayenne pepper flakes

  • ½ teaspoon of garlic powder

  • 2-4 tablespoons of butter

  • 4 cups of water

  • 4 cups of vegetable stock or chicken broth

Instructions:

First, rinse your black-eyed peas and pick out any bad peas, pebbles, or other debris. You can soak them for a few hours if you want, but I usually skip this step.


Next, chop your cooked ham into bite-sized pieces and dice the onion.


Now, add your peas to a pot or crockpot along with the diced onion, ham, and spices. Pour in the vegetable stock, chicken broth, or water, making sure the liquid covers the peas by a few inches.


Bring the liquid to a boil, then reduce the heat to a simmer. Add the butter and cook for 1-2 hours until the peas are tender. Keep an eye on the peas and add more water if needed.


If you're using a crockpot, cook the peas on low for 6-8 hours.

Serve your black-eyed peas and ham with some greens and cornbread. Enjoy!


Happy New Year 2025! Here's to hoping we all have a lucky and prosperous year ahead.


© 2024 Olden Oasis

oldenoasis.blogspot.com


Popular posts from this blog

How to Grow Lentils in Hydroponic Trays

How to Grow Lentils in Hydroponic Trays Introduction Lentils are a nutritious and delicious legume that can easily be grown in hydroponic trays. Hydroponic gardening is a method of growing plants without soil, using nutrient-rich water instead. In this article, we will discuss the steps on how to grow lentils in hydroponic trays with nutrient solution and without it using only water. Materials Needed To grow lentils in hydroponic trays, you will need the following materials: Hydroponic trays Hydroponic trays that will hold the lentils and nutrient solution. Lentil seeds Make sure to use high-quality lentil seeds for the best results. Nutrient solution A mix of water and nutrient solution that will feed the lentil plants. Grow lights Since lentils need plenty of light to grow, you will need grow lights if you don't have access to natural sunlight. Steps to Grow Lentils Step 1: Prepare the Hydroponic Tray Fill the hydroponic tray with the nutrient solution according to the instru...

Introduction to Holiday Flock Blocks Made With Applesauce

Holiday Flock Blocks Made With Applesauce Welcome to my guide on creating delicious and nutritious Holiday Flock Blocks made with applesauce! Designed to provide your flock with a festive and healthy treat, these homemade blocks are packed with the goodness of applesauce and can be customized with various flavors and ingredients. In this article, we will explore the benefits of using applesauce in flock blocks, provide a step-by-step guide on how to make them, suggest creative variations and flavor combinations, offer tips on storing and presenting the blocks, discuss the health benefits for your flock, address common questions and troubleshooting, and conclude with our final thoughts. Let's dive in and create some delightful treats for your feathered friends this holiday season! Introduction to Holiday Flock Blocks Made With Applesauce What are Holiday Flock Blocks? Holiday flock blocks are a fun and nutritious treat for your feathered friends during the festive season. These hand...

Rendering Lard: A Sizzle of Tradition and Flavor

Rendering Lard: A Sizzle of Tradition and Flavor In light of rising prices, allow me to demonstrate how you can save money on cooking oil by creating your own lard at home. Rendering lard, the process of melting down and purifying pork fat to create a versatile cooking ingredient, has a rich history deeply rooted in culinary traditions around the world. While lard fell out of favor for a period, it is experiencing a resurgence due to its unique flavor profile and various benefits in cooking. My article today explores the art of rendering lard, from understanding its origins to selecting the right fats, different rendering methods, storage techniques, culinary uses, and essential tips for achieving optimal results. Historical Significance of Lard Lard holds a prestigious place in culinary history, being a key ingredient in traditional recipes across various cultures. It was prized for its versatility and ability to enhance the taste of dishes. Benefits of Rendering Lard Contrary to popu...