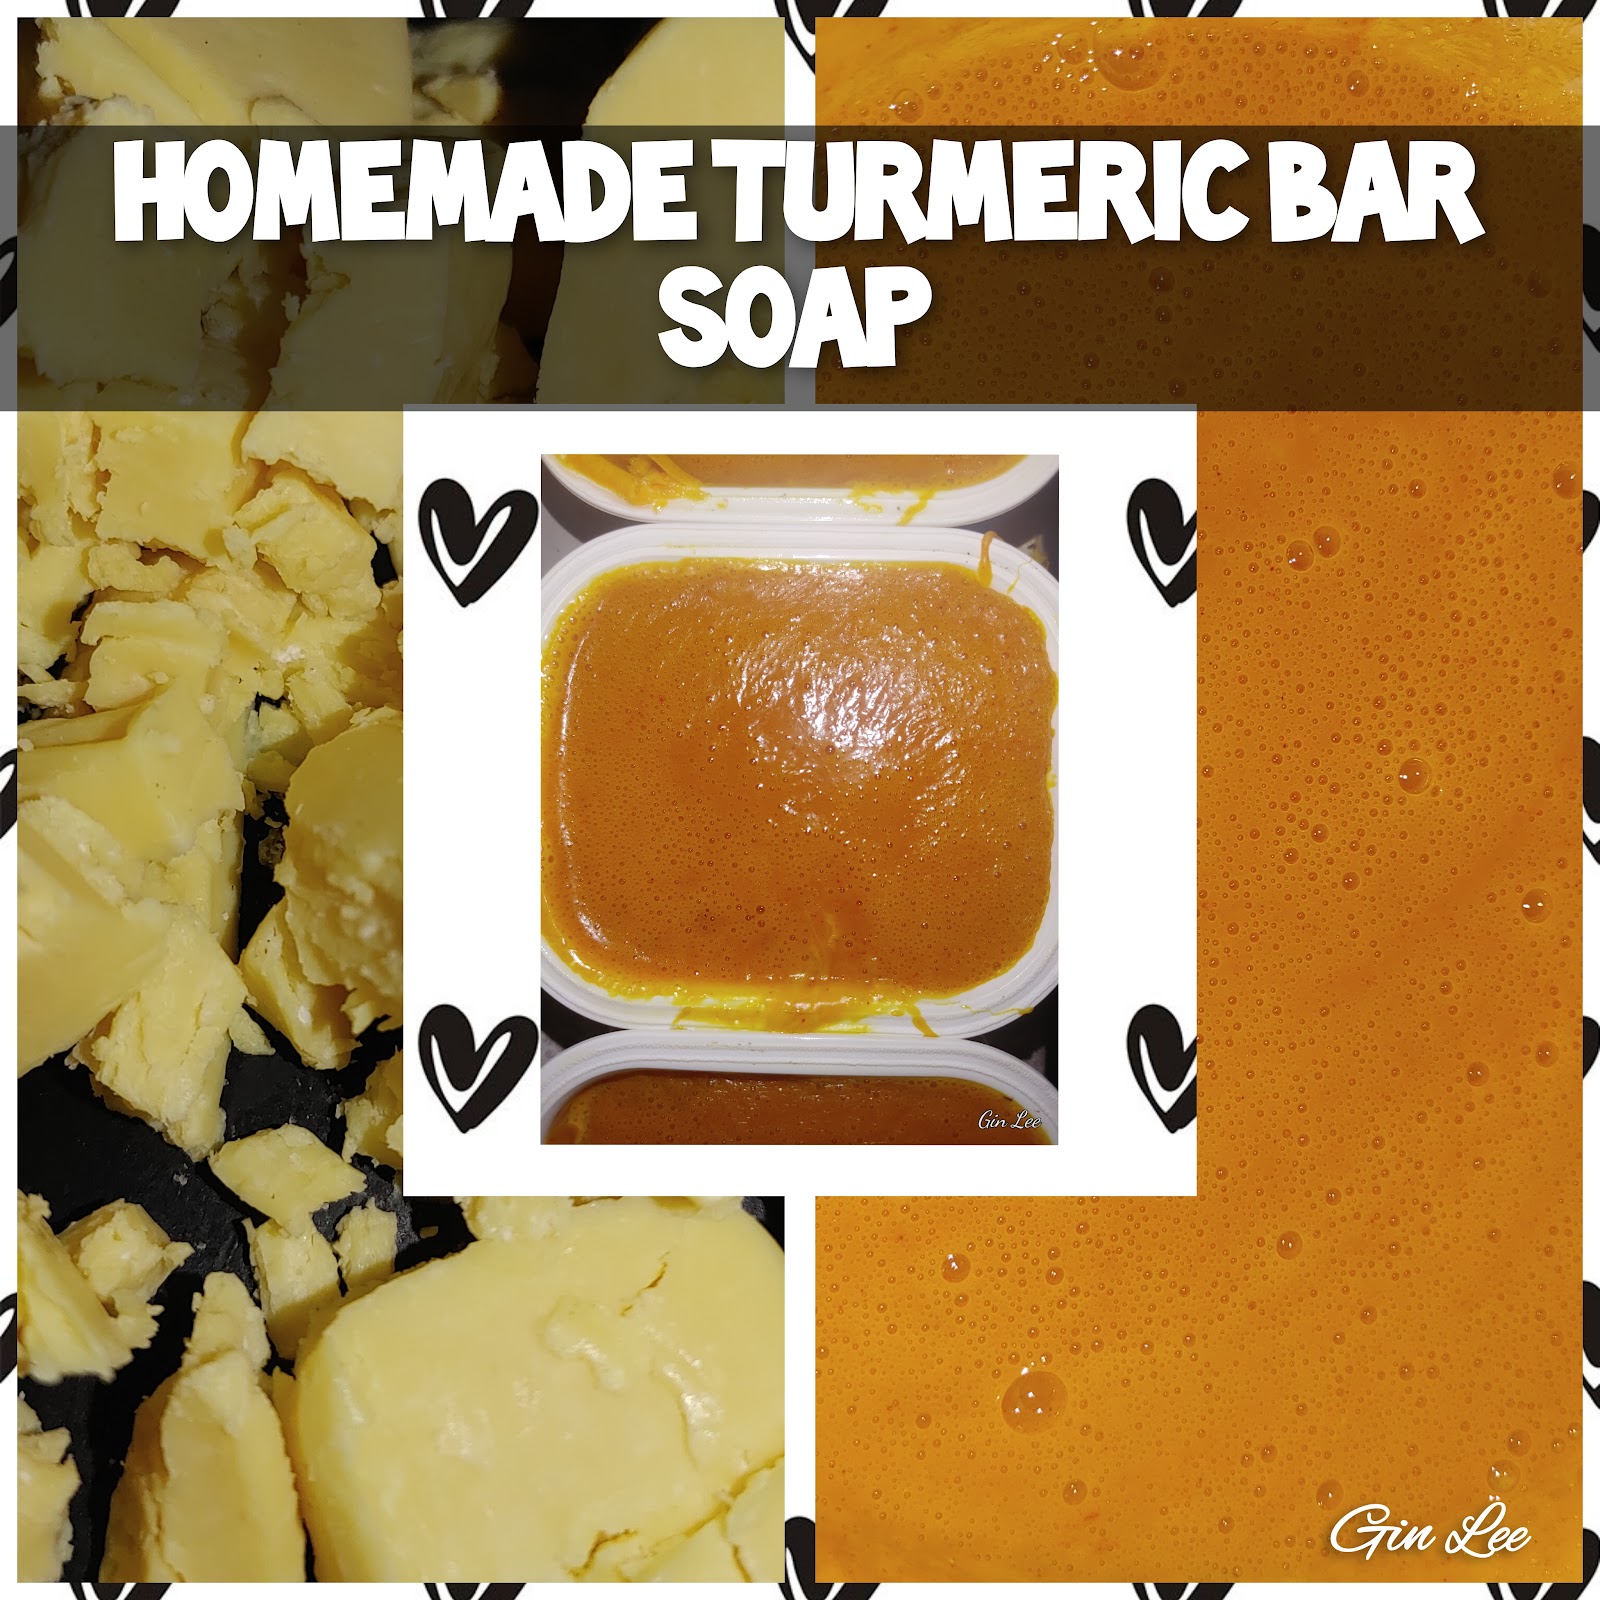
Homemade turmeric bar soap
If you have some boring bars of soap, or want to make new soap by using a bar of soap base, then this is a recipe for you. Why add turmeric to bars of homemade soap? Turmeric soap not only helps with skin inflammation, it also helps clear up blemishes that you may have on your skin, because it has antioxidant and antiseptic properties. Plus, this soap helps with dark spots as well as brightens your skin.
Ingredients:
1 bar of soap or soap base (any brand)
About 1-½ cups of water, maybe a little more
1-½ teaspoons of turmeric powder
1-½ teaspoon of essential citrus oil
Pan (for melting the soap)
Soap molds
Other optional ingredients:
1-½ teaspoons of glycerin (moisturizer)
1 teaspoon of olive oil
Coffee grounds
Other essential oils
Wild flowers
Dried herbs
Oatmeal
Instructions for making the soap:
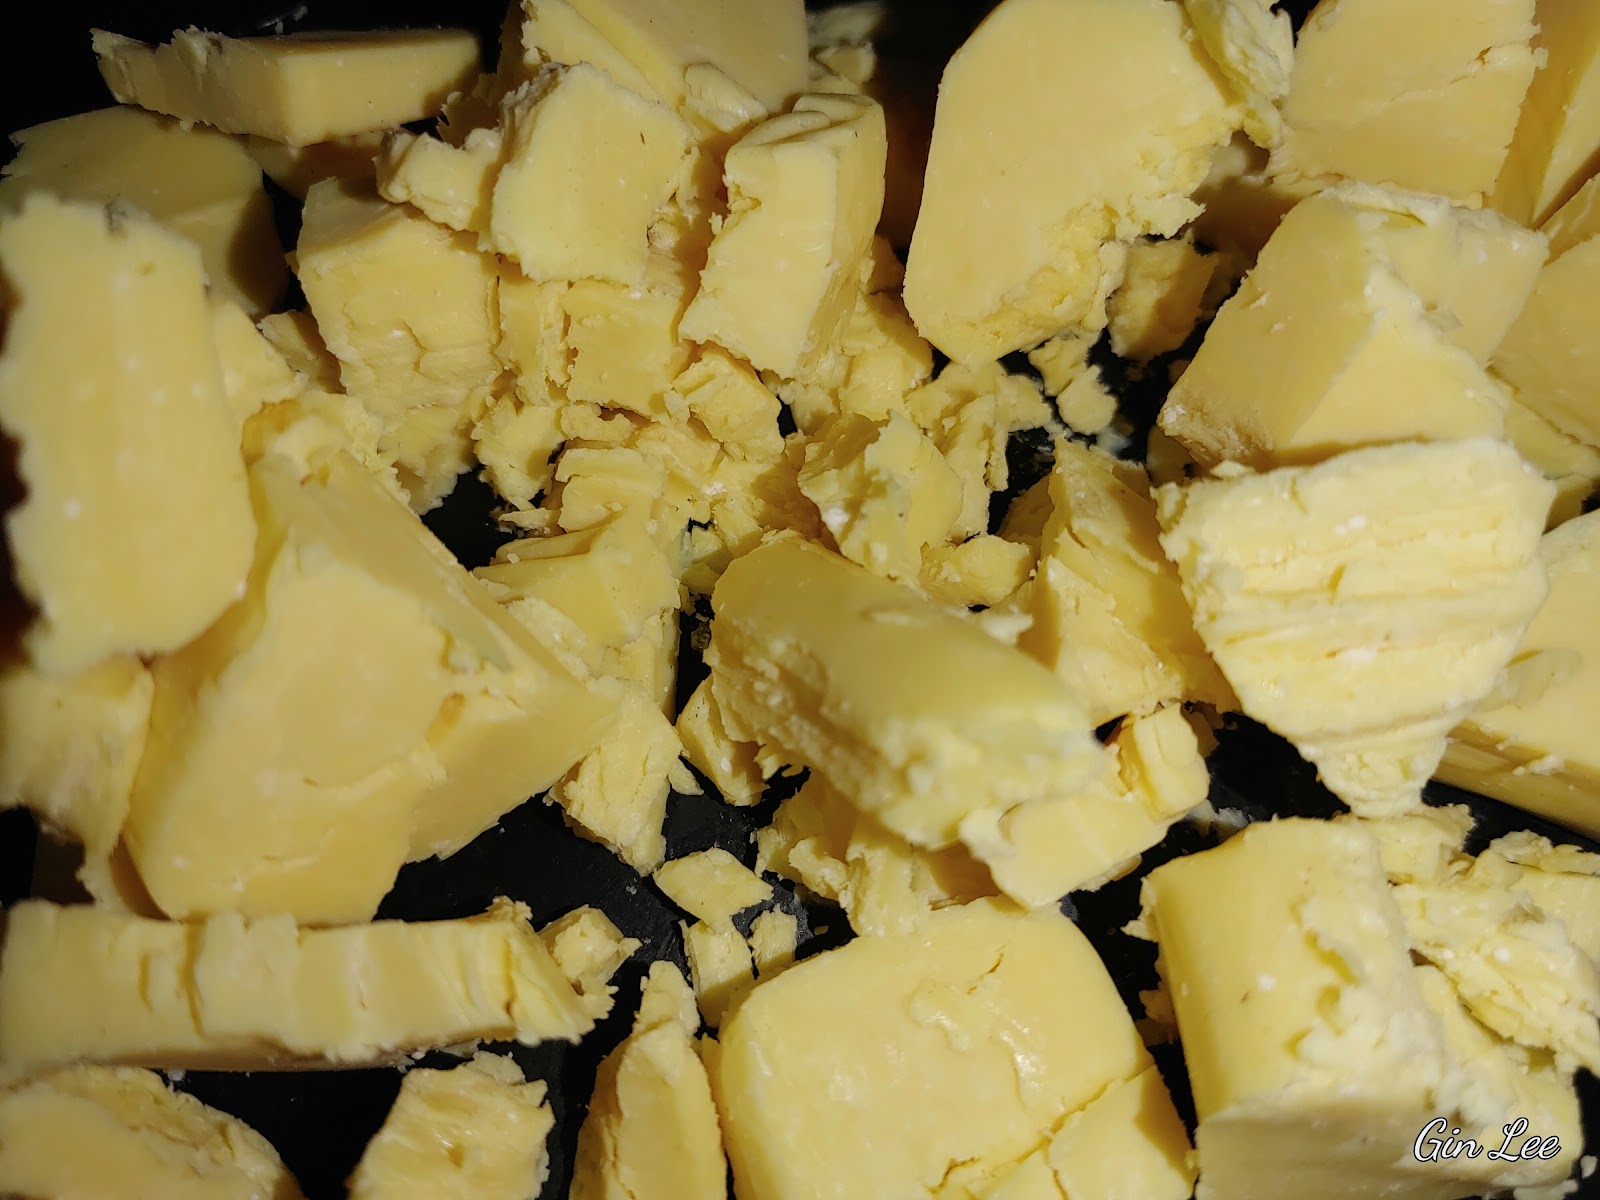
First, grate or chop the bar of soap finely. Place the soap pieces in a pan that's specifically used for making soap. Pour in a level amount of water, and not more than that (so that it is just level with the soap pieces). Some bars of soap are larger than others, so the difference in the amount of water you'll need will vary.
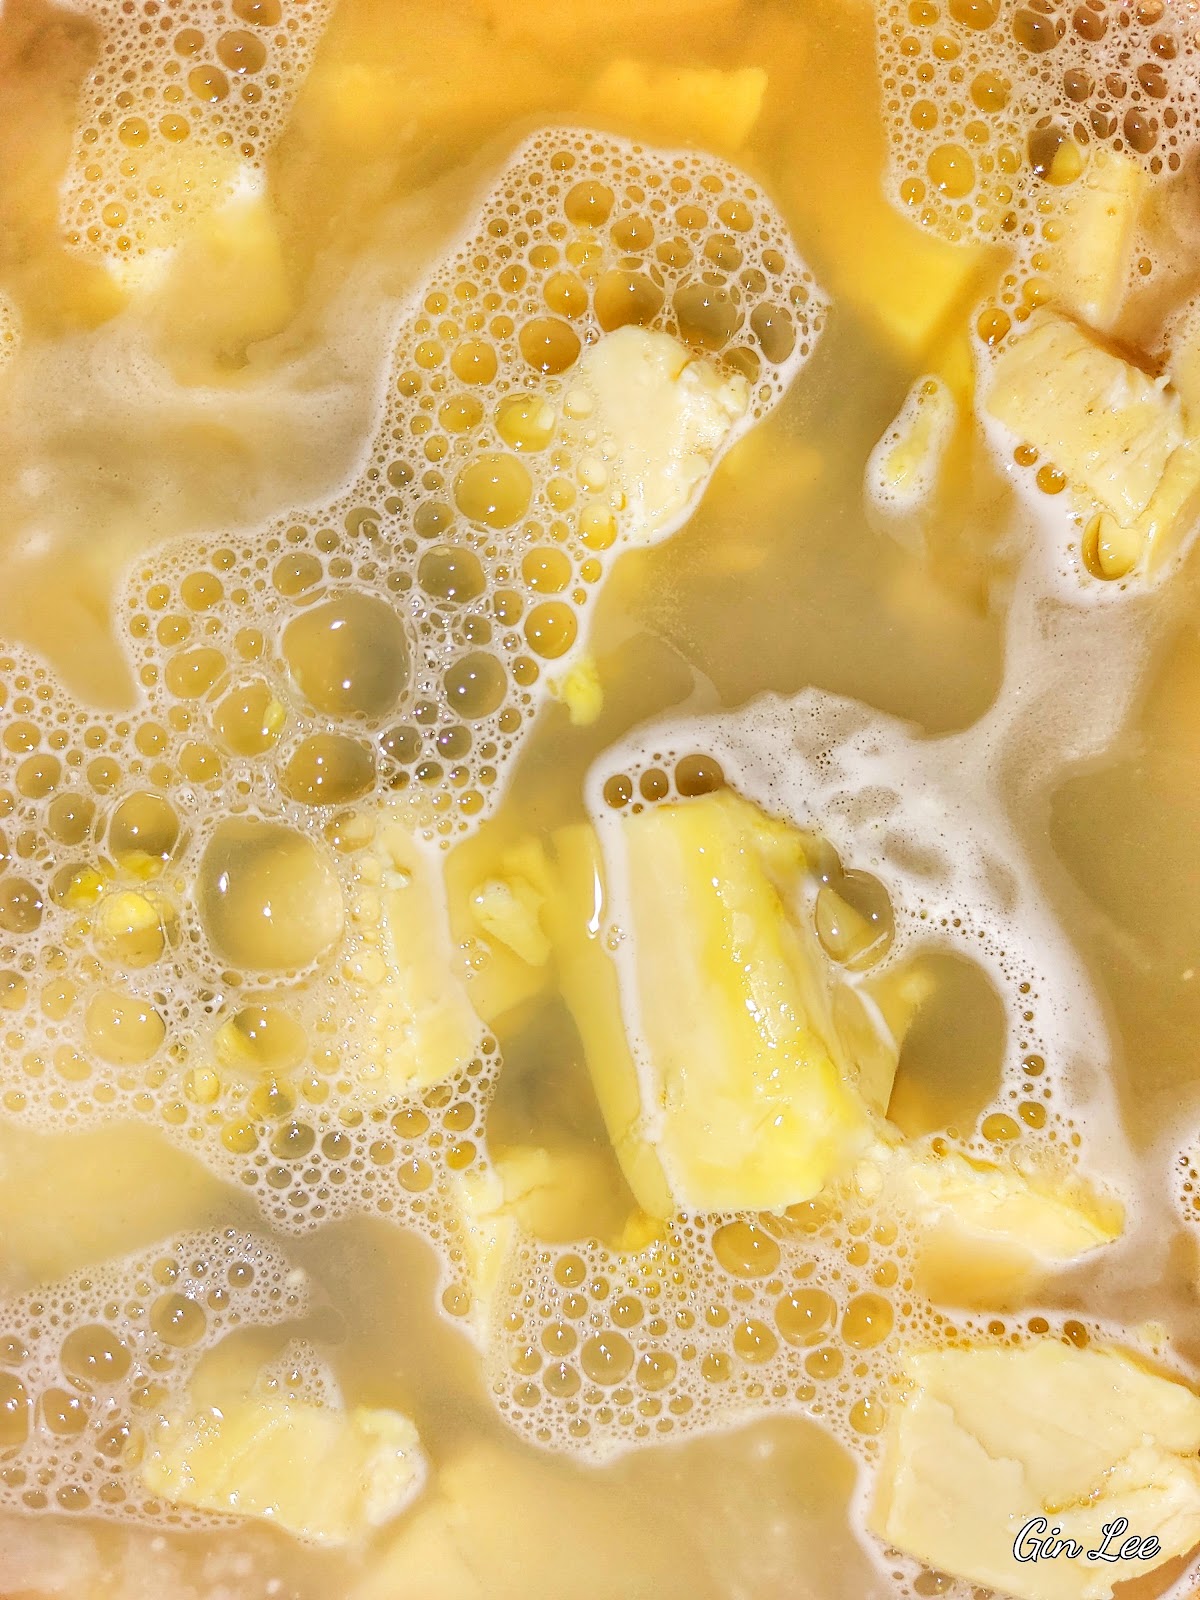
Place the pan over low to medium heat. Stirring every few minutes, until the soap mixture begins to boil. After about fifteen to twenty minutes, transfer the pan away from the heat. Stir the soap mixture with a large spoon until the liquid becomes smooth and well combined.
Allow the liquid to cool down before pouring it. It becomes thick and rather goopy when it's ready. (It will take up to about ten or so minutes before it reaches this point.)
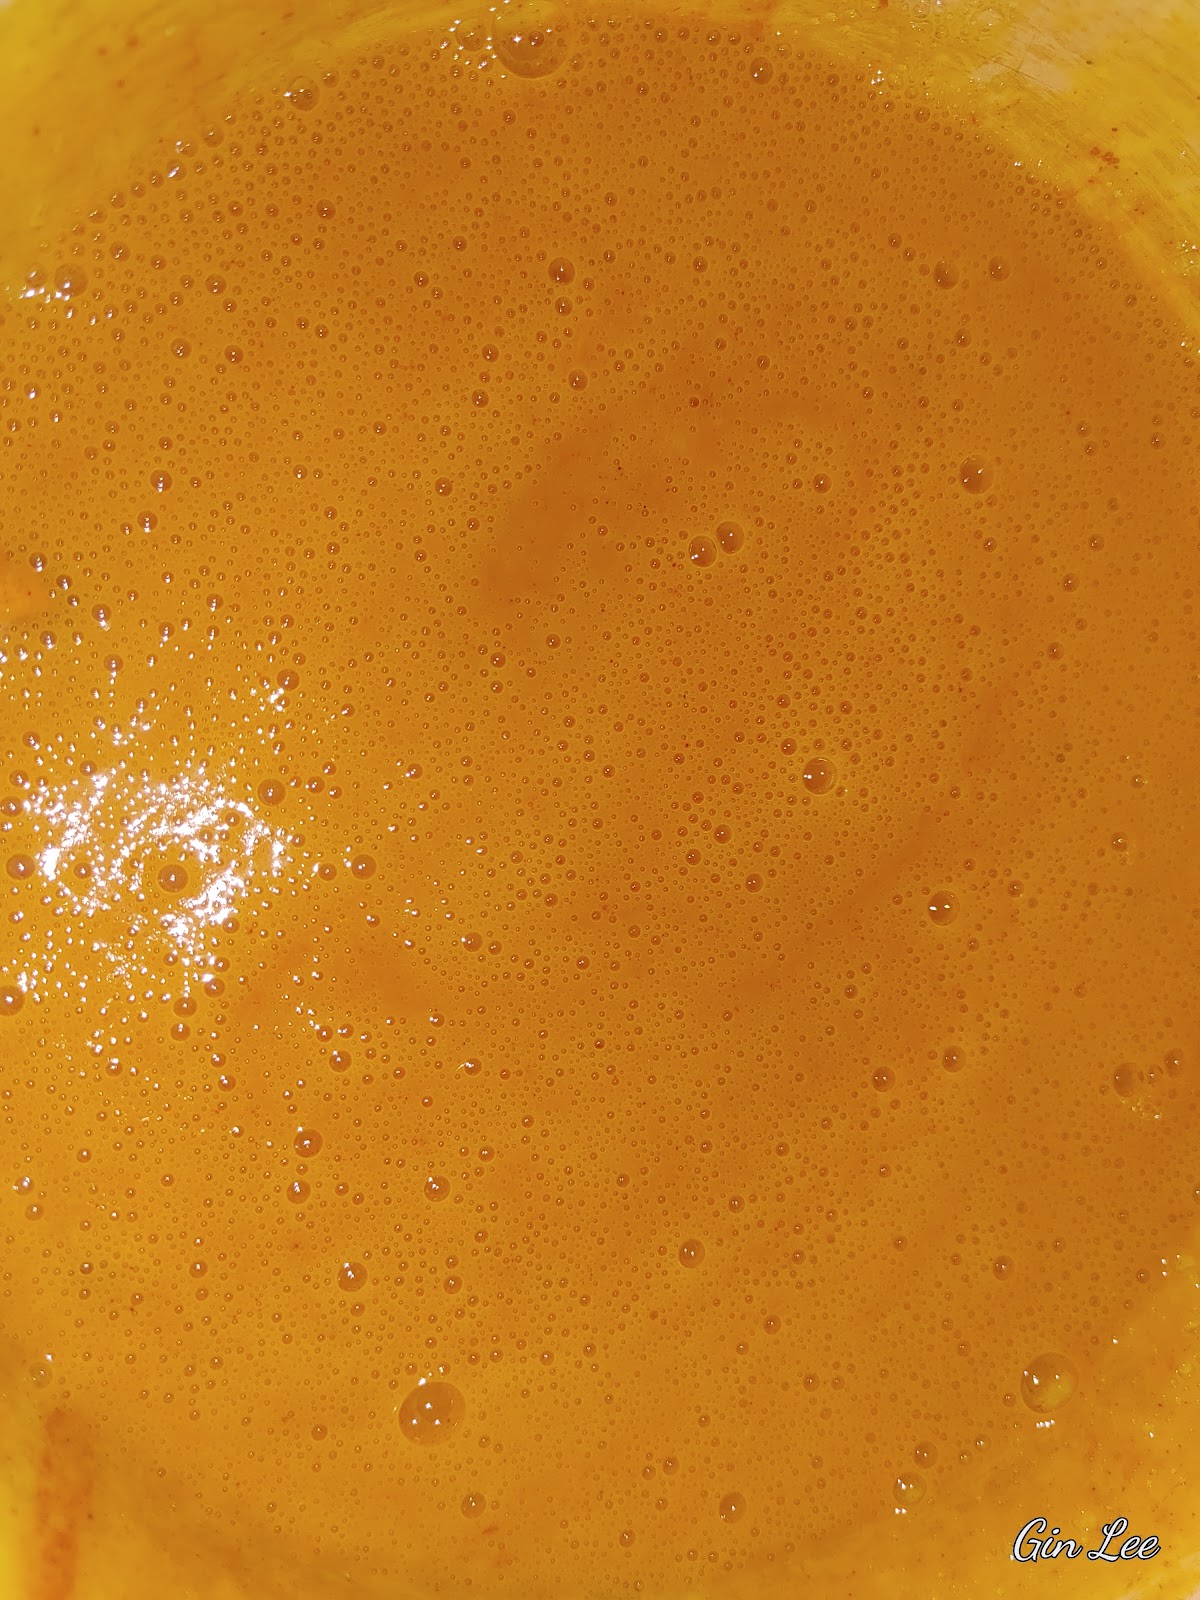
Now, add in any essential oils and turmeric. Then begin pouring the liquid into silicone soap molds (or any other molds you prefer using) and do so rather quickly.
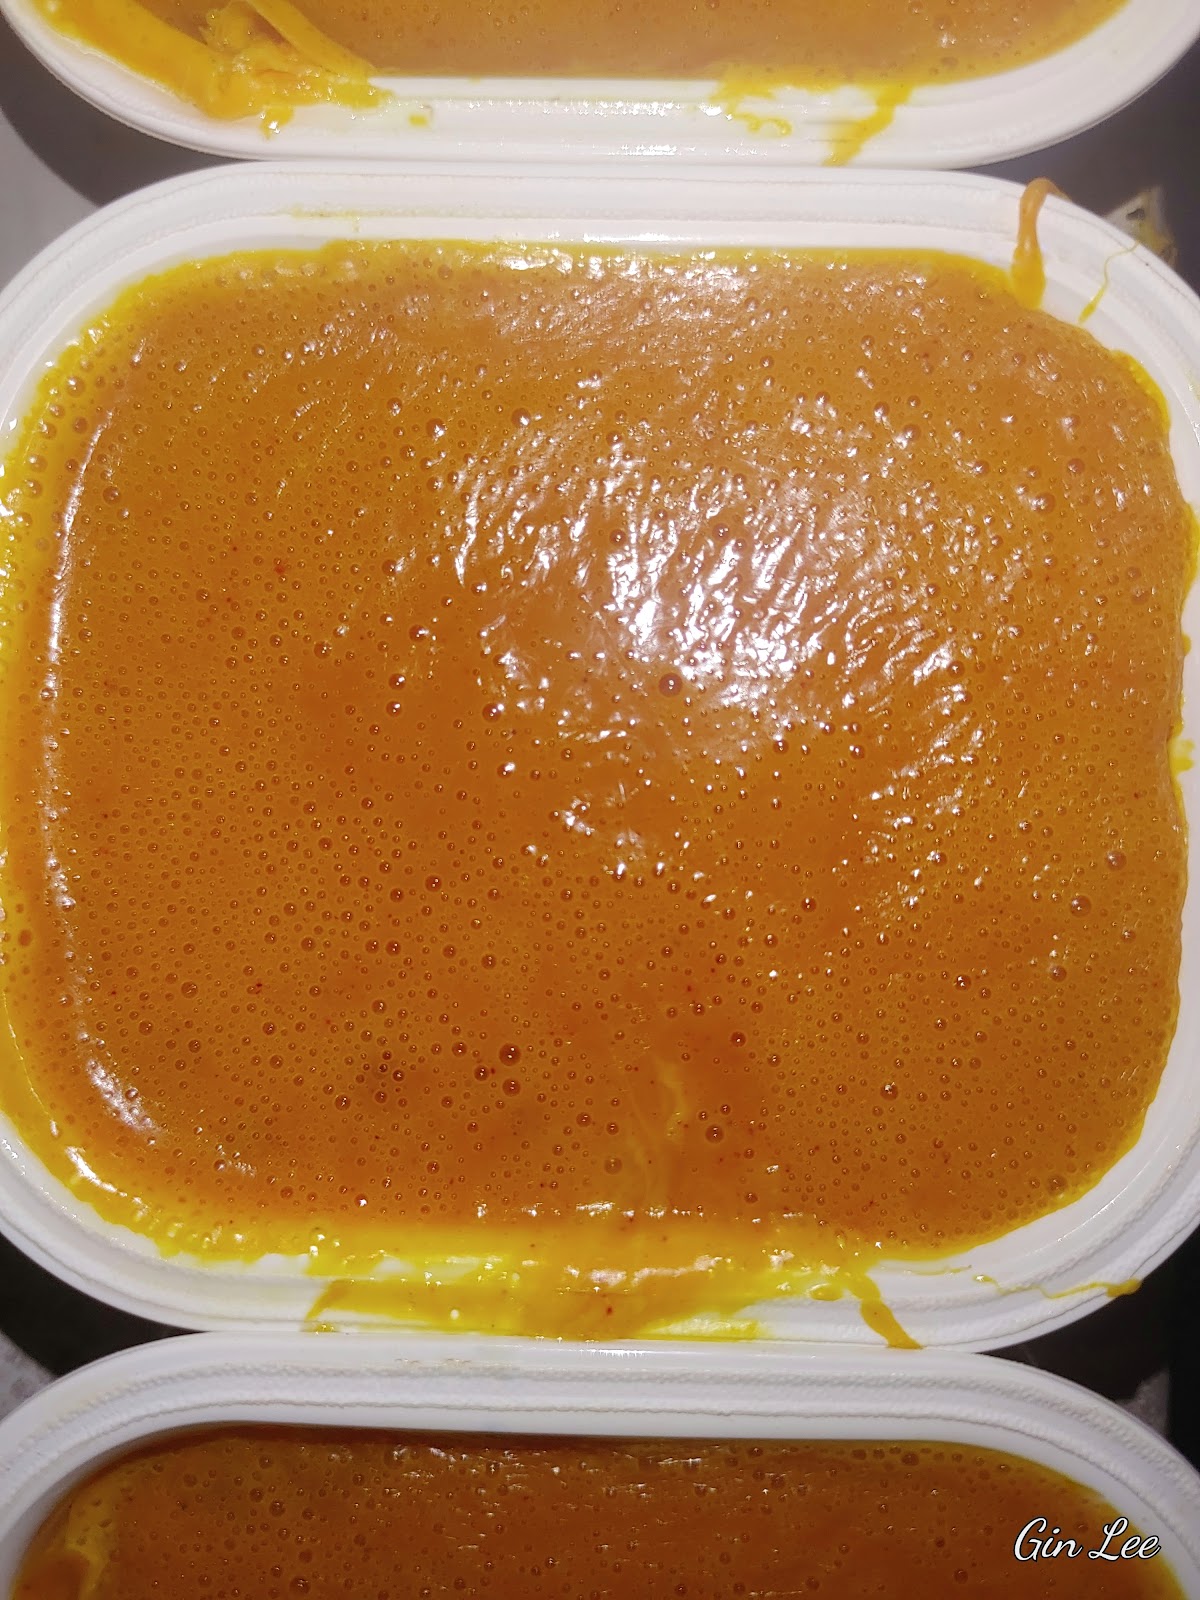
If using optional ingredients such as glycerin, olive-oil, coffee grounds, wild flowers, dried herbs, or oatmeal; add and stir any of them into the soap before pouring it into the molds. You'll have to keep stirring the soap base mixture until it becomes thicker, otherwise the add-ins will sink to the bottom of the soap molds. Pour into the molds.
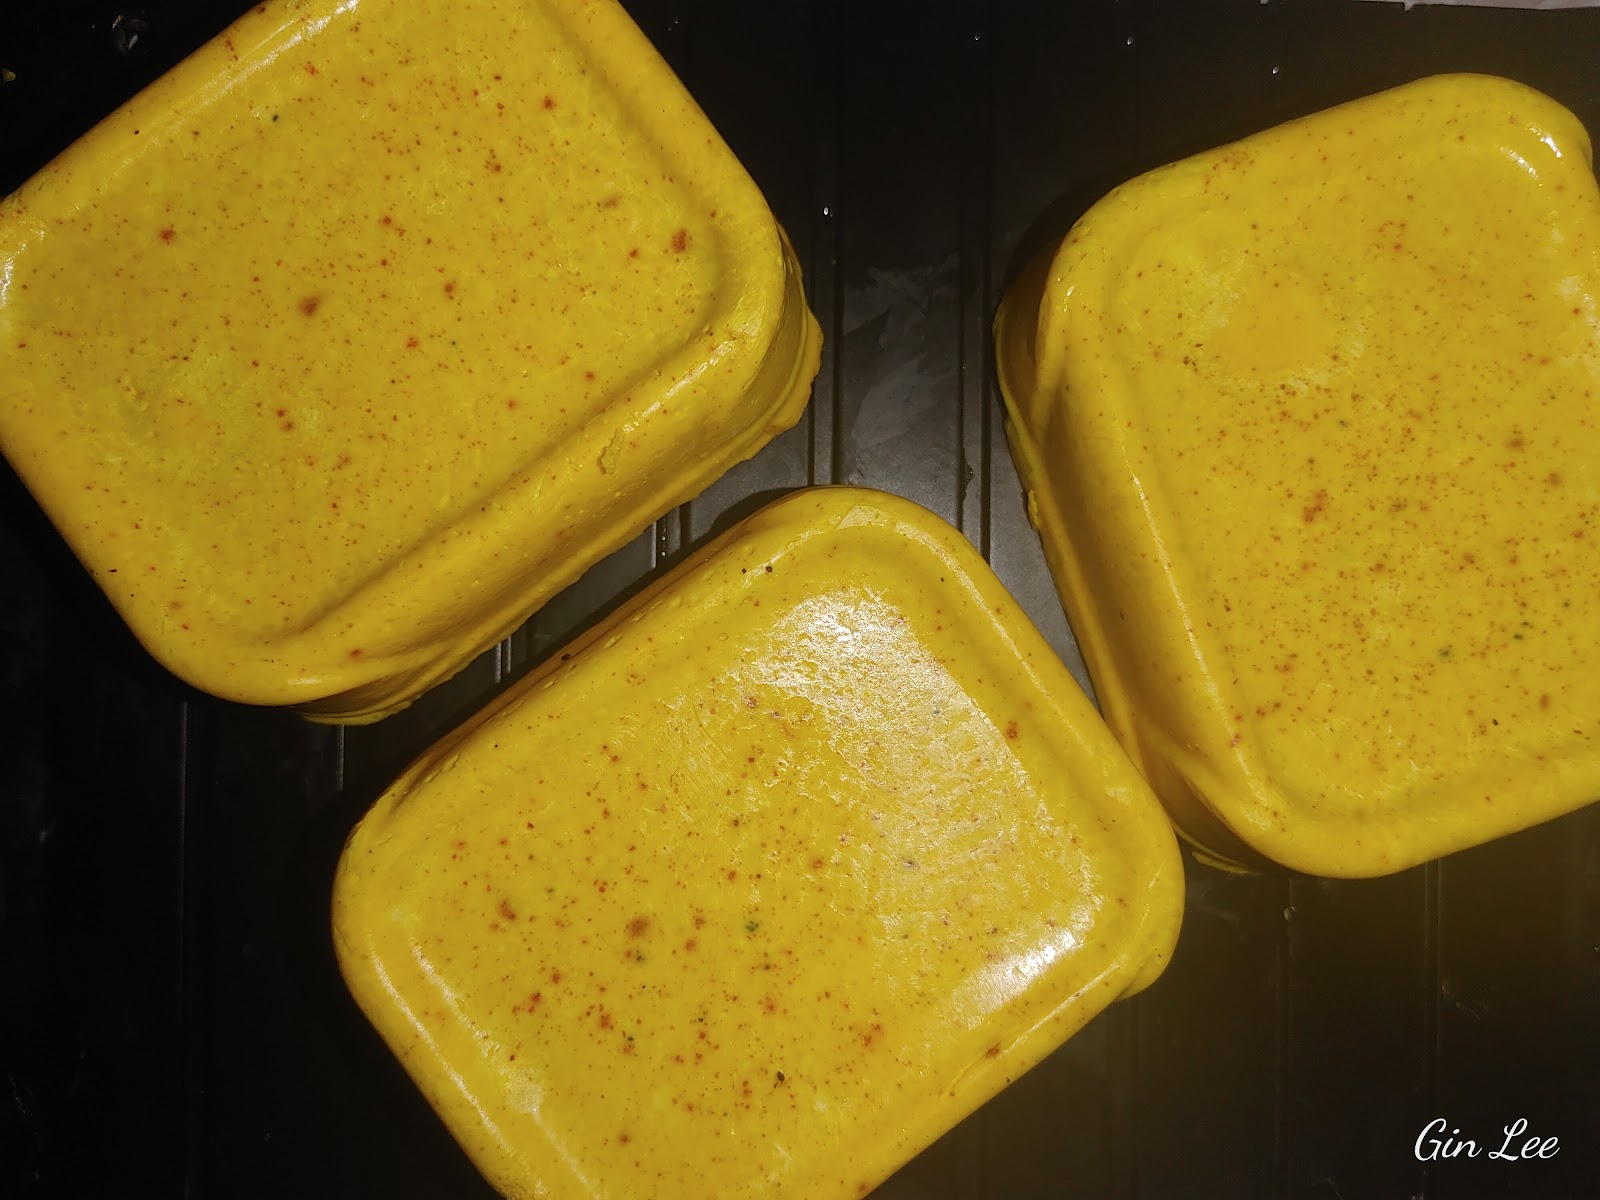
Let your soap sit for about an hour before removing the molds. Then allow your soap to dry for twenty-four hours (at least) before wrapping it in clear cellophane plastic.
Note:
I don't buy expensive bars of soap base. I purchase cheaper plain bars of soap to melt down to make my turmeric soap bars as well as various other soap bars.
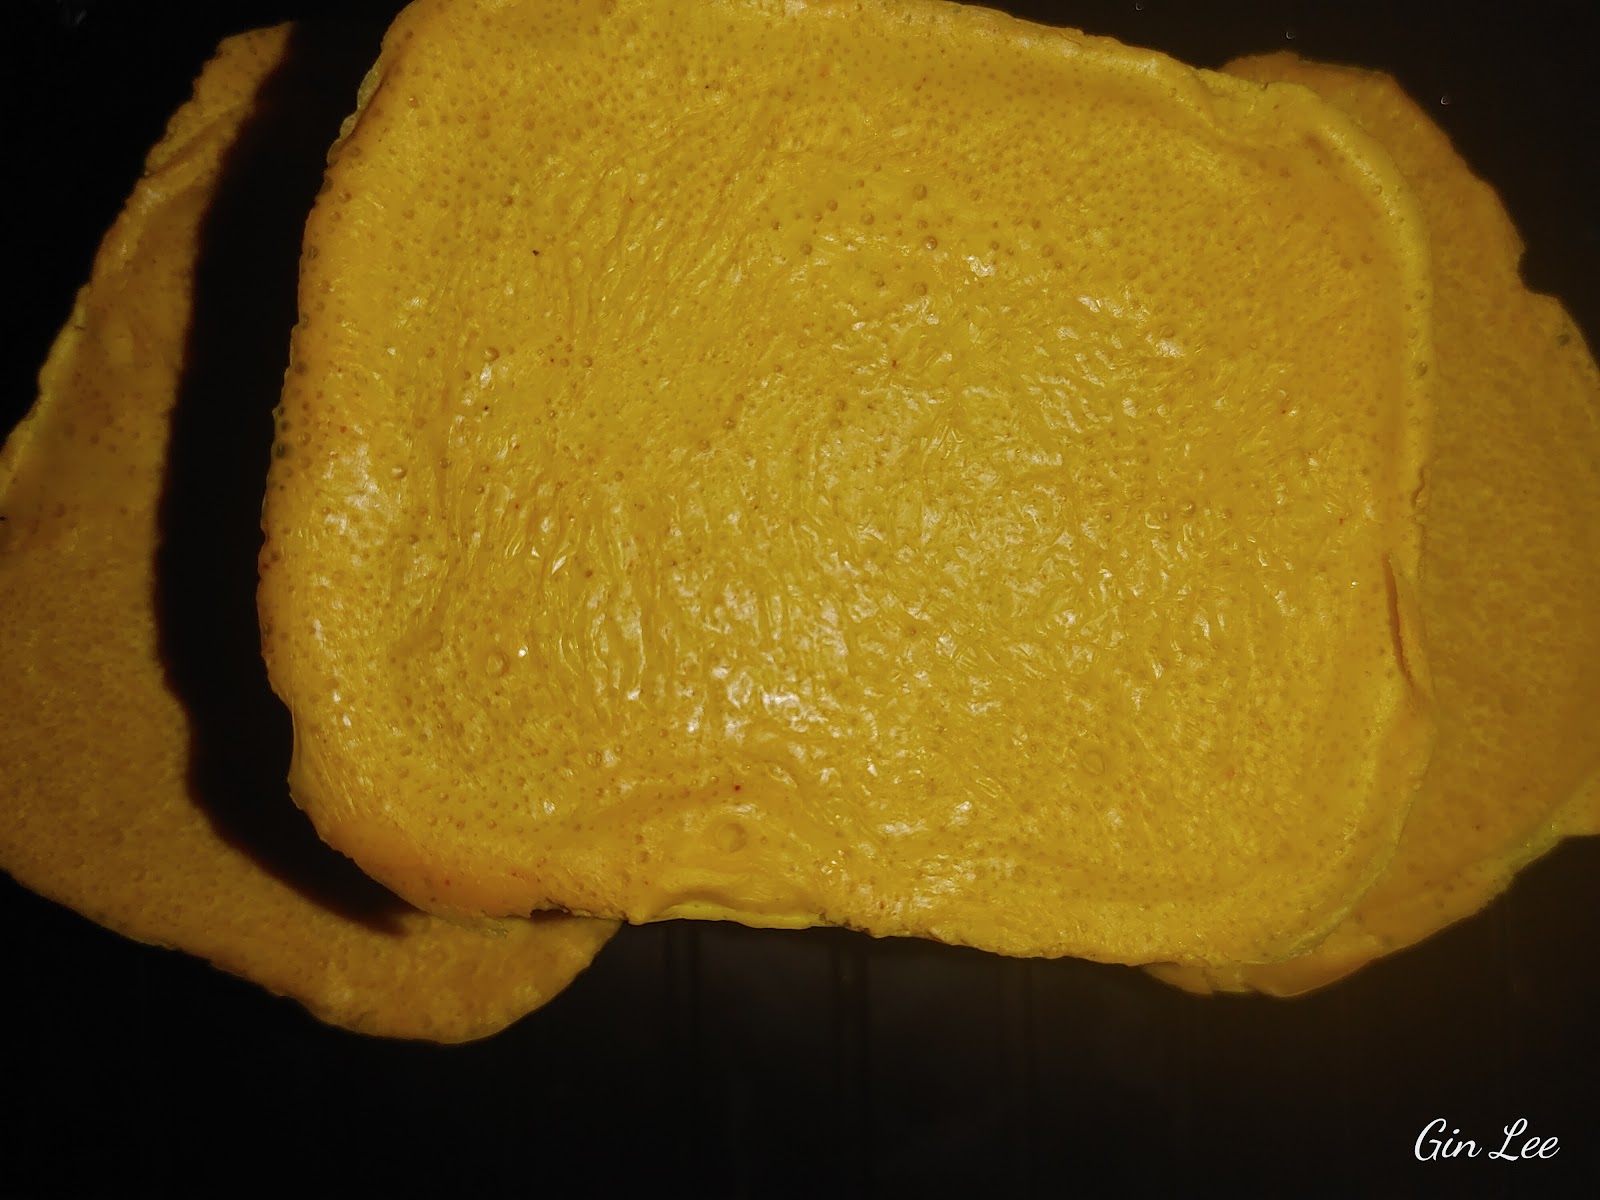
As y'all already know, I repurpose almost everything that can be repurposed and my soap molds are actually recycled from my cat's Friskies wet cat food containers. They make the perfect sized bars of soap for my little hands. My homemade bars of turmeric soap are much bigger and thicker than the hotel complimentary-sized soaps, but they're not quite as large as a regular-sized bar of soap. In actuality, it takes about one hour to unmold my soap bars, but they will need to sit at least twenty-four hours to finish hardening.
I coat the plastic containers with a light coating of olive oil to prevent them from sticking inside the containers. Then, when I am unmolding the soap, I hold the containers upside down and give a little push with my two thumbs on the bottom side of the containers. The soap bars easily eject out.
As always, make use of the items you have: recycle, repurpose, save money, live your best life, and be happy!