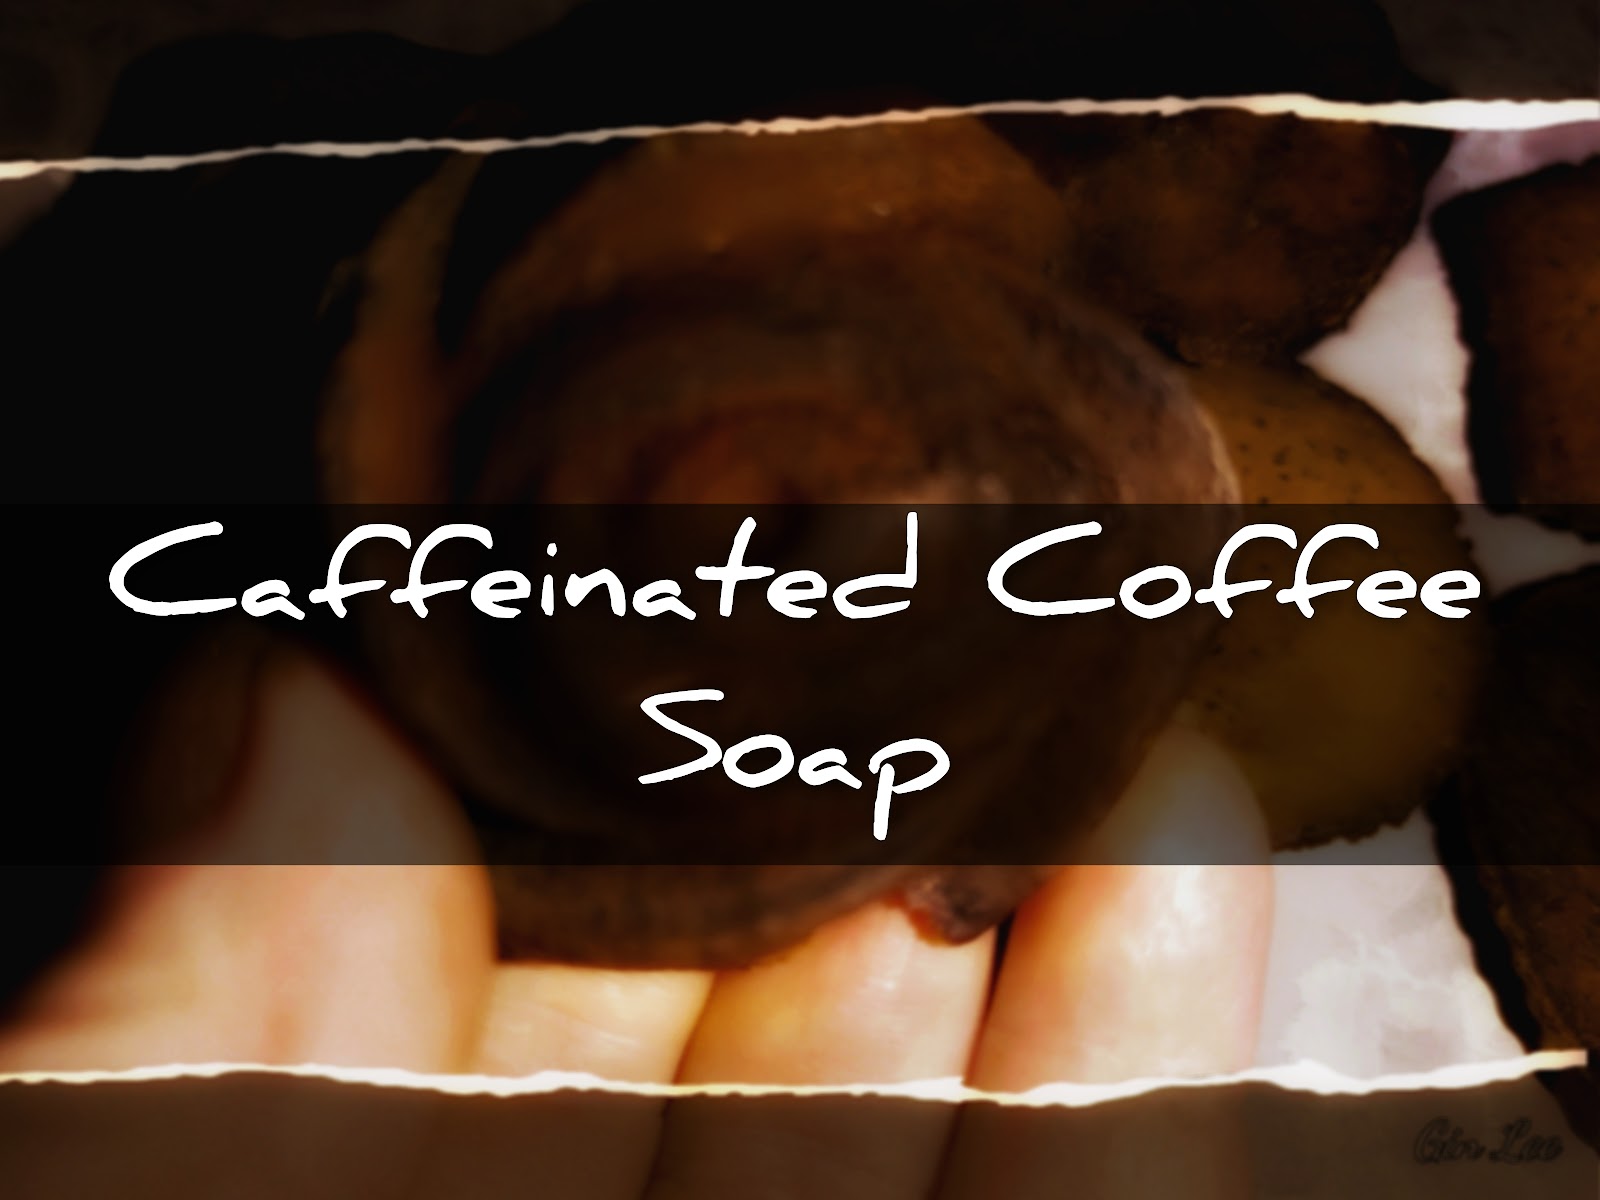
Caffeinated coffee soap
Wake up your skin with caffeinated coffee soap, before drinking your cup of Joe. That's right, coffee isn't just for drinking! Today, I will walk you through how I create beautifully molded caffeinated coffee soap. Y'all, this soap makes my skin feel so refreshed and revived after each use and I love it! The soap is invigorating and exfoliating. Plus, it helps tighten and brighten your skin, as it helps to improve blood circulation.
Ingredients:
¼ to ½ cup of caffeinated coffee grounds (I use ½ cup in my soap to get a richer coffee color.)
1 bar of soap or soap base bar (any brand will do)
About 1-½ cups of water, plus, maybe a little more (depending on the size of bar soap that you use)
1 teaspoon of turmeric powder optional
1-½ teaspoon of essential cinnamon oil optional
1 teaspoon of olive oil
Pan (for melting the soap)
Soap molds
Instructions:
First, get your soap molds prepared; set aside.
Now, chop the bar of soap into small pieces. Place the pieces of soap in a pan that's specifically used for making soap. Pour the water into the pan (so it is level with the soap pieces).
Place the pan over medium-low heat. Stir every few minutes, until the soap mixture begins to boil. Watch the pan closely. After about fifteen to twenty minutes, transfer the pan away from the heat. Stir the soap mixture with a spoon until the liquid becomes thick and smooth.
Allow the liquid to cool for about ten minutes. Now, add the coffee grounds and stir well. Continue stirring for the next several minutes until the soap mixture becomes much gooeier and thicker. The soap mixture will turn a dark coffee color at this point.
Now, add in the cinnamon essential oil, olive oil, and turmeric. Then begin pouring the soap liquid into silicone soap molds.

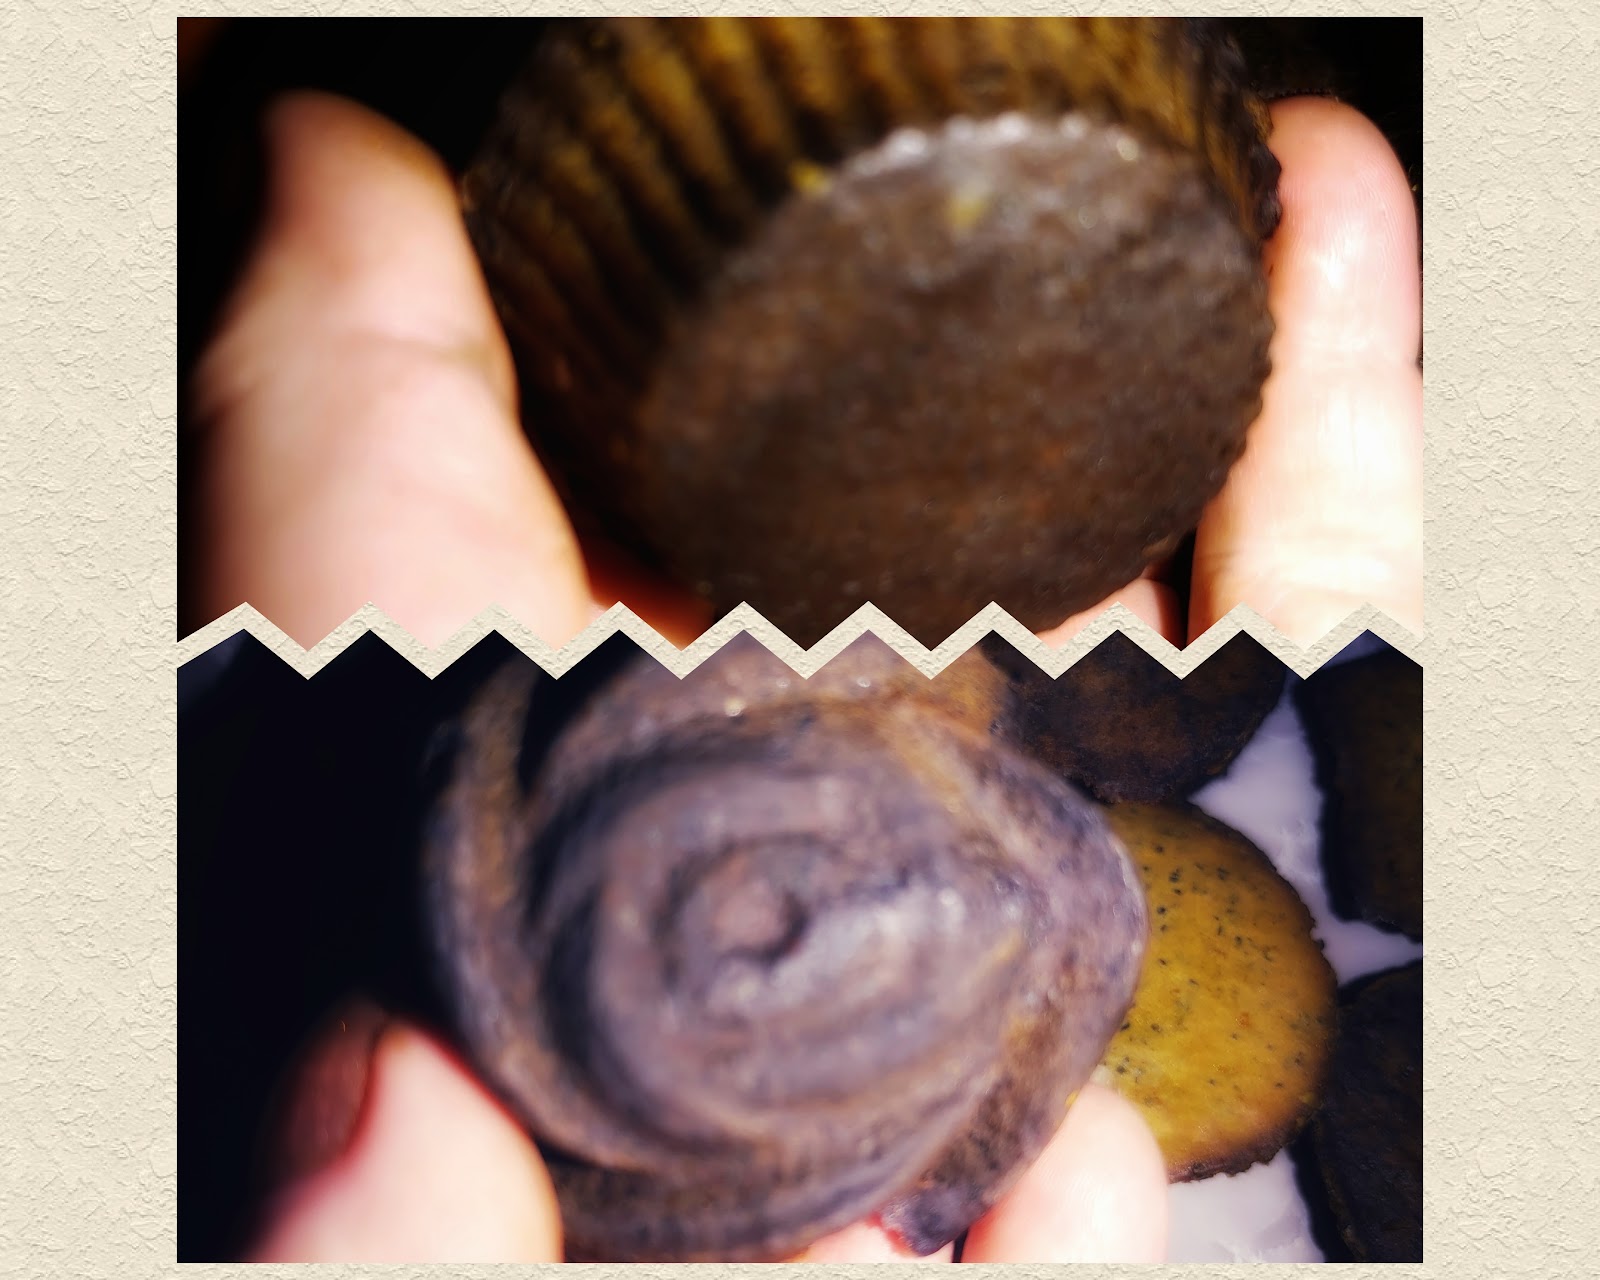
Allow the soap to harden inside the molds for a few hours before unmolding it and let it sit to finish drying for a couple of days before wrapping it in clear plastic.
Note:
Add one teaspoon of glycerin if you need a moisturizing soap. Do this when you're adding the other ingredients together.