 Homemade pot pie squares
If you have ever wanted to make homemade pasta, but you've been too afraid to try making it, here's a simple pasta to get you started. It's so easy to prepare and deliciously satisfying! The pot pie squares can also be dehydrated for later use.
So, today I will be demonstrating how I make homemade pot pie squares. I also will show you how to dehydrate them, and I will be sharing three ways that you can cook them once they are made.
For this recipe, you can use all-purpose flour, whole-wheat flour, or seminola flour. Today, I used bread flour and egg as a binder. The recipe can also be made without the egg.
Ingredients:
1 egg
½ up to 1 cup of water
3 cups of bread flour
2 tablespoons of softened butter
Instructions:
In a large bowl, combine the flour, butter, and the egg; mix together until the ingredients are incorporated well.
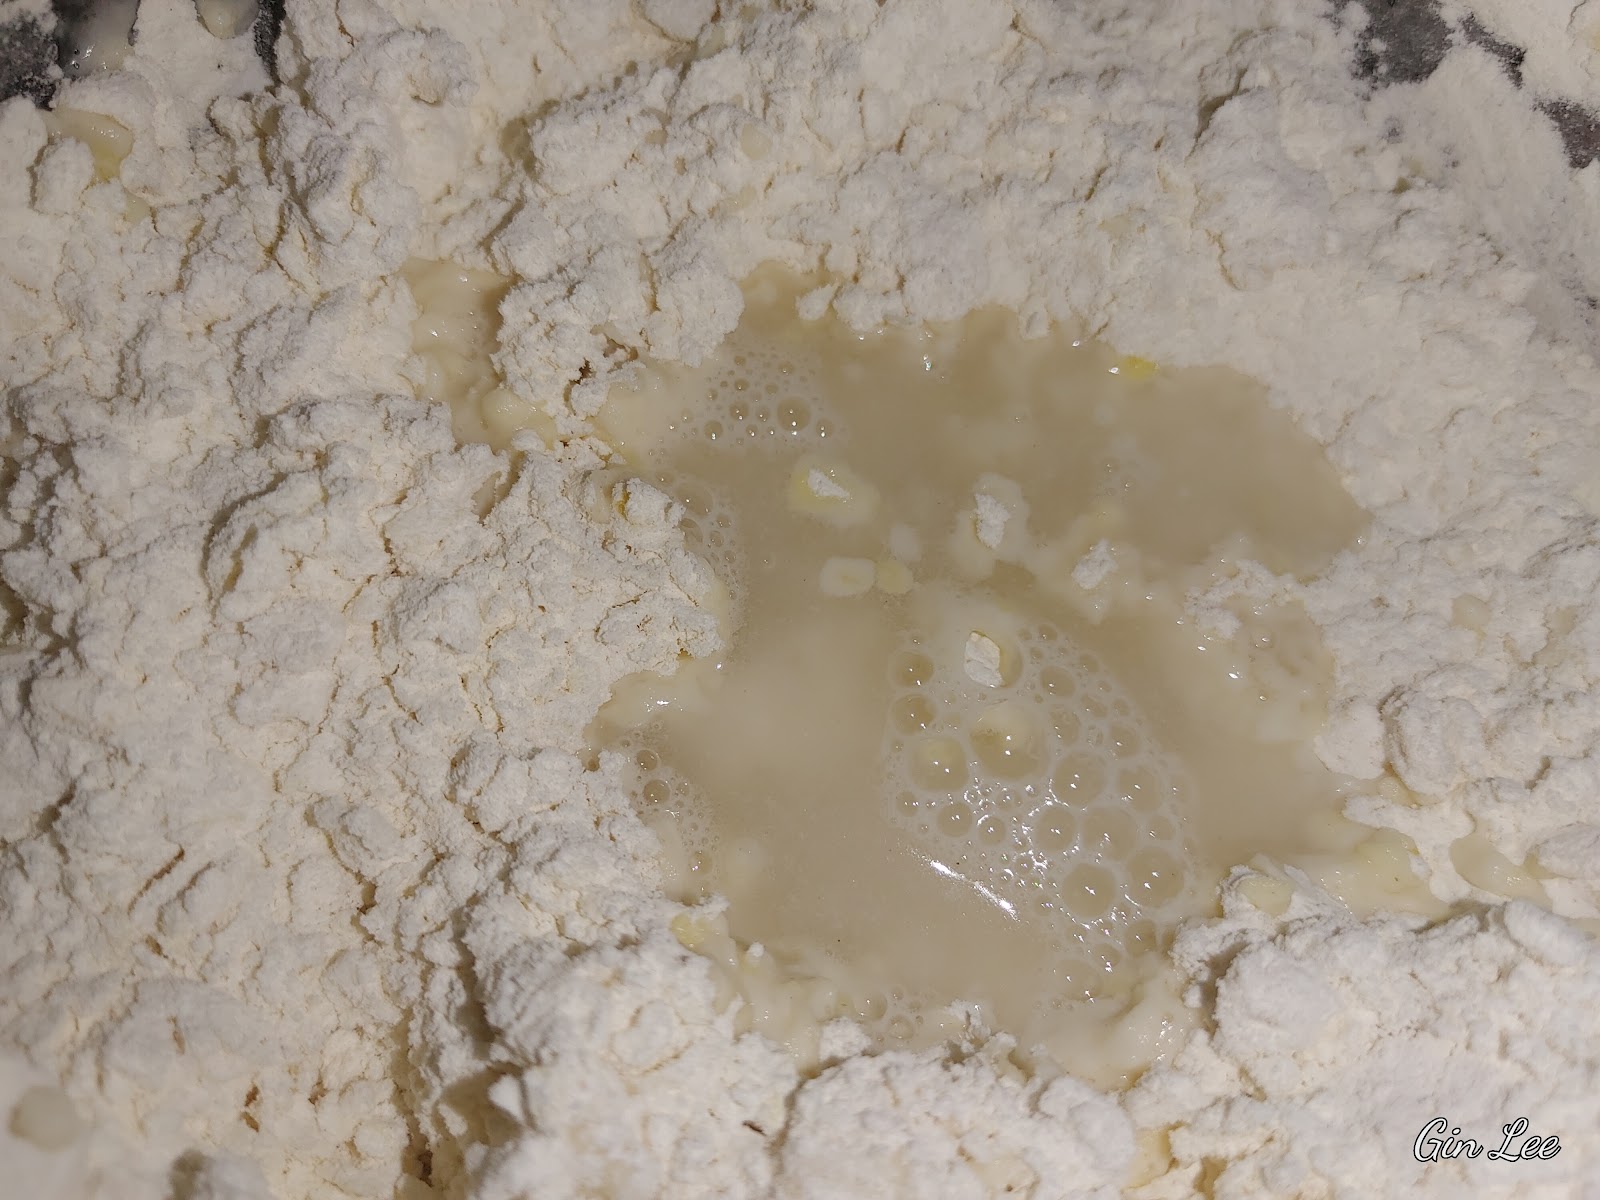
Begin making a well in the center of the flour mixture; adding the water slowly. Work the flour into the center of the well. You'll want the dough just wet enough to bring it together. (I slowly add in a half cup of water first, then add more if necessary, because you don't want the dough to become too wet, or sticky).
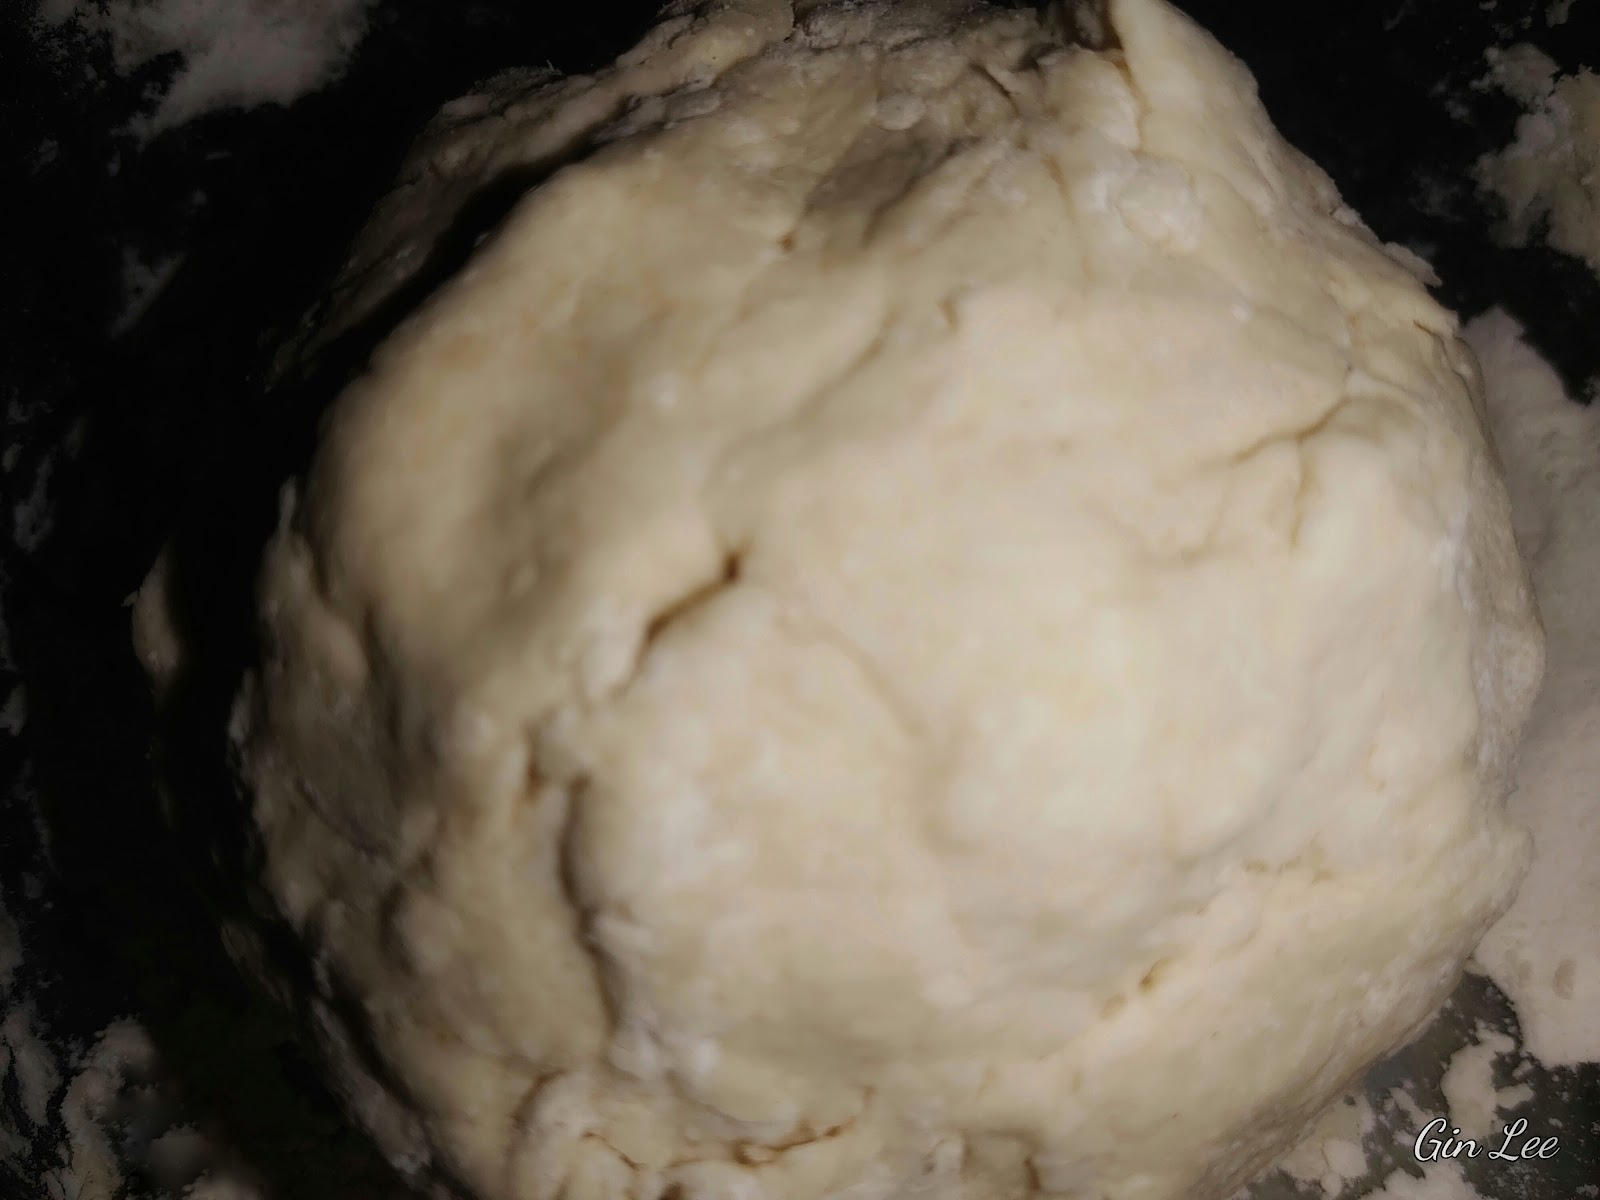
Form the dough into a ball-shape. Then begin kneading the pasta dough. To knead the dough, firmly press the heel of your hand into the dough ball, pushing into a forward and downward motion. Knead the dough no more than eight to ten minutes.
Now, divide the dough into three or four pieces. Add a tiny bit of flour to your work surface, place the first piece of dough down. Using a rolling pin, flatten the dough out. If you have a pasta maker, use it. Roll the dough out thin.
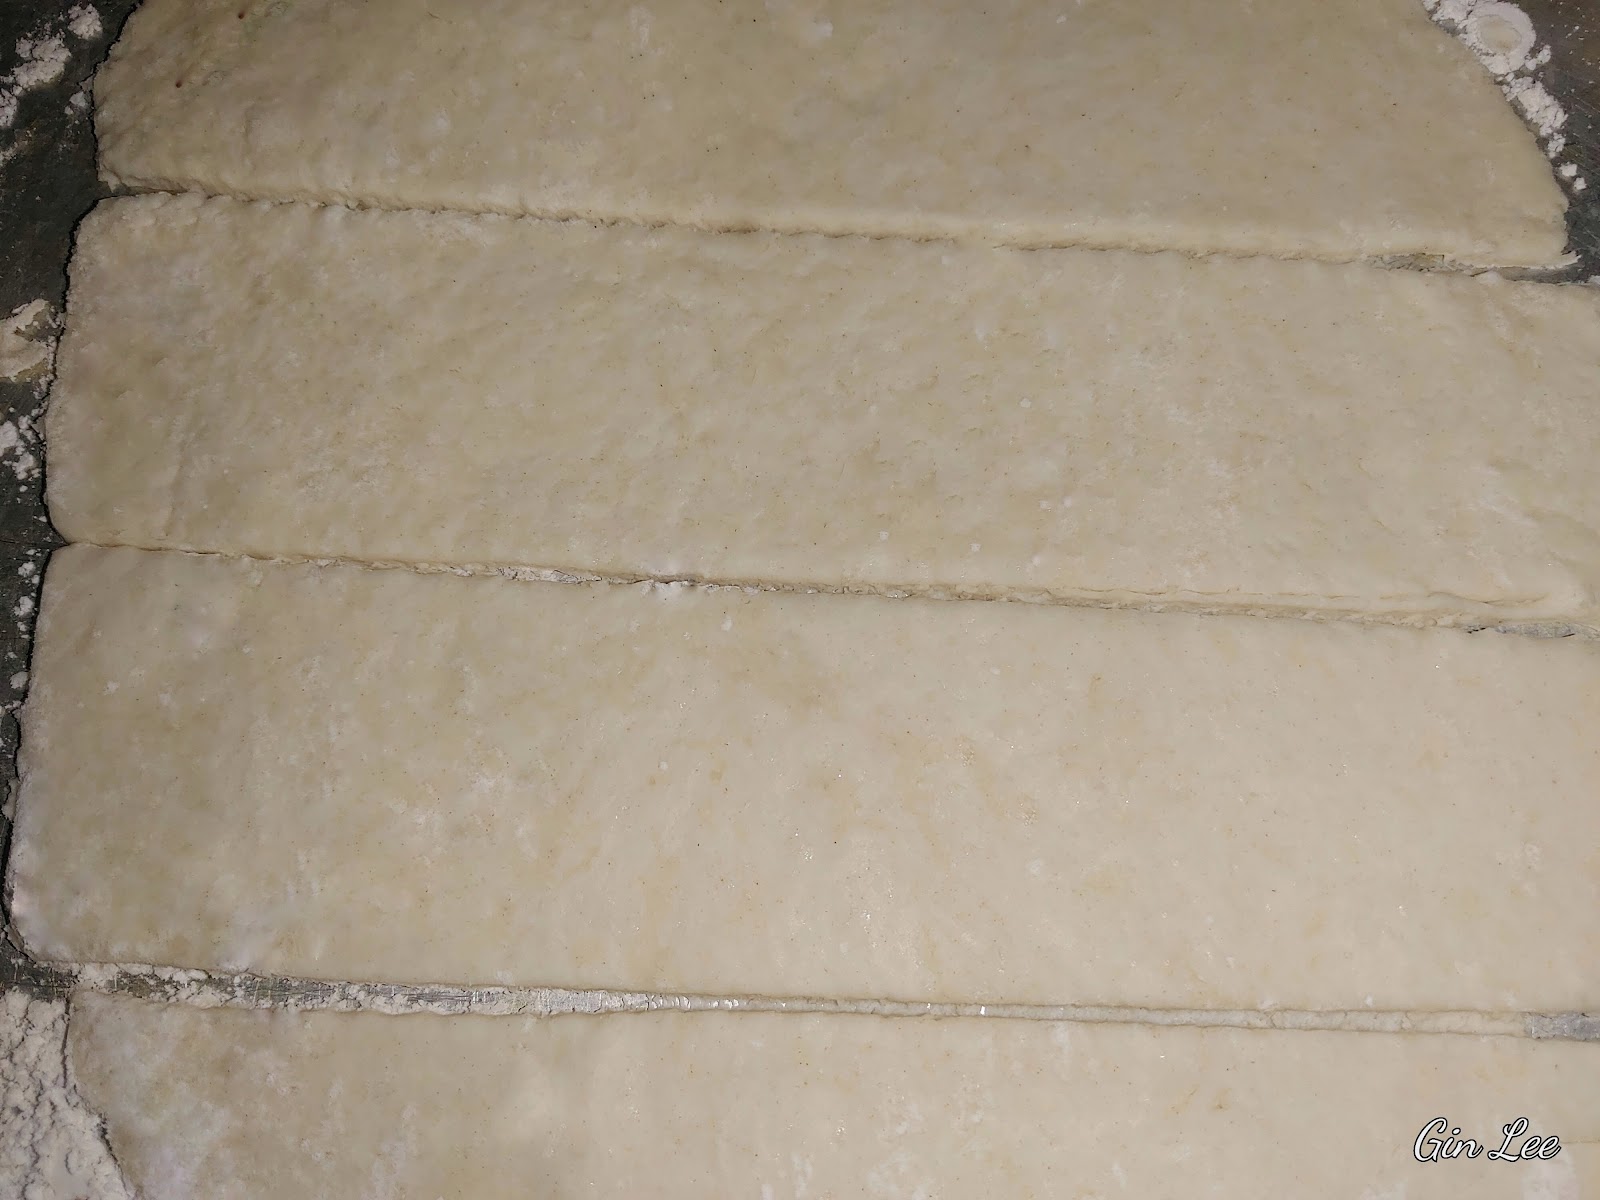
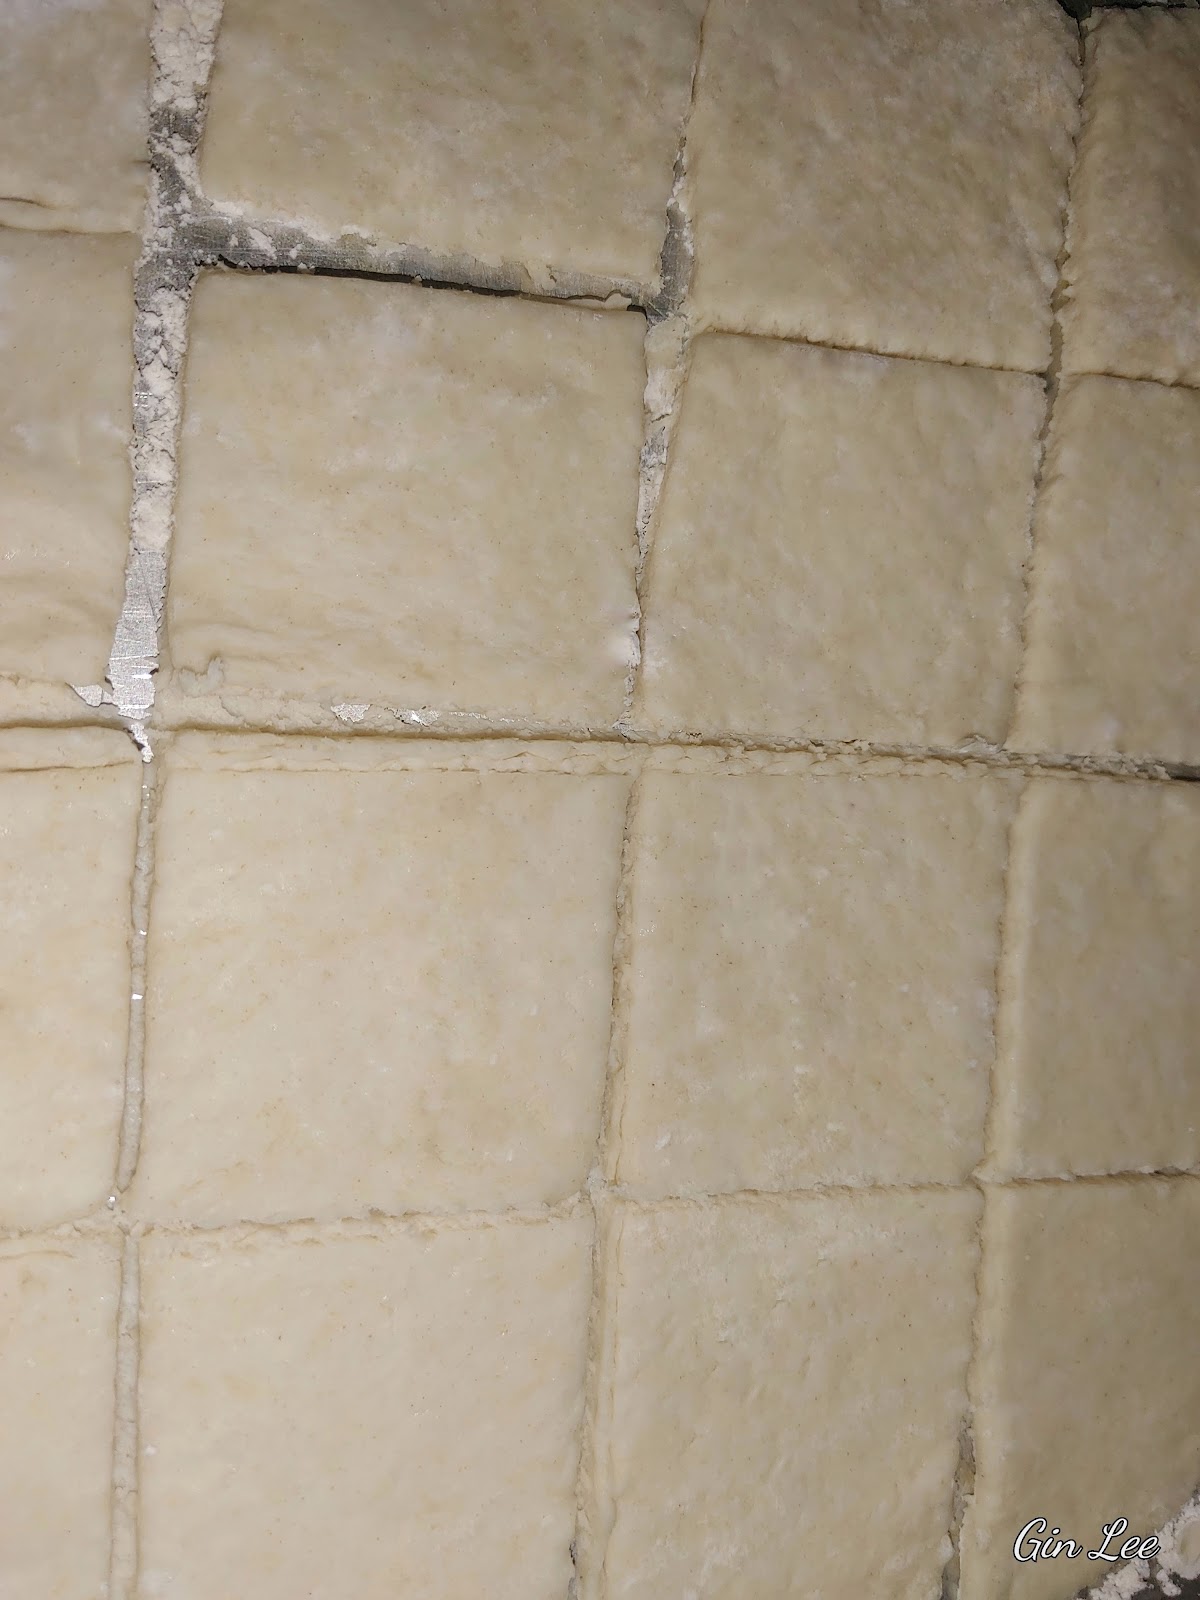
Next, using a knife, or pasta cutter, cut the dough into one to two-inch strips (depending on your preference). Now, cut the dough into squared-shapes. Repeat until all the pot pie squares are made. Allow the pasta to dry for about one hour before cooking it, or you can dehydrate it.
I cut off the side and end pieces each time, to try to maintain the square shape. I then add the extra dough to the next section of dough that I will be working with. I do this to each section until the last piece of dough. At the end, there will be a few odd-ball shapes anyway that won't be perfectly square.
Dehydrating the pot pie squares
After making the pasta, the pot pie squares can be dehydrated for about four hours at 135 degrees F in a dehydrator. When the pasta squares have dried, transfer them to an airtight container or Ziploc bags and store the pasta in the freezer for up to six months. It's pretty awesome to have homemade pasta already made in advance.
Pot pie recipes
Chicken pot pie
Drop the pot pie squares into a pan of boiling chicken broth to cook. Add two to three cups of cooked, cubed-bites of chicken, diced celery, diced carrots, green peas, cut green beans, and corn to complete the pot pie. (You could use turkey, duck, or pheasant as a substitute for chicken.)
Beef pot pie
To make a beef pot pie, use beef broth to cook the pot pie squares. Add two to three cups of chopped cooked beef and add your preferred vegetables. (You could use venison, bison, etc. as a substitute for beef.)
Vegetable pot pie
To make a vegetable pot pie. When making the pot pie squares, omit the butter and use dairy-free coconut butter, omit the egg entirely, or use an egg substitute. Use vegetable stock to cook the pot pie squares in and add your preferred vegetables.
Note:
If you really want to get fancy making the pasta, you can use different pasta mode and cutters to make different shaped pasta. The world of pasta is simply endless.

© 2025 Olden Oasis
oldenoasis.blogspot.com