Planting sweet potatoes
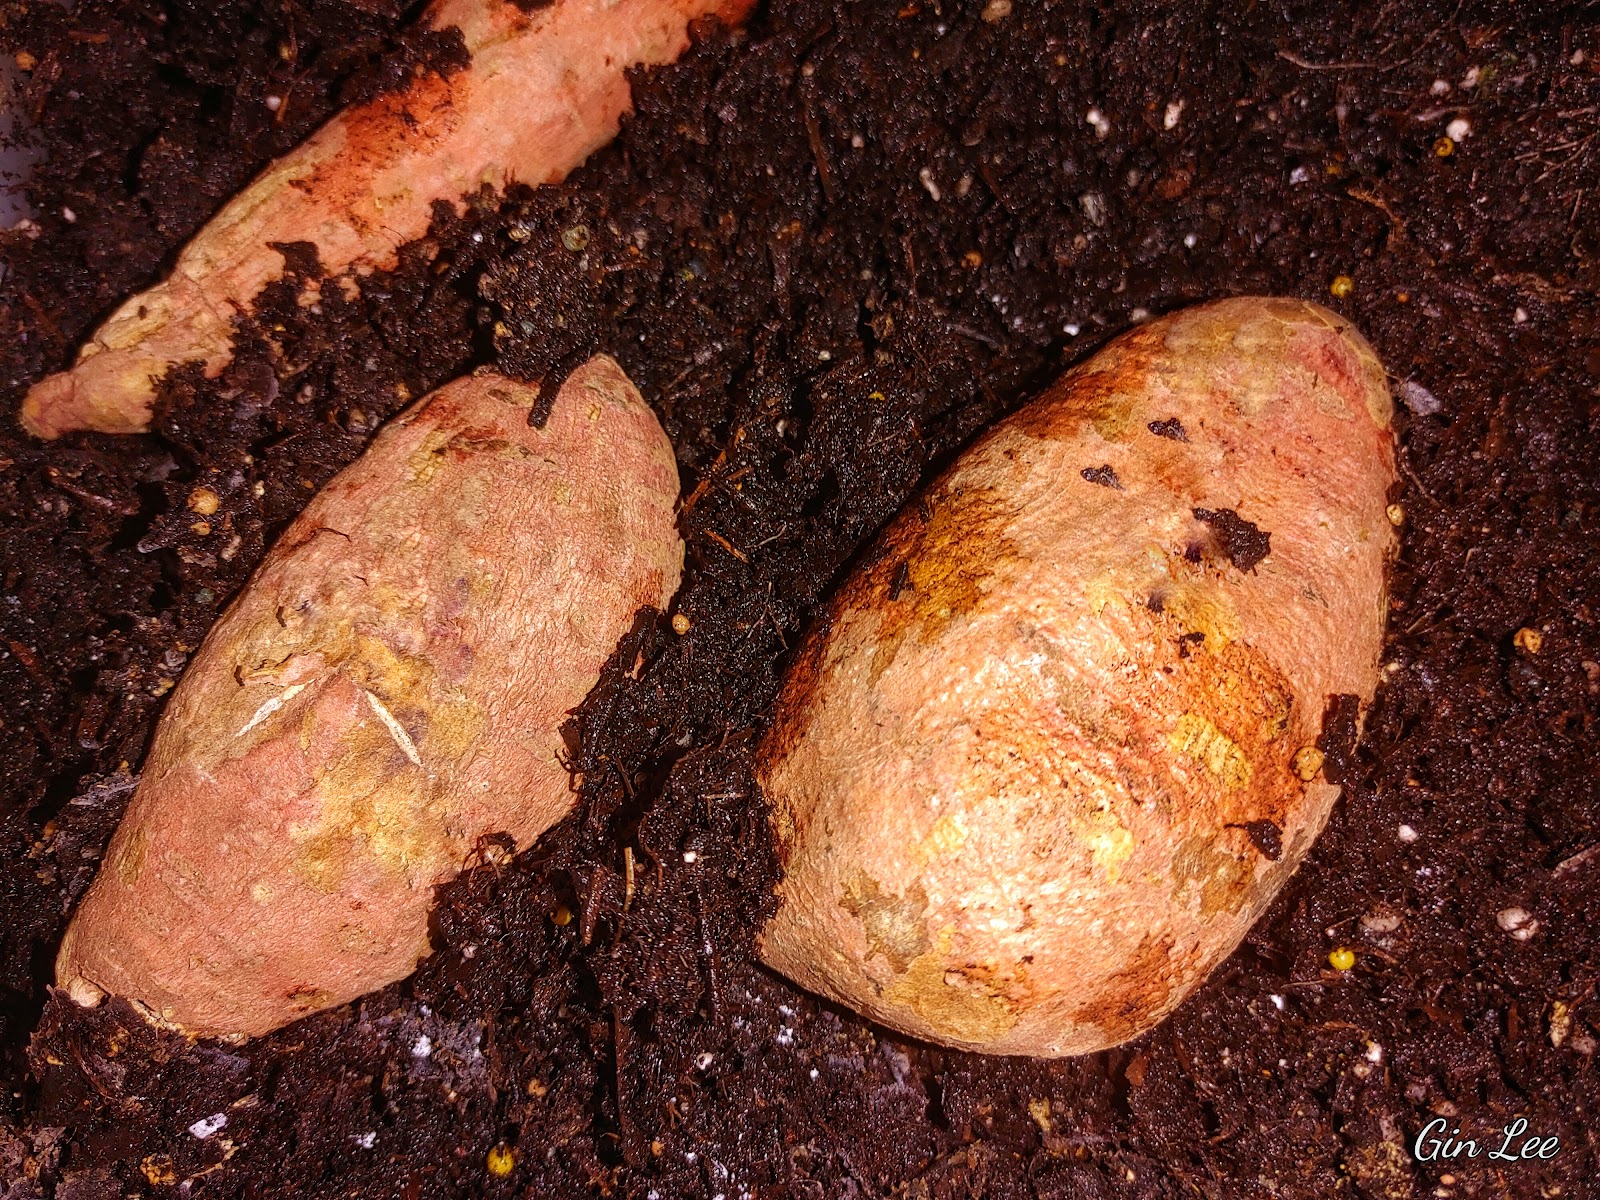
We are nearing the end of April, the perfect time to plant sweet potatoes. Sweet potatoes (Ipomea batatas) are a root vegetable that's native to Central and South America. They thrive in the heat and humidity because they are tropical plants. In actuality, sweet potatoes are not part of the potato family. They are part of the morning glory. The part of a sweet potato plant that we harvest is a tuberous root. There are several different varieties of sweet potatoes that you can grow, but today I will be planting Centennial sweet potatoes.
Sweet potatoes don’t start from a seed like the majority of other vegetables do. Instead, they grow from what are referred to as “slips." Slips are the green shoots that sprout from the tops of a sweet potato.
Planting your sweet potatoes to grow slips
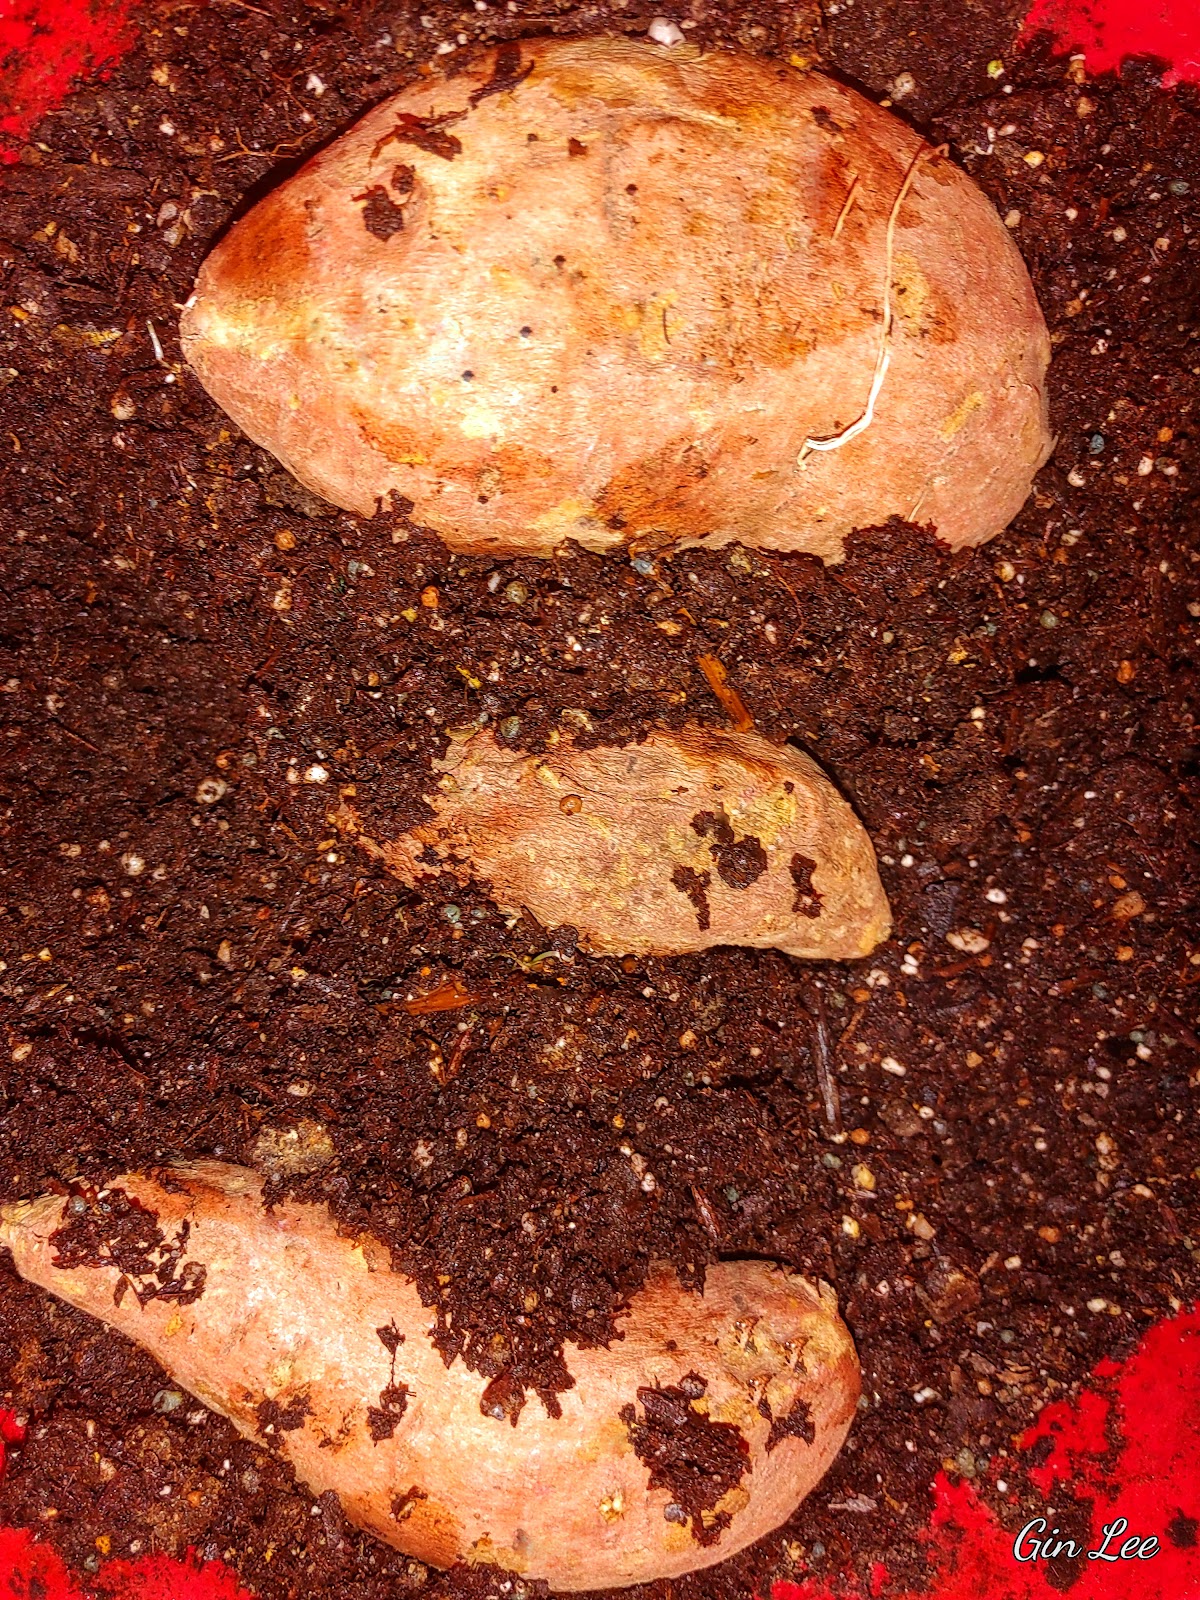
You can place a sweet potato in a glass or jar of water or lay it directly in a container of dirt (as I am doing here today). I prefer starting my sweet potatoes directly in a good potting soil mixture. I do this by laying whole sweet potatoes a few inches apart in a container of soil. Basically, I am just laying the potatoes on top of the soil, then loosely adding just a little more soil around and on top of each one. Water as needed and keep the soil damp.
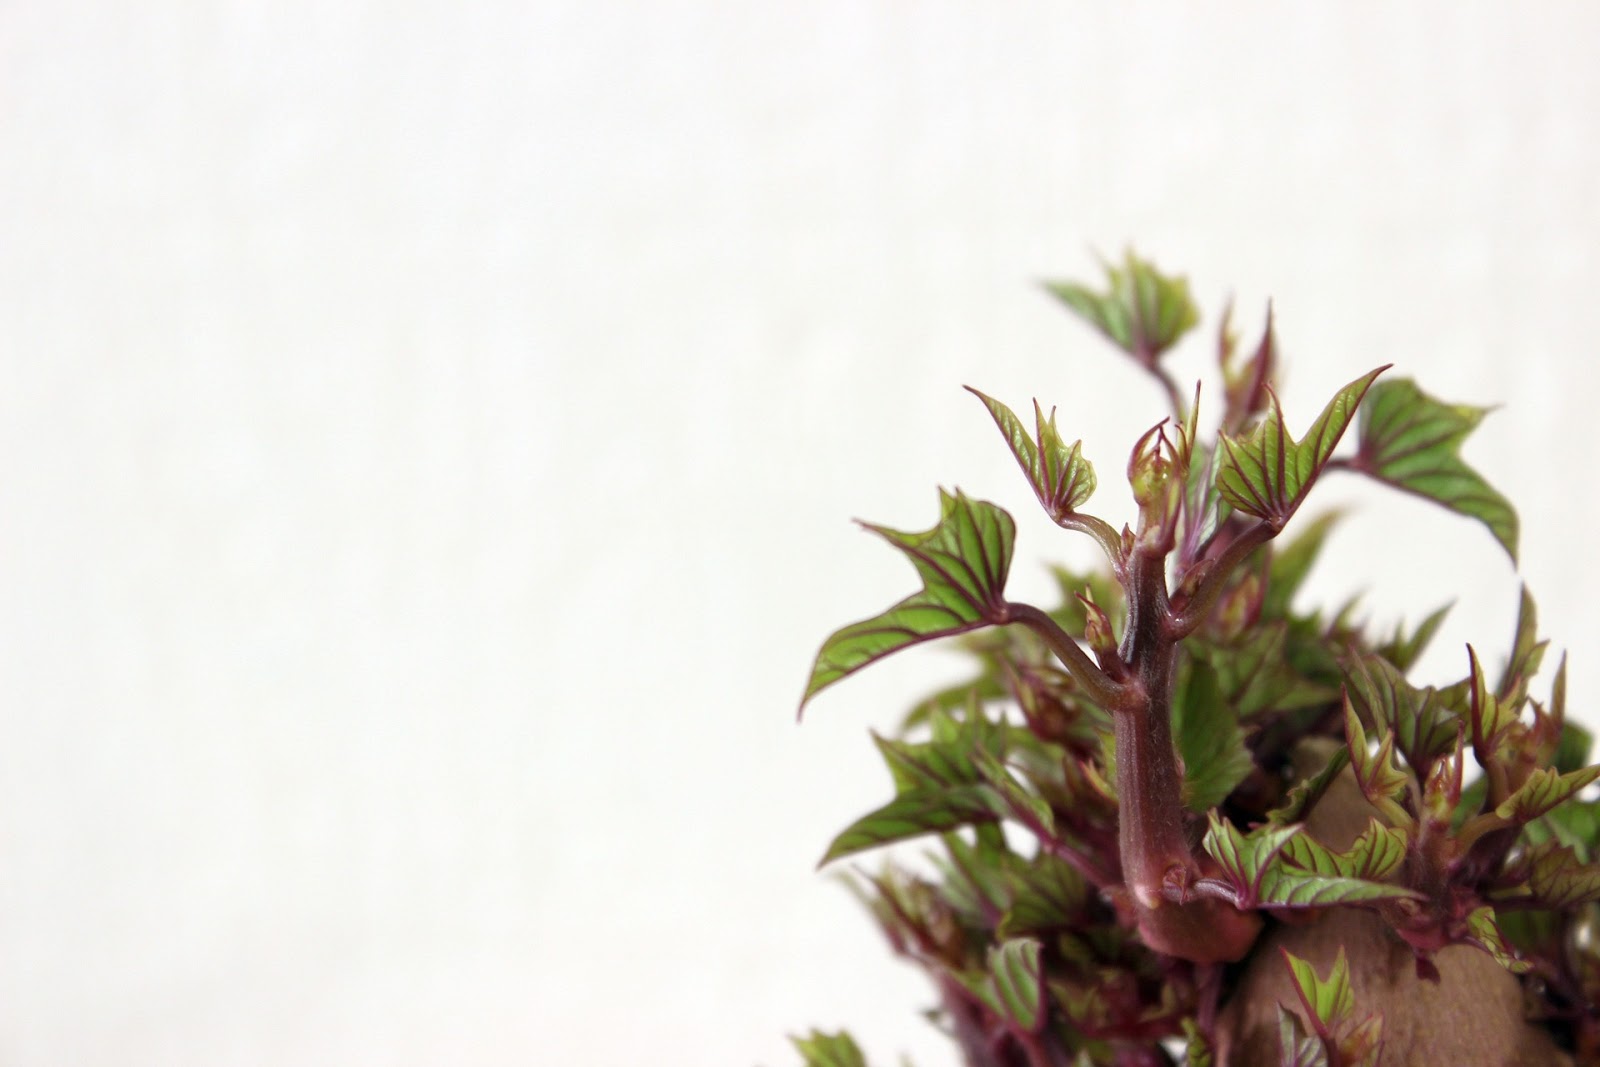
In about two to three weeks, the sweet potatoes will start sprouting greenery. The sprouts will grow out from the top of the sweet potatoes, and the roots will be growing underneath the sweet potatoes in the soil. The leafy green sprouts are what are known as the "slips."
annolyn
Once the slips have been established, you'll snip them off the sweet potato once they are about 6 inches long. At each of the nodes (the nodes are the part of the plant where there are one or more leaves, often with a slight swelling), one sweet potato slip will produce several sweet potato plants.
Once you have sniped the best-looking slips off of the sweet potatoes, place the ends of the slips in a container of water. They will need to establish roots before they can be planted. Generally, within a few days, you'll start seeing roots grow. You'll need to change the slips' water when it's needed so that they will grow healthy roots.
Planting the sweet potato slips
Once the roots are well established, it's time to plant the slips. You can plant them in containers of potting soil or plant them directly in the ground in loose, loamy soil. The sweet potatoes will need good drainage, or they will rot.
Transfer each slip with the root end down in a 4 inch-deep hole that is about 3 inches wide. Leaving a foot between each slip. Loosely and gently add soil around each slip. You'll need to plant the slips about three feet apart between rows. Sweet potatoes are vining plants, and they'll need plenty of space between each other to grow.
Now, water each slip generously. Then water daily for the first week. Then after that, water them every other day. You'll do this until the slips form into nice, hearty plants, then begin watering your plants once a week. Do this until it's time to harvest your bounty.
Harvest your sweet potatoes when the temperatures begin dipping down near 55 degrees F.
Curing sweet potatoes
Pull your sweet potatoes and allow them to lay out on the ground or on top of newspaper for about four hours to cure.
Next, place your sweet potatoes in a warm room for about two weeks. The temperature needs to be about 85 degrees F, and the humidity needs to be high. I keep mine inside my indoor greenhouse at this point.
After curing, store your sweet potatoes in a cool, dry area. Root cellars work well (if you have one).

© 2025 Olden Oasis
oldenoasis.blogspot.com