
Dehydrating broccoli

Dehydrating broccoli

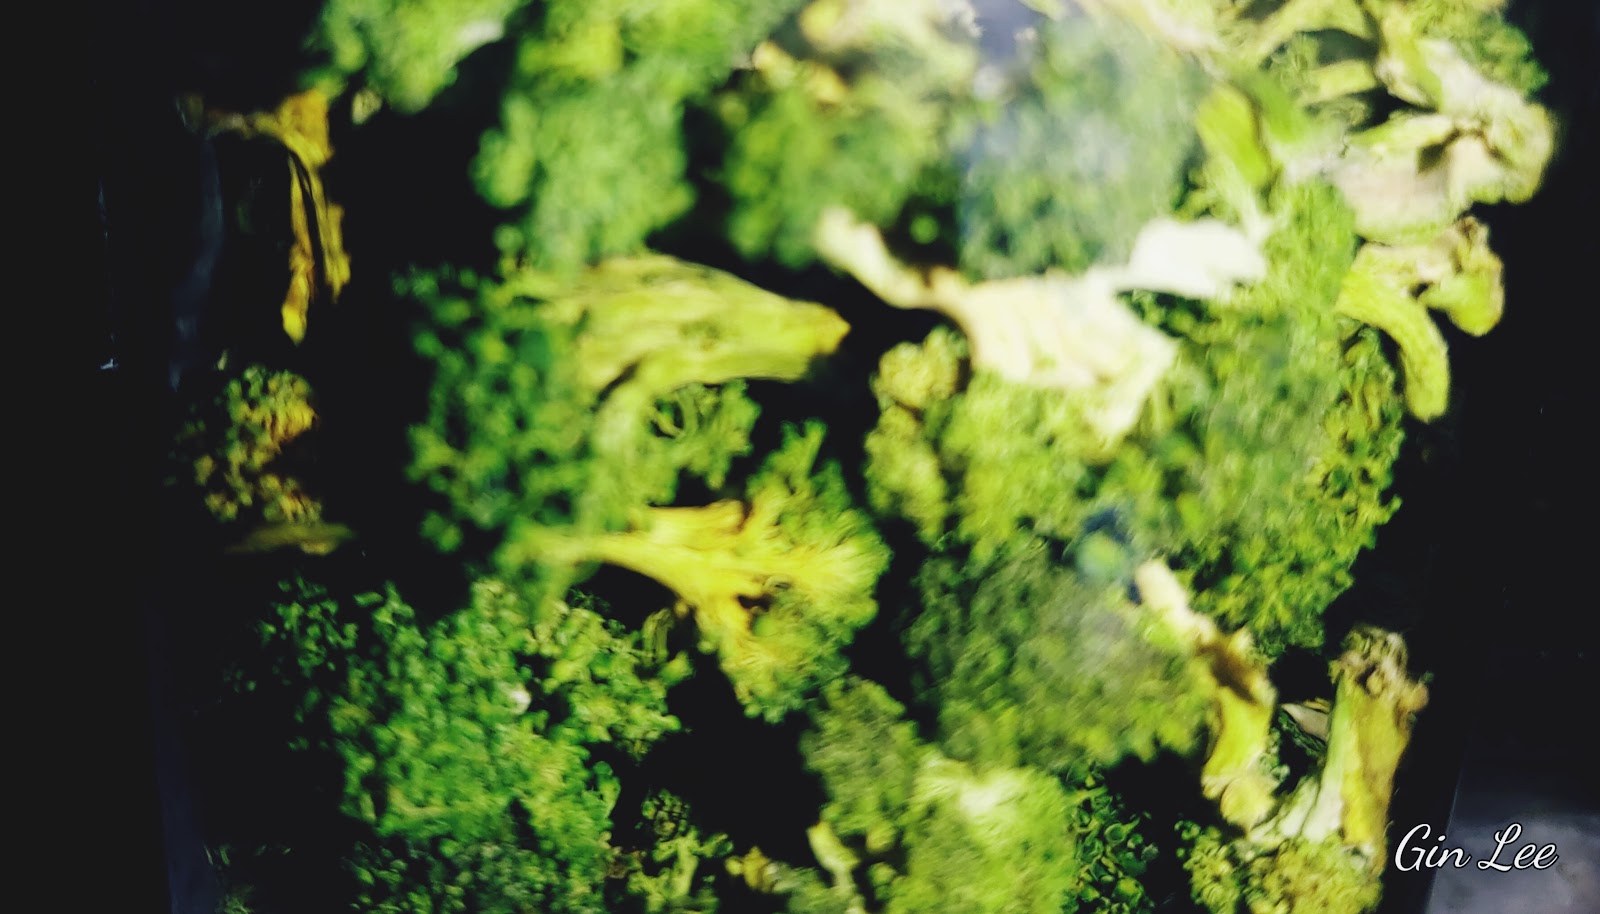
Most recipes tell you that broccoli will hold its beautiful green color better if you steam the spears for six to eight minutes first. However, that's not how I do mine. I prefer to dehydrate it while it is still at its peak freshness by simply laying it out on my dehydrator trays and dehydrating it. I do nothing more or less than that and it keeps its lovely green color just the same.

How to dehydrate broccoli

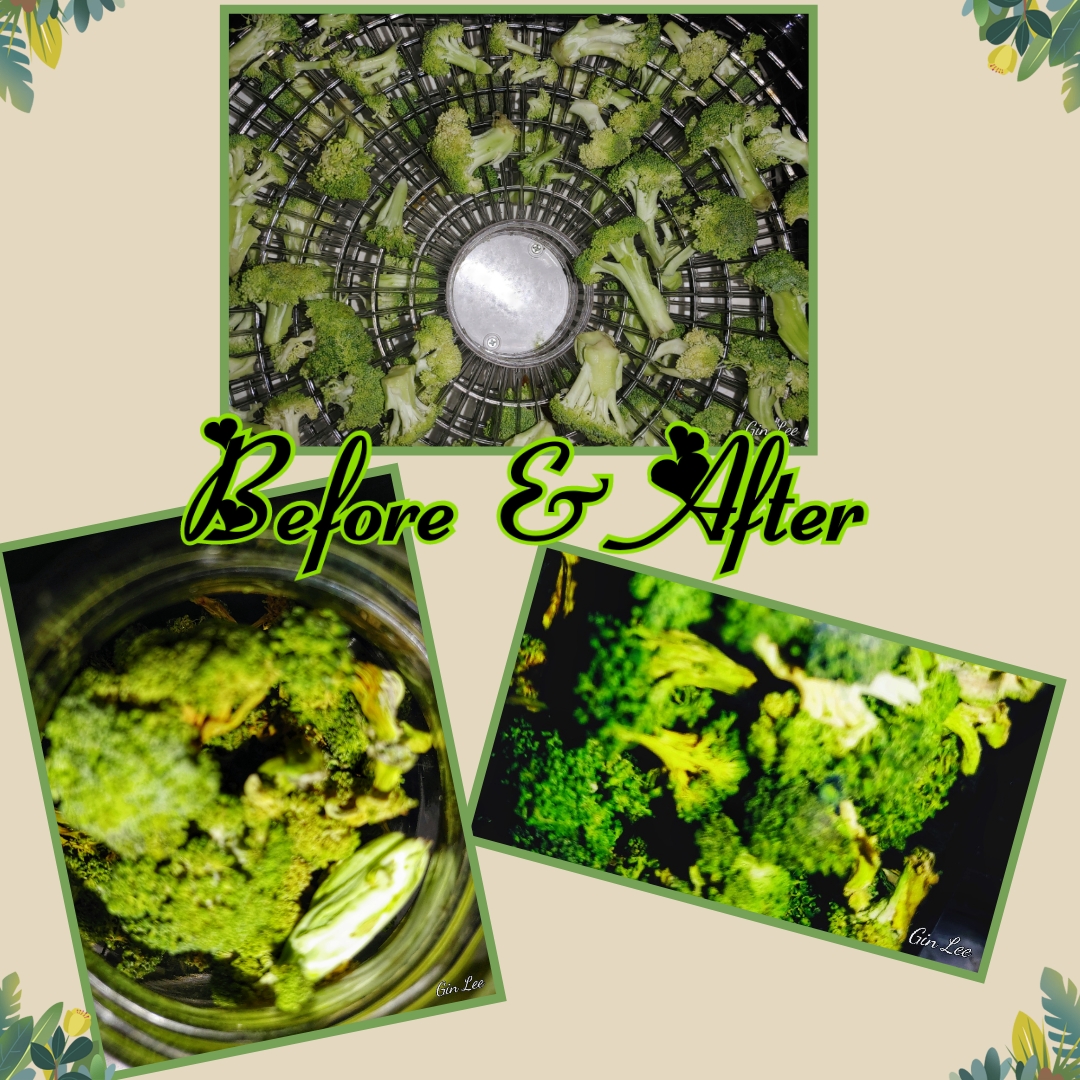
First, make sure that the broccoli is washed well. Then separate the florets and chop up the tender part of the stalks.


The florets need to be broken apart so that they'll dehydrate well. Plus, so that your dehydrating trays will close properly.


Place the florets and the stalk pieces onto the trays, leaving spaces in between them. 


Set the dehydrator at 140 degrees F and dry for about eight hours. Some pieces may be ready before eight hours. I always check the trays about midway through and I turn the pieces of broccoli over during that time. Whatever is already fully dehydrated at that time can be taken off the trays and placed inside an airtight container.


When all of your broccoli has finished dehydrating, store it in airtight containers.

Why dehydrate broccoli?

Personally, I like dehydrating broccoli so that I will have it for making different meals during the winter. It's great for using in rice dishes, casseroles, and cream of broccoli soup. 


Plus, dehydrating my broccoli helps me to save on freezer space simply because dehydrating reduces its weight while it still retains all of its nutritional value. 


Now, for those of you who want to know why I chose not to blanch or steam my broccoli first before dehydrating it. There are actually three reasons why I don't steam or blanch broccoli before I dehydrate it. I've found through personal experience that blanching the broccoli florets before drying tends to make them mushy-like (which also makes it messier) and instead of speeding up the dehydrating process, it actually takes longer to dry, plus it changes the overall texture of the broccoli once I rehydrate it to use. 


© 2025 Olden Oasis

oldenoasis.blogspot.com


Popular posts from this blog

How to Grow Lentils in Hydroponic Trays

How to Grow Lentils in Hydroponic Trays Introduction Lentils are a nutritious and delicious legume that can easily be grown in hydroponic trays. Hydroponic gardening is a method of growing plants without soil, using nutrient-rich water instead. In this article, we will discuss the steps on how to grow lentils in hydroponic trays with nutrient solution and without it using only water. Materials Needed To grow lentils in hydroponic trays, you will need the following materials: Hydroponic trays Hydroponic trays that will hold the lentils and nutrient solution. Lentil seeds Make sure to use high-quality lentil seeds for the best results. Nutrient solution A mix of water and nutrient solution that will feed the lentil plants. Grow lights Since lentils need plenty of light to grow, you will need grow lights if you don't have access to natural sunlight. Steps to Grow Lentils Step 1: Prepare the Hydroponic Tray Fill the hydroponic tray with the nutrient solution according to the instru...

Introduction to Holiday Flock Blocks Made With Applesauce

Holiday Flock Blocks Made With Applesauce Welcome to my guide on creating delicious and nutritious Holiday Flock Blocks made with applesauce! Designed to provide your flock with a festive and healthy treat, these homemade blocks are packed with the goodness of applesauce and can be customized with various flavors and ingredients. In this article, we will explore the benefits of using applesauce in flock blocks, provide a step-by-step guide on how to make them, suggest creative variations and flavor combinations, offer tips on storing and presenting the blocks, discuss the health benefits for your flock, address common questions and troubleshooting, and conclude with our final thoughts. Let's dive in and create some delightful treats for your feathered friends this holiday season! Introduction to Holiday Flock Blocks Made With Applesauce What are Holiday Flock Blocks? Holiday flock blocks are a fun and nutritious treat for your feathered friends during the festive season. These hand...

Rendering Lard: A Sizzle of Tradition and Flavor

Rendering Lard: A Sizzle of Tradition and Flavor In light of rising prices, allow me to demonstrate how you can save money on cooking oil by creating your own lard at home. Rendering lard, the process of melting down and purifying pork fat to create a versatile cooking ingredient, has a rich history deeply rooted in culinary traditions around the world. While lard fell out of favor for a period, it is experiencing a resurgence due to its unique flavor profile and various benefits in cooking. My article today explores the art of rendering lard, from understanding its origins to selecting the right fats, different rendering methods, storage techniques, culinary uses, and essential tips for achieving optimal results. Historical Significance of Lard Lard holds a prestigious place in culinary history, being a key ingredient in traditional recipes across various cultures. It was prized for its versatility and ability to enhance the taste of dishes. Benefits of Rendering Lard Contrary to popu...