Pleasures of greenhouse gardening throughout the year
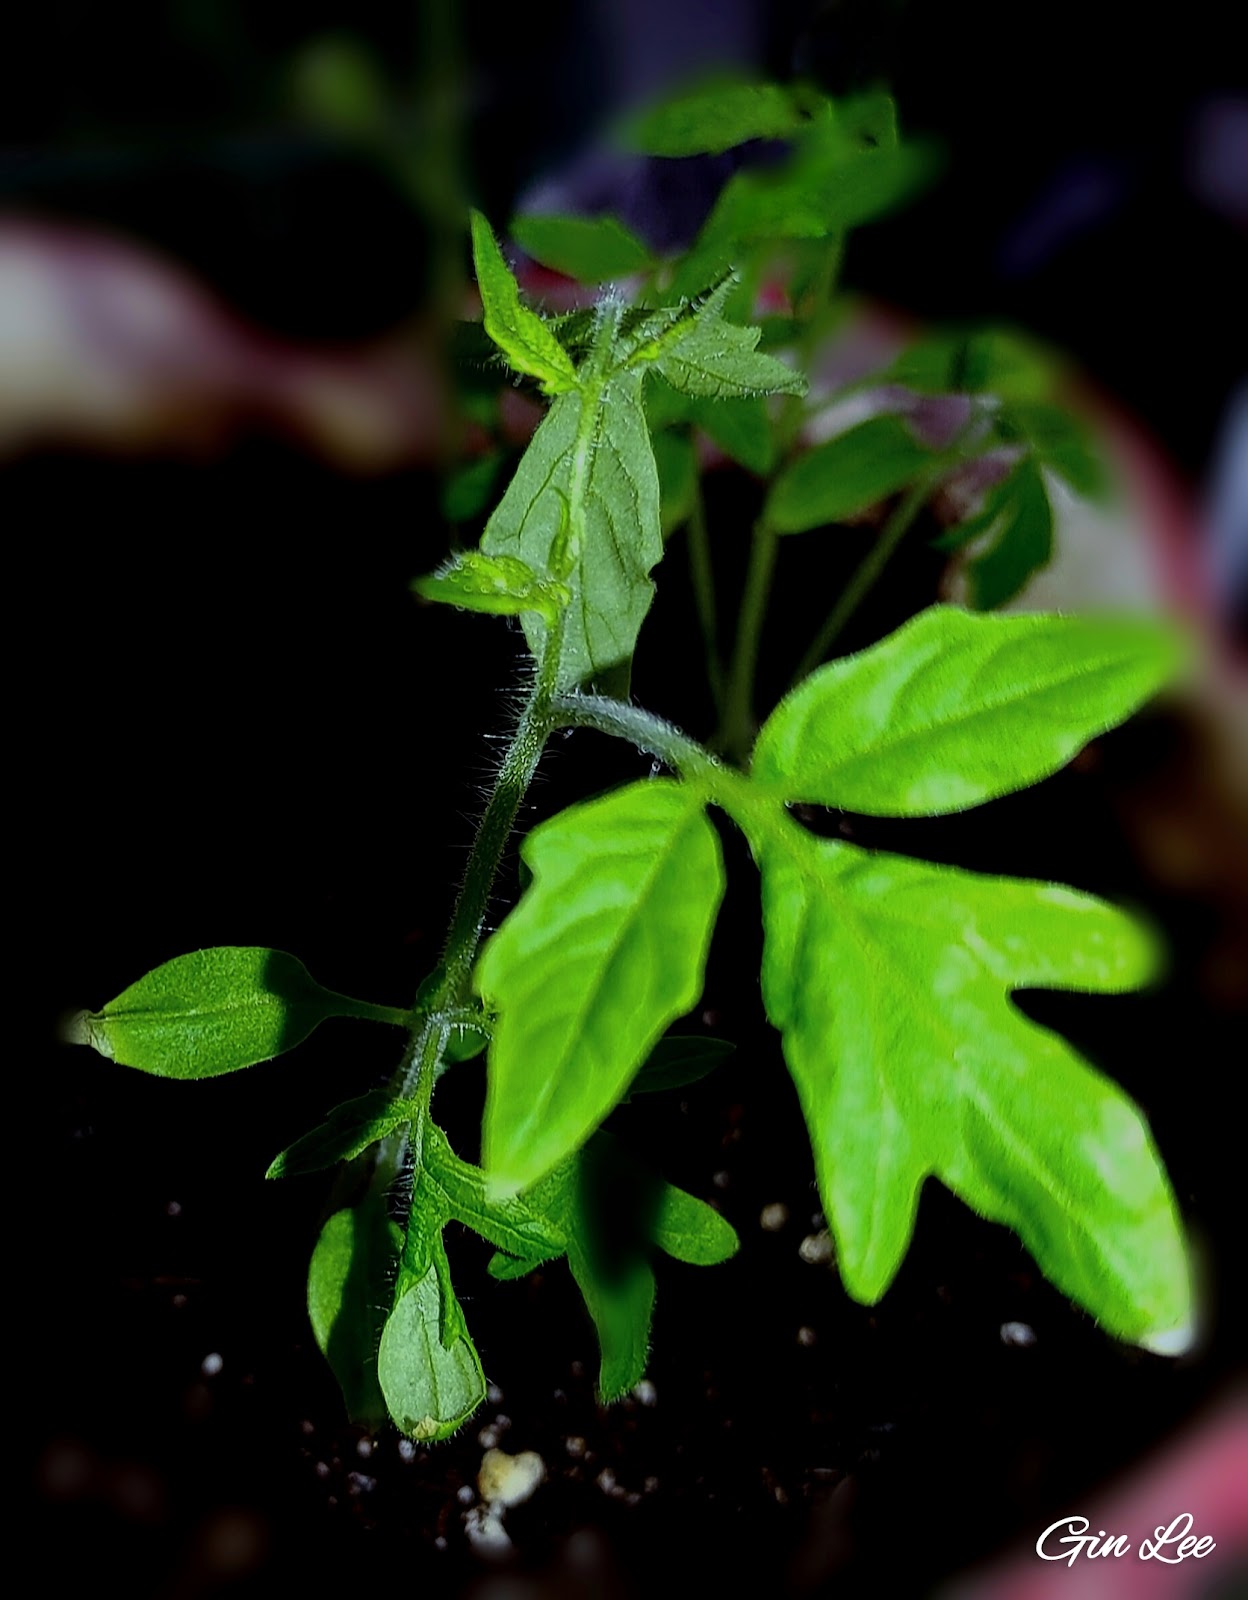
Today I thought I would cover a more in-depth article about the simple gardening tips I do during the winter. I already have various garden seeds planted (for winter) and some are already blooming. So, if you're wondering if you can grow vegetables inside in the winter, this is one example to show that you can.
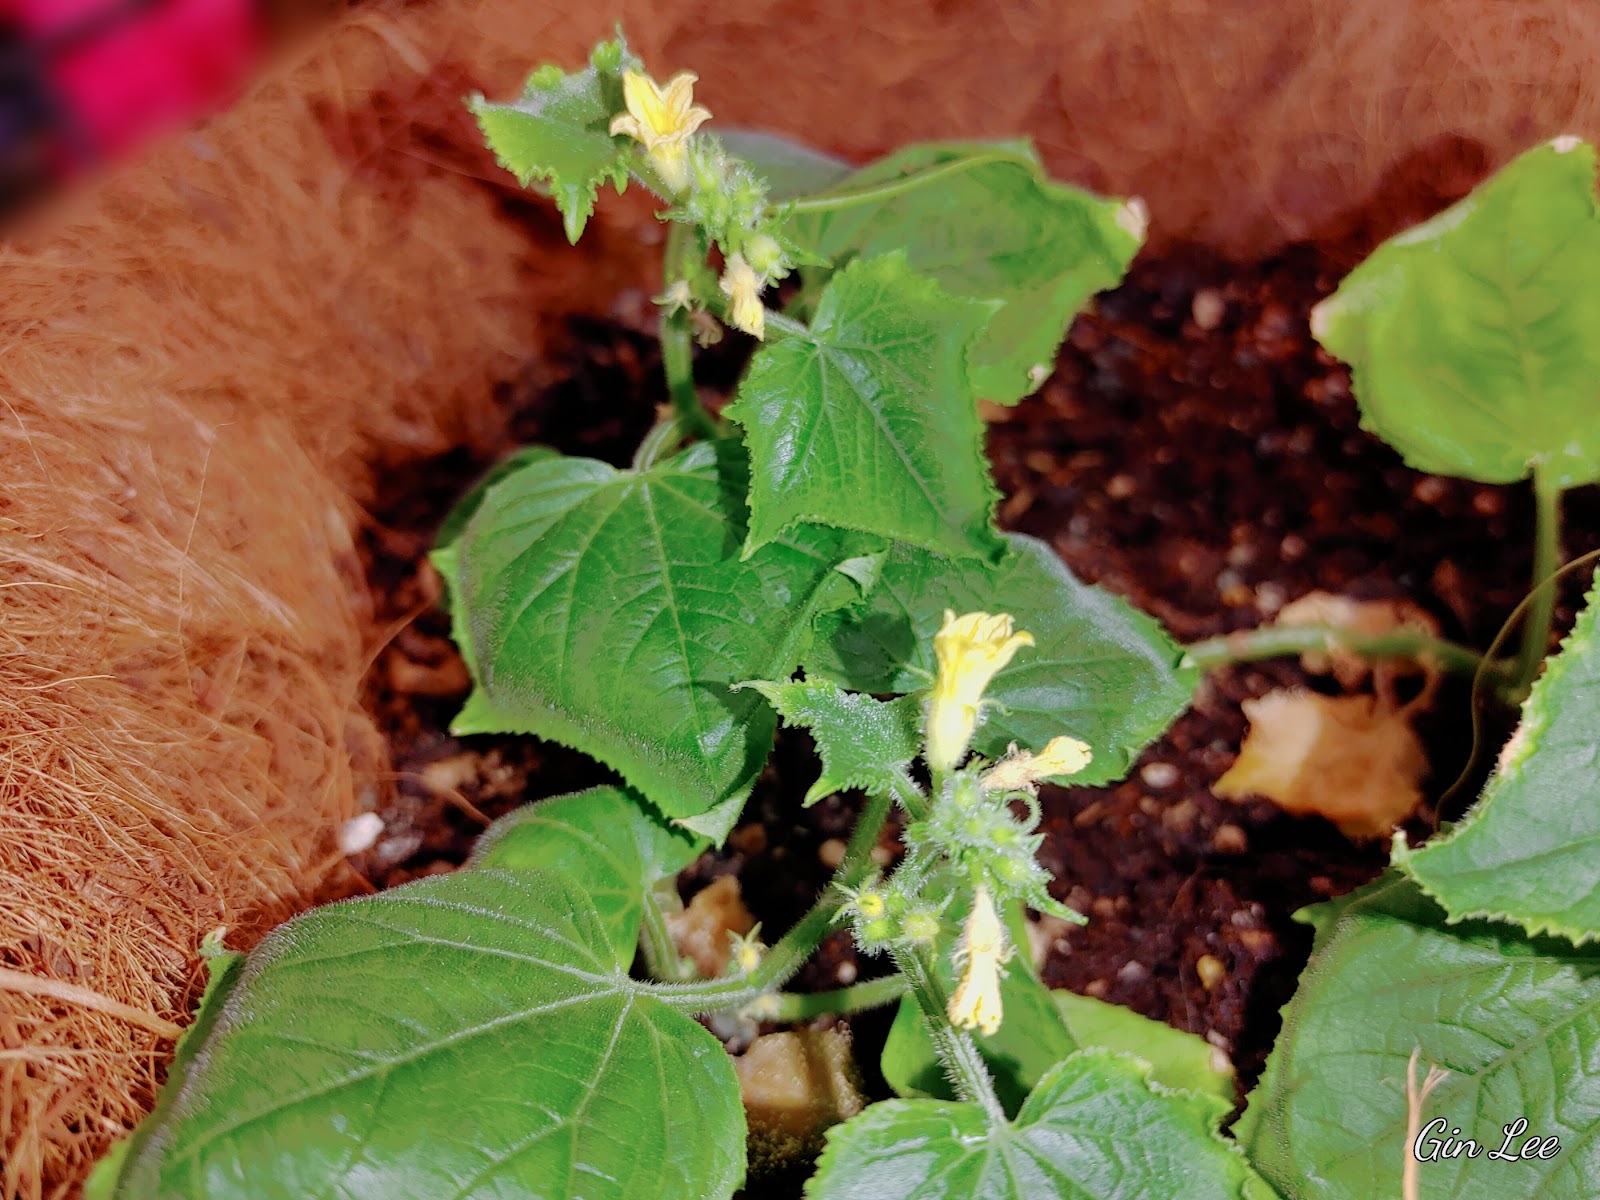
Greenhouse gardening allows gardeners to have a consistent garden environment regardless of what the season is, which means you can keep growing vegetables and fruit even throughout the coldest months of the year without extreme limitations (in most cases).
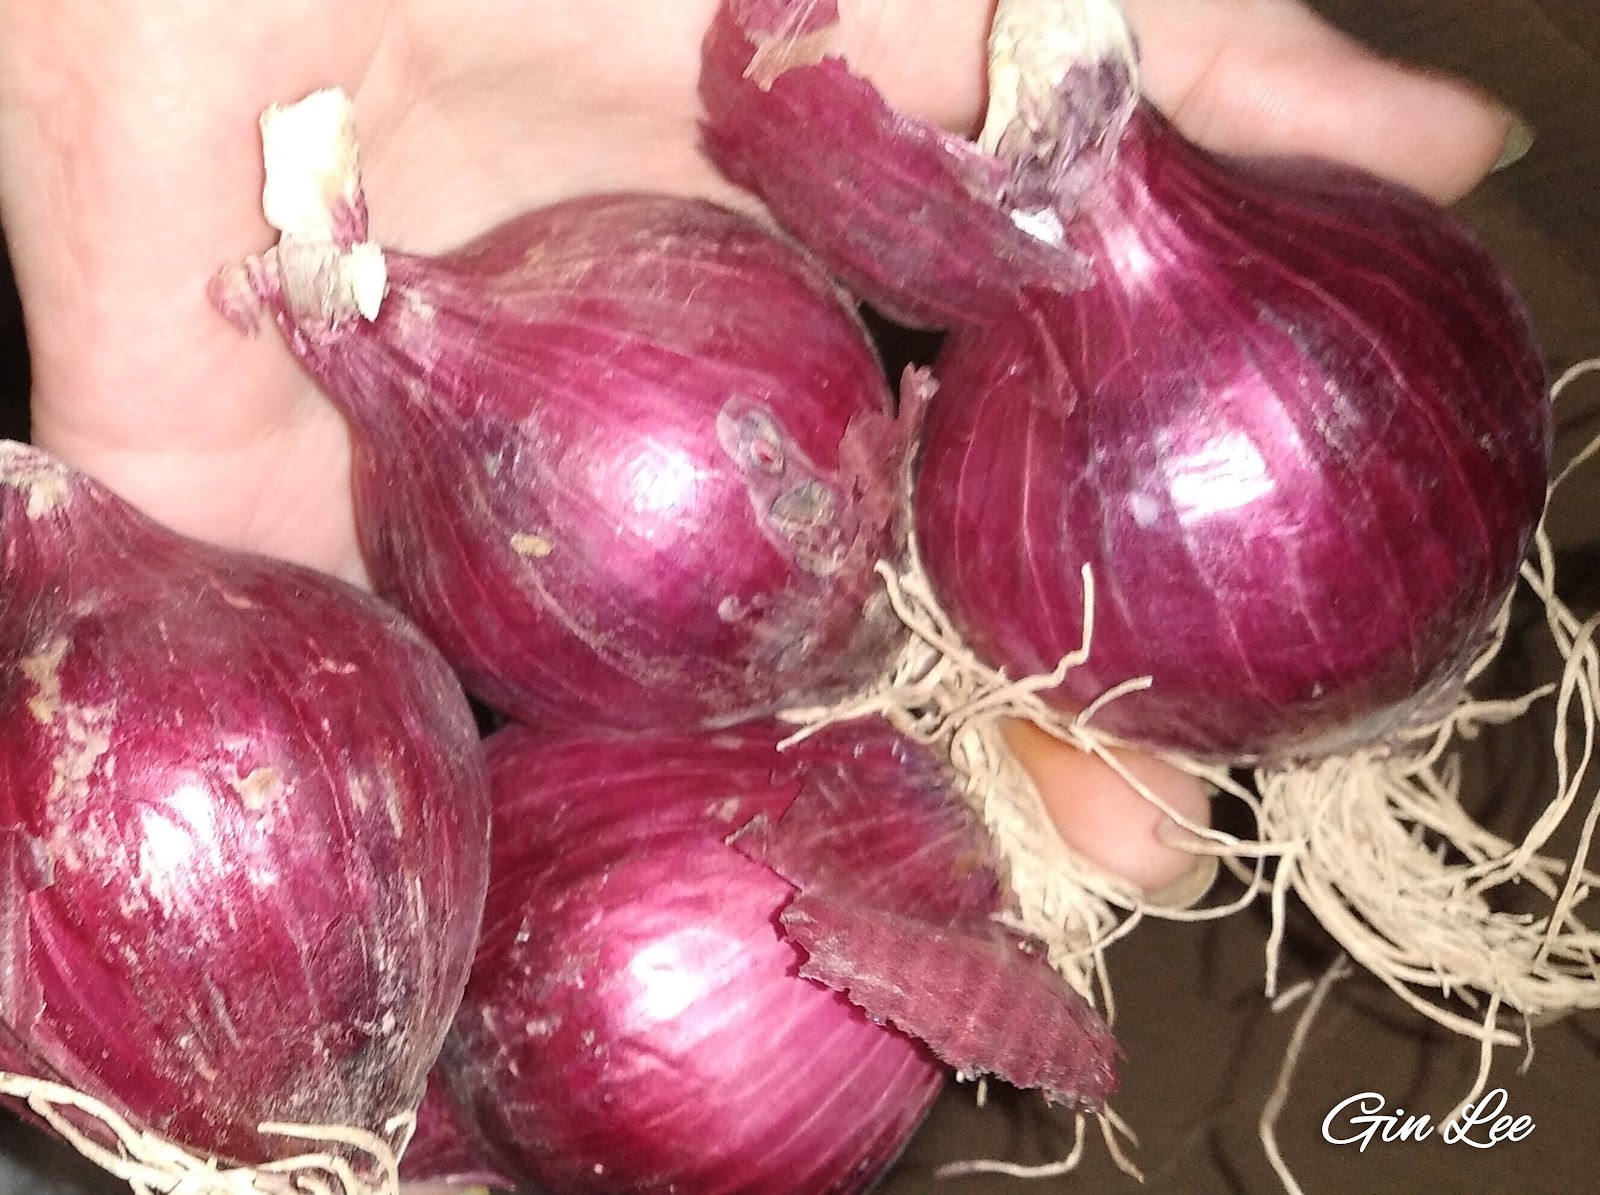
There are numerous advantages to having indoor greenhouses. Since I added my greenhouses to the interior of my home, I have actually used less wood and less electricity to heat my home in the winter. The quality of air has become much better. Plus, I don't have to worry about bugs and wildlife eating my vegetable and fruit plants, nor do I have to worry about the weather creating havoc on my garden.
Most any vegetable plant will grow successfully with a little heat and ingenuity in the winter. During the winter, greenhouse temperatures should be around 65-70 Degrees F during the days and 45 Degrees F during the nights. Different plants do have variable needs, but these temperatures are suitable for most greenhouse plants. During the summer, the greenhouse temperature should stay around 75-85 Degrees F during the day and 60-75 Degrees F during the nighttime hours.
Steps to help keep your plants warm in the winter
Through trial and error, I have found during the coldest weeks of winter it's best to keep your plants up higher off the floor. I do this by using plant stands at ground level. I utilize my space also by using large vertical garden tower planters and hanging planters.
On really cold nights, you can also use garden cloches, clear tall plastic plant domes, clear plastic tote containers, or clear milk jugs to cover your vegetation. Doing this will hold the heat in around the plants that you can't move to higher levels. This method is actually like having miniature greenhouses. So, even if you don't have a greenhouse or greenroom, these methods work both inside and outside just as well. Cool season vegetables can be grown easily in zones 7 and 8 throughout the winter outside using this method.
If you use plastic domes without vents, plastic totes, or plastic milk jugs, be sure to lift them up (off of your plants) during the daytime so that your plants receive adequate light and get the air ventilation that they need. You can also use boards or bricks to prop up one side of the containers if needed. These methods work with or without having a greenhouse.
How does a garden cloche work?
An actual garden cloche has vents that can be opened and closed. While the vents are closed, warm air heats up the soil. When the cloche vents are closed, it keeps the warm air inside, and the inside air will continue to heat up until you open the vents. Plants can live inside vented garden cloches usually just fine and you can use them to garden with or without owning a greenhouse.
Other ways to keep your plants and greenhouse warmer
To save money and to make use of large clear plastic bottles, you can cut the bottoms off the bottles and use the top lid to create a simple, cheap, but effective garden cloche. With the lid screwed on, it will hold the heat in at night. Removing the cap creates a vent so that you can open it for needed air ventilation.
You can also make vents in plastic clear tote containers, clear plastic milk jugs, etc. by poking holes in them. On cold nights, you'll want to cover the holes up with some type of cloth to help retain heat inside.
I also use thermal reflective emergency blankets inside the walls and on the ceiling of my indoor greenhouses. Using these not only helps to reflect light from the grow lights but also adds a layer of insulation to help protect my plants from getting too cold during cold winter nights. The silver foil reflective emergency blankets reduce heat loss, reflect light, and they block out winter drafts. This is a simple, cost, effective way to help keep your plants warm in the winter.
You can also attach bubble wrap to the inside walls and ceiling of your greenhouse to reduce heat loss and to block out cold winter drafts. You can use traditional bubble wrap, or purchase specific horticultural bubble wrap insulation. The bubble wrap that has larger bubbles works the best, and the horticultural bubble wrap does have the larger bubbles. If you don't have a greenhouse, but have a designated greenroom, placing bubble wrap inside your windows will still make a huge difference.
Another cost effective way to help heat your greenhouse and greenroom is having a compost bucket inside. This method can also help heat the area inside naturally. If you're interested in this method, you'll want to add a layer of coarse sticks at the bottom of your compost container to improve aeration at the bottom. Just be aware that if you do use a compost bucket inside, it can attract rodents.
I have tried a few of the candle methods and I know that many people have claimed that they work, but they weren't that successful for me. Plus, I wasn't too stoked on leaving them alone while burning, nor was it worth it for the length of time that they lasted. So, not only is this method unsafe, I also found that it wasn't that cost effective either. In case you're wondering, I live in zone 7b and it took about sixty candles to heat up a 10x10 area during the last ice storm that we had. Theoretically, the candle method helped when I was in a pinch and lost power, but it isn't feasible to use sixty plus candles every day during the coldest temperatures (I say sixty plus because candles only last x number of hours).
To conclude, I have covered several ways to help add warmth to your greenhouse and greenroom, but it's also key to remember that your plants need to have good air circulation as well, to keep them from overheating and getting diseases. You can do this simply by using fans to help control the humidity.
© 2024 Olden Oasis
oldenoasis.blogspot.com