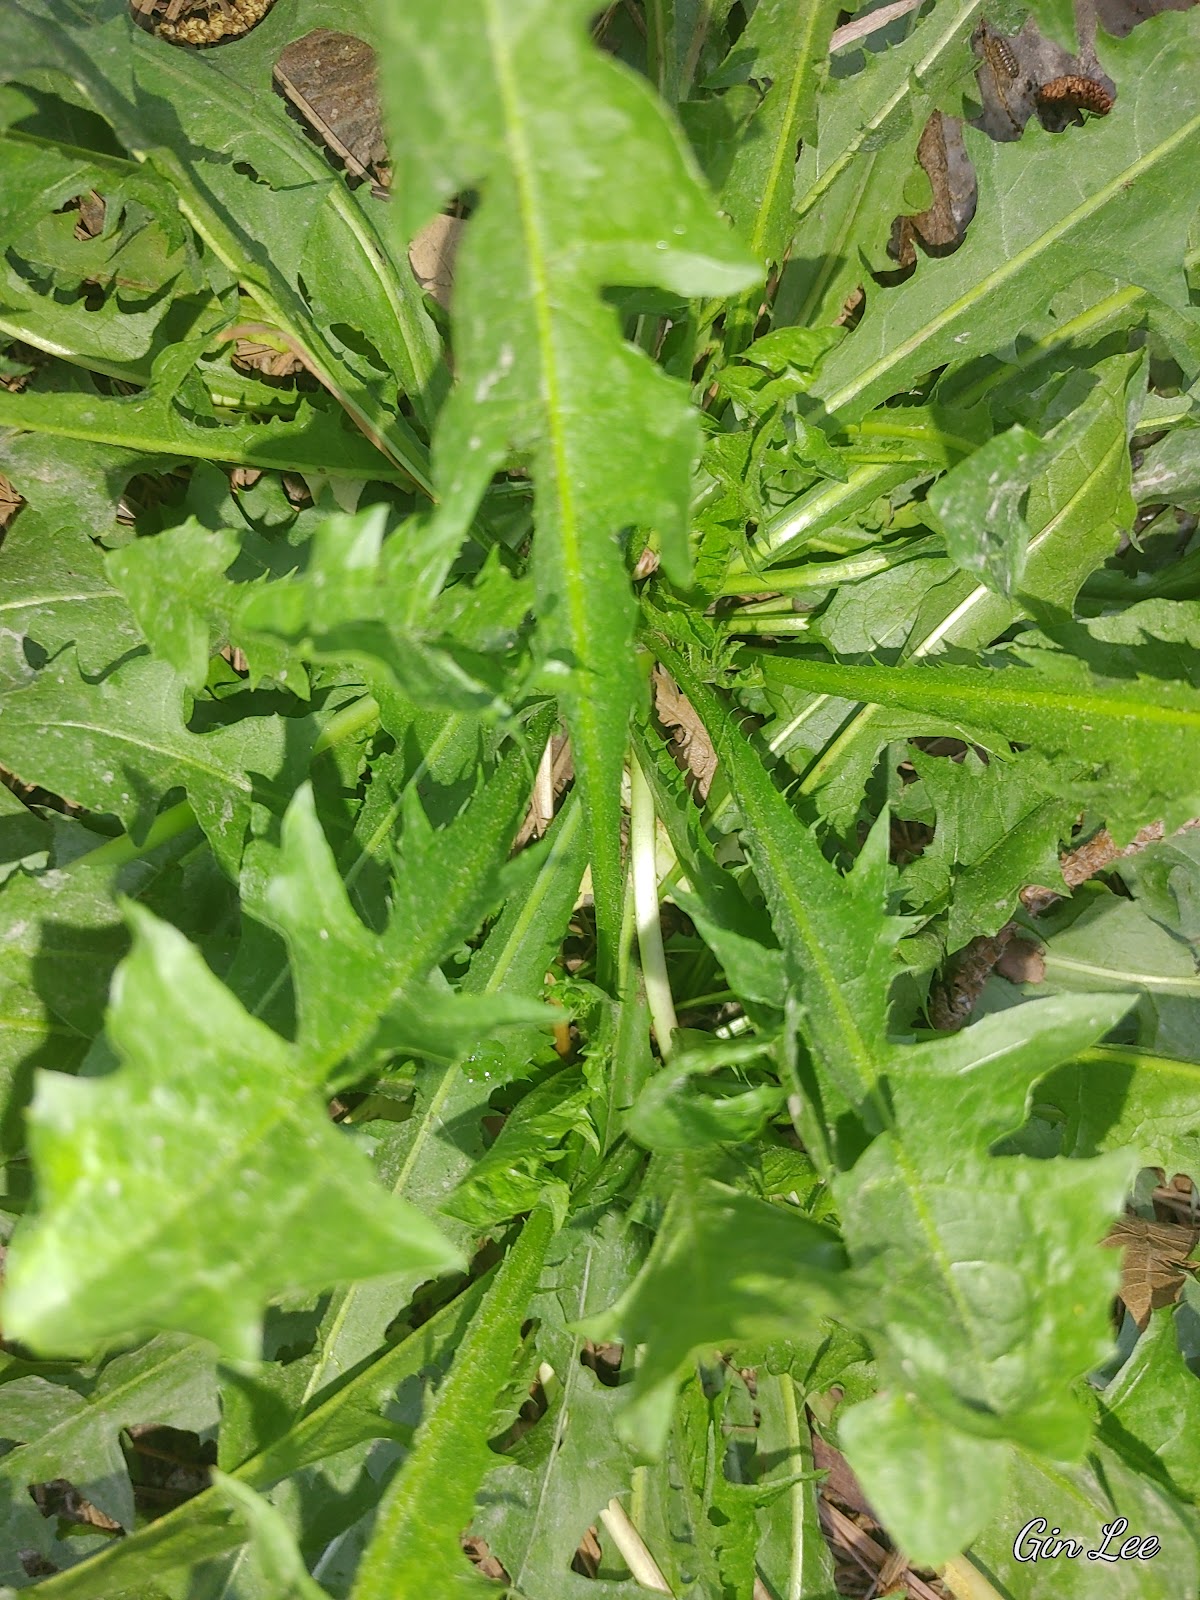
Foraging dandelion greens
Now is the perfect time to forage for the perfect greens that commonly grow naturally in your own backyard. Yes, I am referring to dandelion greens. The dandelion plant is known as a common weed, but it is chalk full of fiber, antioxidants, vitamins, and minerals. Dandelions are what some people call a lawn nuisance, but I like to think of them as free health food.
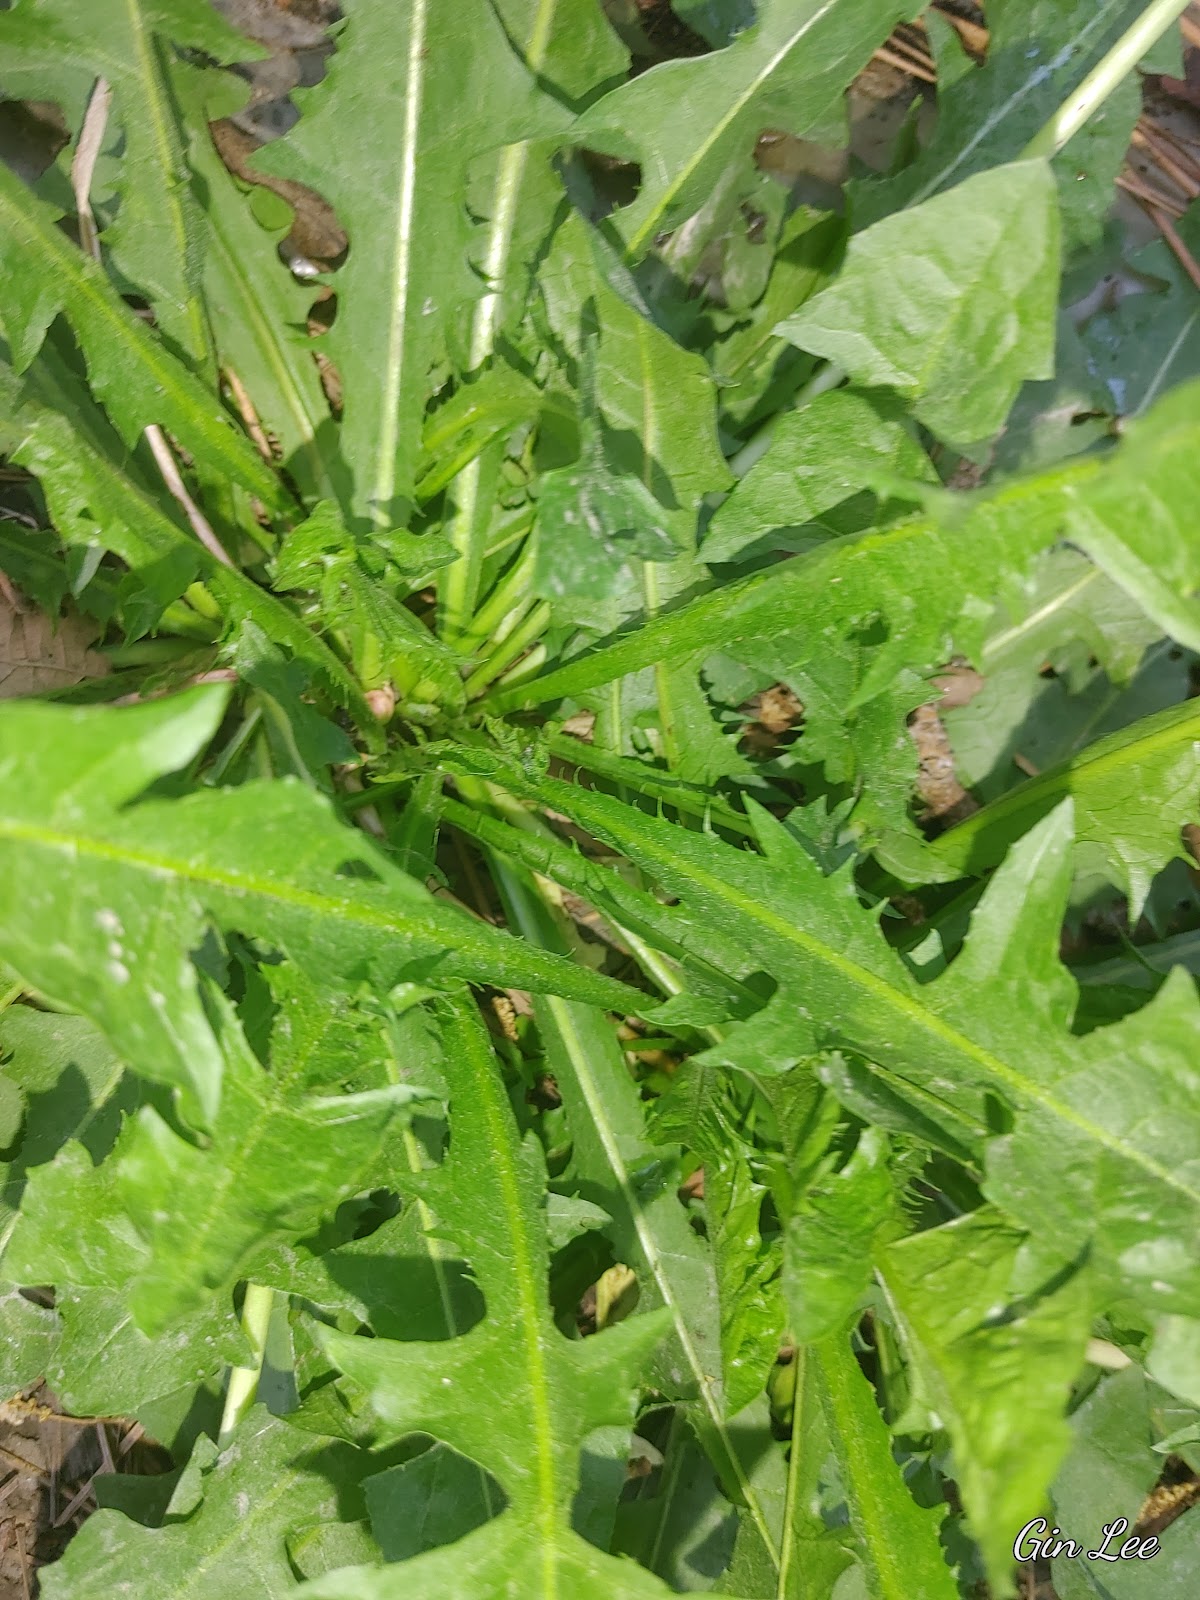
These jagged, saw-toothed plants are edible from root to flower, and they are actually known as a superfood.
If you don't have a lawn full of dandelions, they are also available as a tea, supplements, and in some grocery stores, fresh dandelions can be purchased in the produce aisle.
Dandelion greens can be picked, rinsed, and cleaned, then eaten raw or cooked just like any other type of green that you may buy or grow in your home garden.
So why would you want to eat dandelions?
For one thing, dandelions are free food. They grow organically on the lawns of most residential homes, and for another reason, they are a powerhouse of nutrition. Dandelion greens have more nutrients than any other type of green that you'd grow in your home vegetable garden.
The entire dandelion plant is rich in fiber, contains antioxidant beta-carotene, and also contains vitamins A, C, E, and K, along with small traces of B vitamins, plus various minerals such as iron, calcium, magnesium, and potassium.
You can eat dandelions to treat anemia, constipation, and improve digestive health, among other things.
Dandelion plants are low-toxic. So they are generally safe for most people to eat. However, if you're allergic to ragweed and other plants that are related to ragweed, such as bonesets, daisies, echinacea, chrysanthemums, mugwort, and others, then it's possible that dandelions could cause you to have similar allergic reactions too since they are in the ragweed plant family.
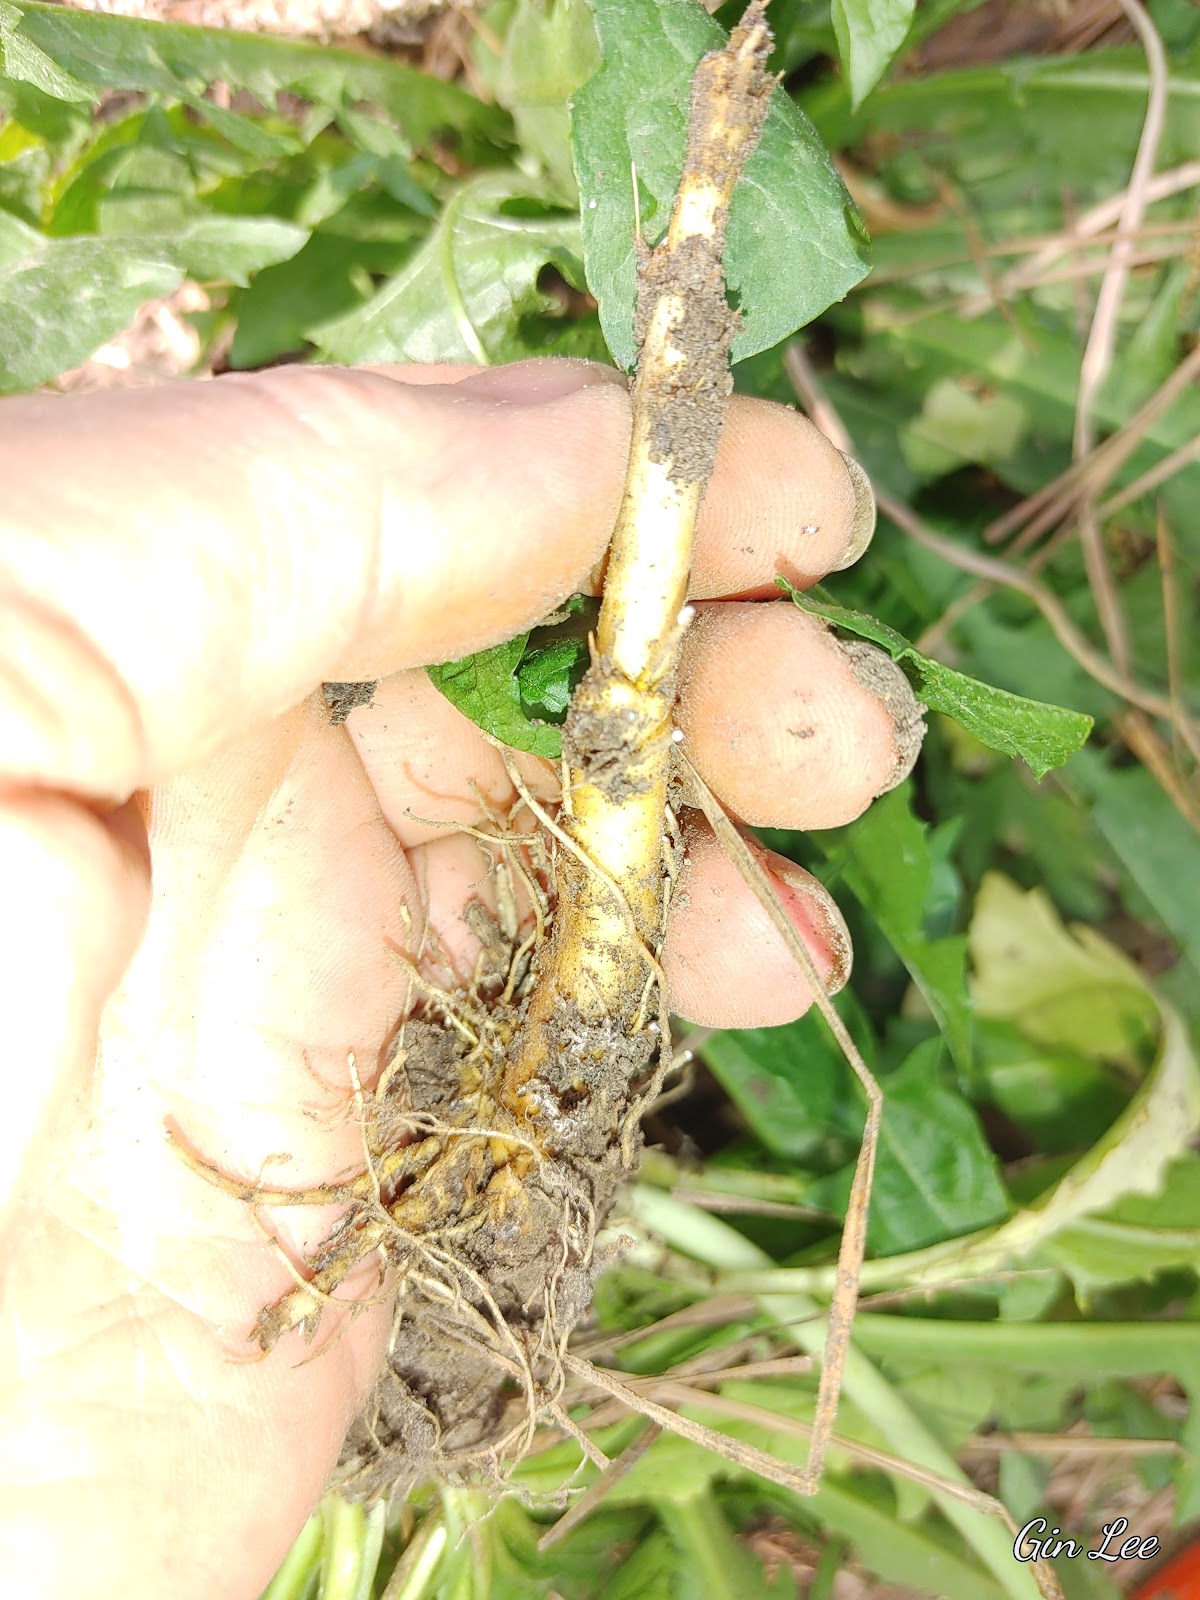
Harvesting dandelions
First, I'd like to note that if you plan to harvest your own dandelion plants, do so in an area that hasn't been sprayed with chemicals. Also avoid foraging dandelions that are near city and state parks, sidewalks, farmer's fields, roadways, and ditches. All these areas have probably been sprayed with some type of chemical.
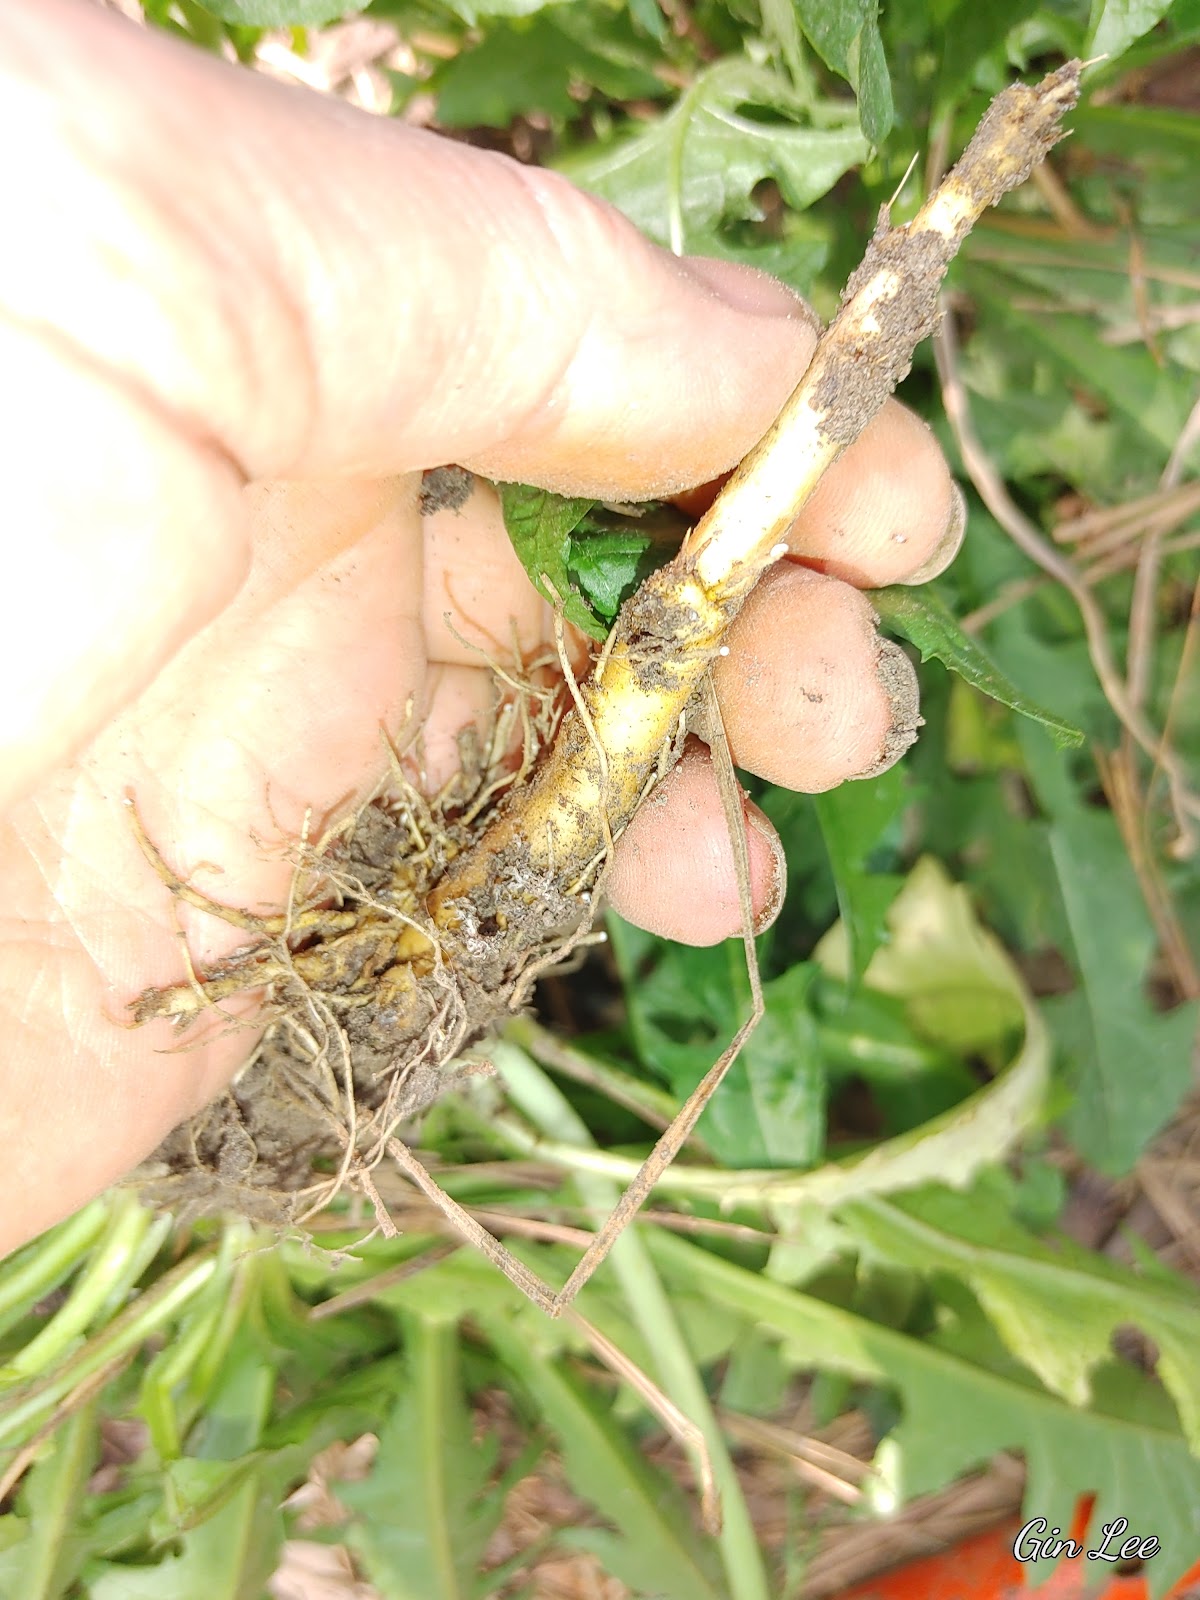
Use a small spade shovel or a paring knife to dig the dandelions up out of the soil. I used a small hand spade and dug around about an inch of the plant while holding up the dandelion leaves. Dandelion roots aren't massively big, and they're fairly easy to pluck out of the ground, similar to digging up carrots.
Shake the dirt off the roots and cover the hole with the loose dirt to prevent anyone from tripping in the holes.
Using fresh-picked dandelions
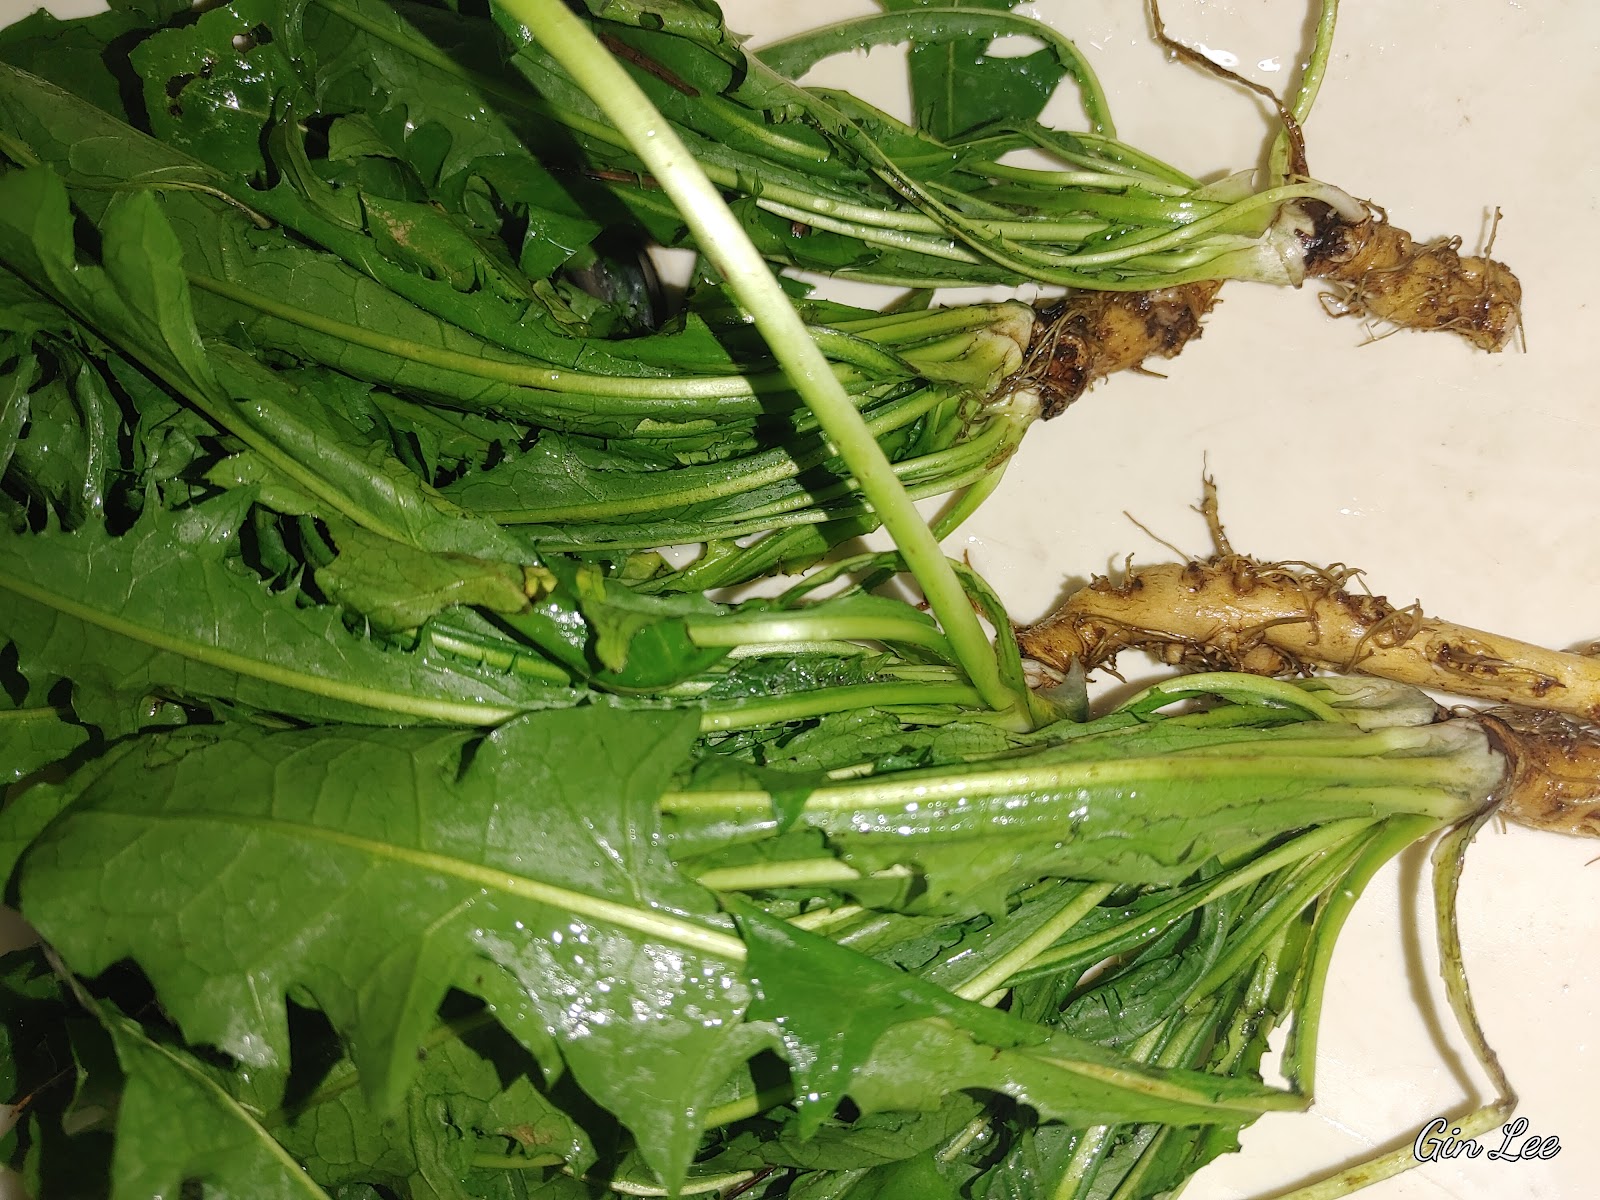
Before you do anything with your dandelion plants, make sure you soak them in water for a while, then rinse them well several times. They've been outside in the elements of nature and probably have even been stepped on, etc. So they're going to be extremely dirty.
Dandelion roots can be dehydrated and then ground into tea, and they can also be used as a coffee substitute, but you can also eat the entire root just as you'd eat carrots, radishes, and other root vegetables.
To dehydrate the dandelion roots, wash the roots well. Then place them on your dehydrator trays, leaving space between each piece. Set the dehydrator's temperature to 250 degrees. Dehydrate the roots until they become crispy. This will take several hours.
If you're wanting to dehydrate the roots to make tea and coffee, grind the roots in a blender or food processor for a few minutes. Then place the grounds on parchment-lined paper trays and dehydrate them. You can also wait to grind them until after they're dehydrated. I found that it's easier on my machine to grind them before they're dried.
The leaves, stems, and flowers of dandelions can all be dehydrated, steeped, cooked, or simply eaten raw in salads or by themselves. Happy foraging!
Resources:
Malia Frey, M.A. (2021) Dandelion Greens Nutrition Facts and Health Benefits, Verywell Fit. Available at: https://www.verywellfit.com/dandelion-greens-nutrition-facts-4582373 (Accessed: 06 June 2023).
Link, R. (2022) Dandelion Root vs. Dandelion Greens, Dr. Axe. Available at: https://draxe.com/nutrition/dandelion-root/ (Accessed: 06 June 2023).

© 2025 Olden Oasis
oldenoasis.blogspot.com