Making delicious homemade pasta with a manual pasta maker
One of the things that I absolutely love about a manual pasta machine is that you can create any type of homemade pasta with it. Then once you've finished creating your pasta, the machine can be stored easily on the counter, without taking up so much space, or it can be stored easily inside a cabinet. Today, I will walk you through the steps on how I prepare a simple pasta dough that can be used to create any type of pasta, such as spaghetti, fettuccine, linguine, lasagna, and ravioli.
Creating the pasta dough:
Ingredients:
5 eggs
3 cups of all-purpose flour
1 teaspoon of seasoning salt, or kosher salt
2 tablespoons of oil (I use canola oil, but you can use olive oil, or another type of oil that you prefer.)
⅓ cup of water
Instructions for making the pasta dough:
Completely mix the ingredients together in a large bowl, or use a mixer with a dough hook. Add the eggs slowly in one at a time; add the water.
The dough should come together and form a ball shape. Once the dough has shaped together, begin kneading it. Wrap the dough into plastic wrap and allow it to rest for thirty minutes.
Now, take the dough out of the plastic wrap and knead it again. You can't overwork this pasta dough, so don't worry about over kneading.
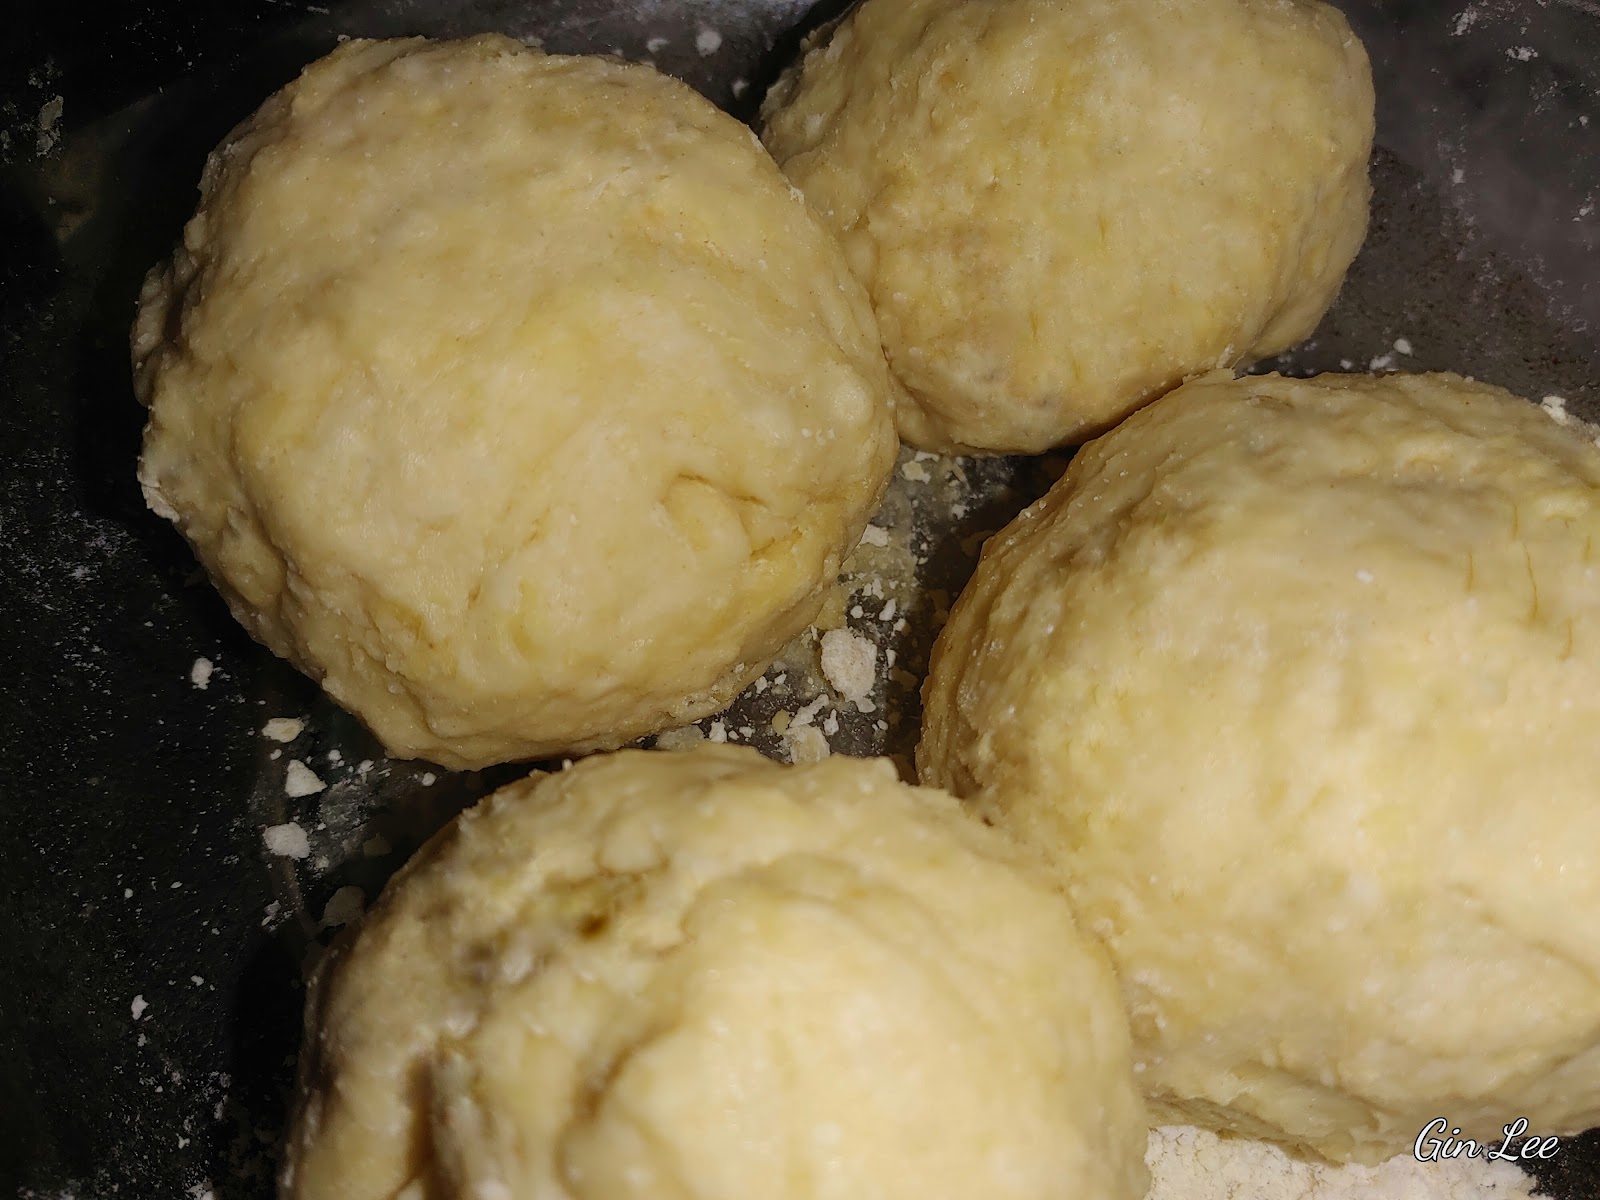
Cut the dough into four separate dough pieces. Cover three of the dough pieces with plastic wrap, or a clean tea cloth; set them aside. Knead the ball of dough that you're working with again for about five minutes.
Keeping the other dough covered is really important. It keeps the dough from getting too dry before getting it rolled and cut into shapes. Knead each piece again before rolling them through your machine.
Secure the machine:
Next, you'll need to secure the pasta machine and firmly attach it with the table clamp to a countertop, table or other type of kitchen surface. (Secure the machine so that it will remain completely stable while it's in use.)

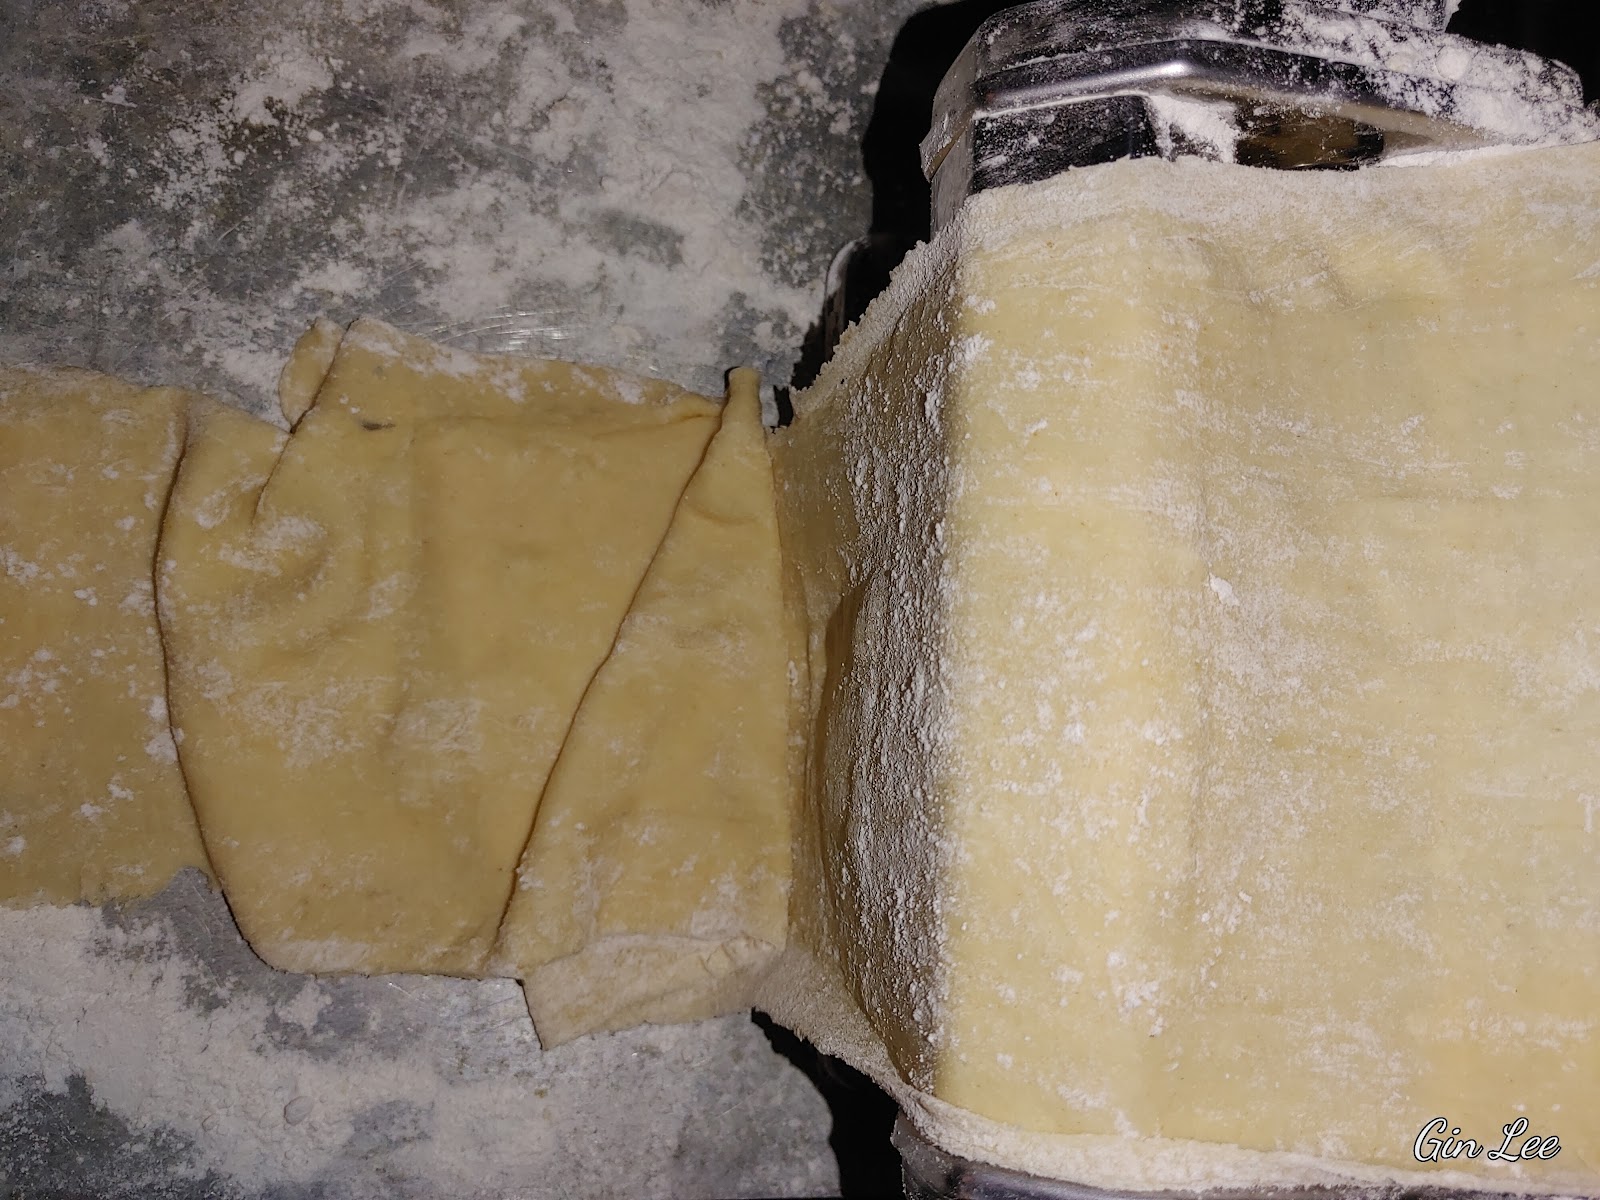
Roll out the dough pieces:
Flatten out the dough piece that you'll first be rolling out. Begin rolling the dough through the top of your machine, using the (highest) thickness setting. Run the dough through the machine at least eight to ten times. Make sure to fold the dough in half each time you run it through the pasta machine. Also, make sure that you sprinkle the machine rollers, as well as the pasta dough, lightly with flour. This will keep the dough from sticking to the machine. Steadily tighten the roller for your preferred pasta thickness as you roll it out.
Drying pasta dough before cutting and shaping it:
Dry your pasta dough for fifteen minutes by laying it out flat on a lightly floured surface and also sprinkle the top of dough lightly with flour. Then cut your pasta into the desired shapes that you want. Do not skip this step! Skipping this one important step will make your pasta lose its shape and fall apart.
However, if you're creating ravioli, add the filling before drying the pasta. This also stands for other types of stuffed pasta. Always stuff the pasta, then dry it for fifteen minutes before cooking. This ensures that the pasta will hold itself together while it's cooking.
Cutting pasta dough sheets into shapes:
Use the pasta blades to make thin or wide pasta shaped noodles.
For making homemade linguine, fettuccine, and spaghetti: after the dough has been rolled through the machine and is flat, feed it through the pasta cutter and crank the manual handle.
To make lasagna noodles, roll the pasta dough through the same process. Once the dough is to your desired thickness and it's flat, lay it out on a lightly floured surface to cut it into ten inches long and two inches wide pieces, or cut to the size you prefer.
Note:
If your cut pasta is still sticky after it's made, place it on a drying rack to allow it to dry longer before cooking it. Doing so will prevent it from falling apart while it's cooking.
Homemade ravioli
Roll a piece of dough through the machine to about sixteen inches long by four inches wide. Set your manual pasta machine to your preferred thickness.
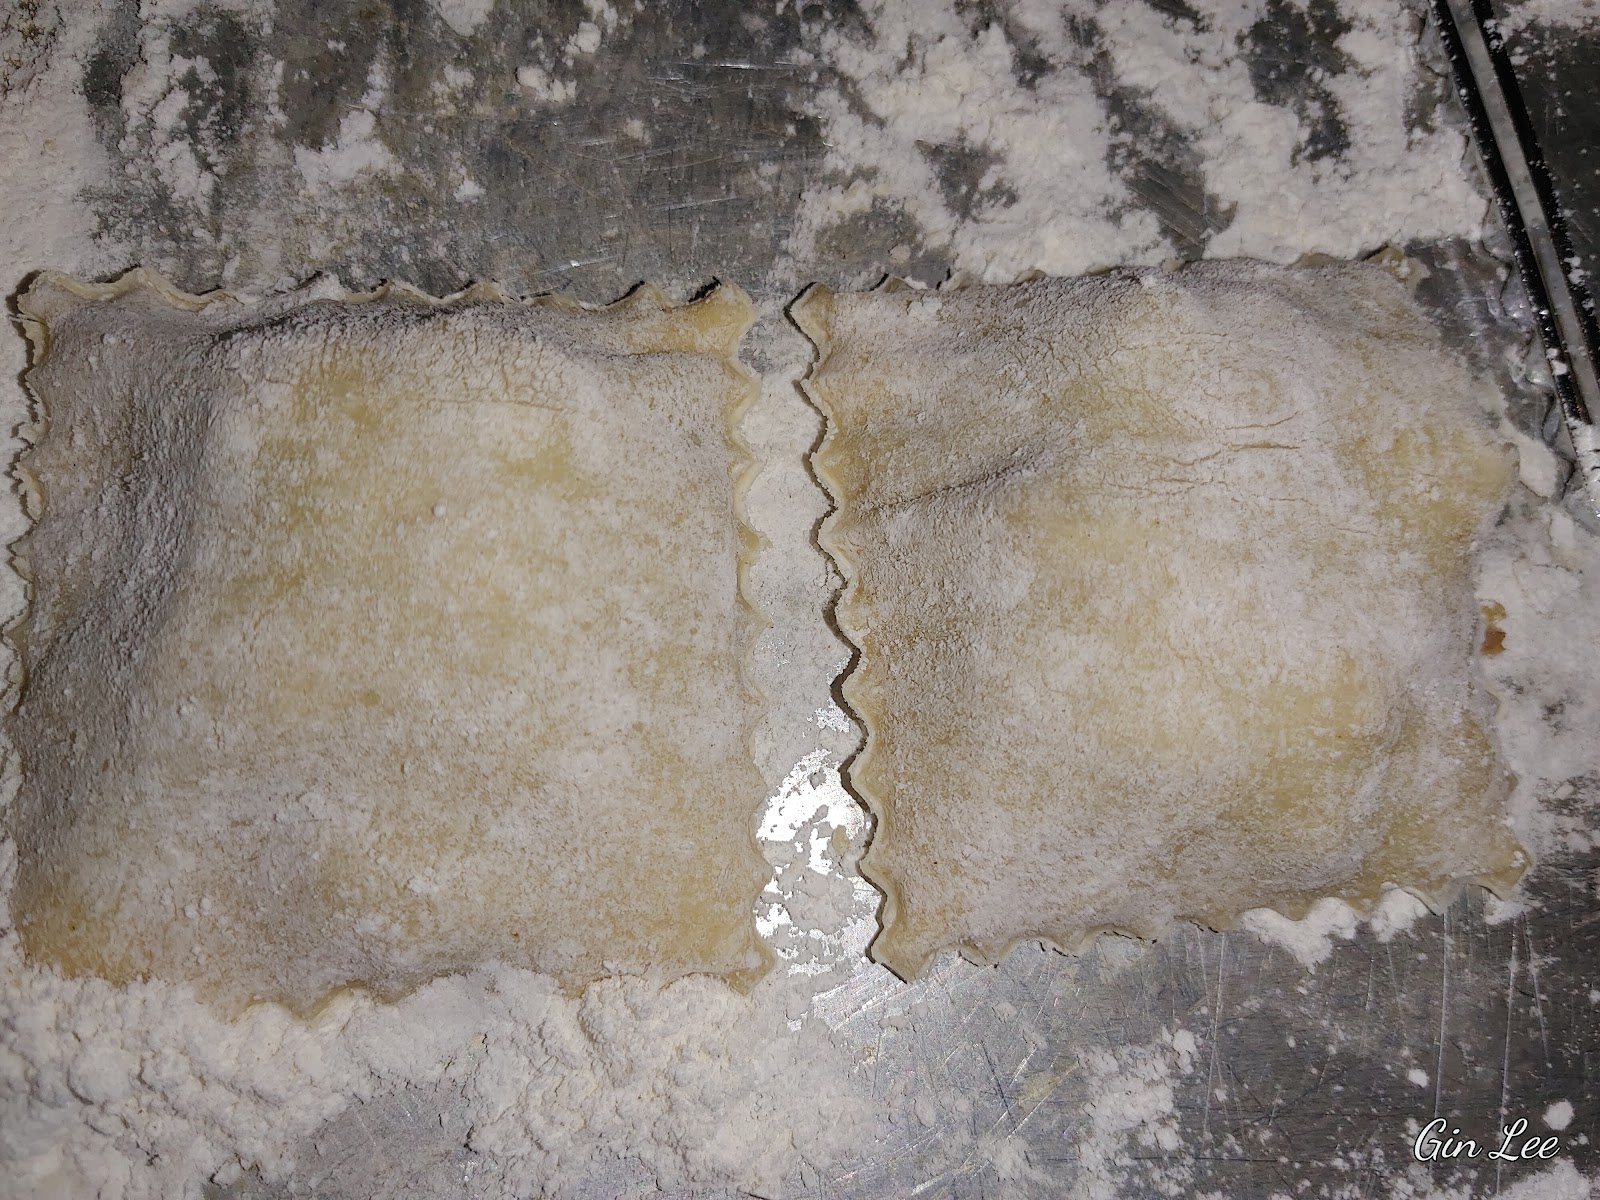
Place a tablespoon of seasoned, cooked meat or your preferred cheese filling every four inches. Moisten the edges of the dough around each one with an egg wash, or water.
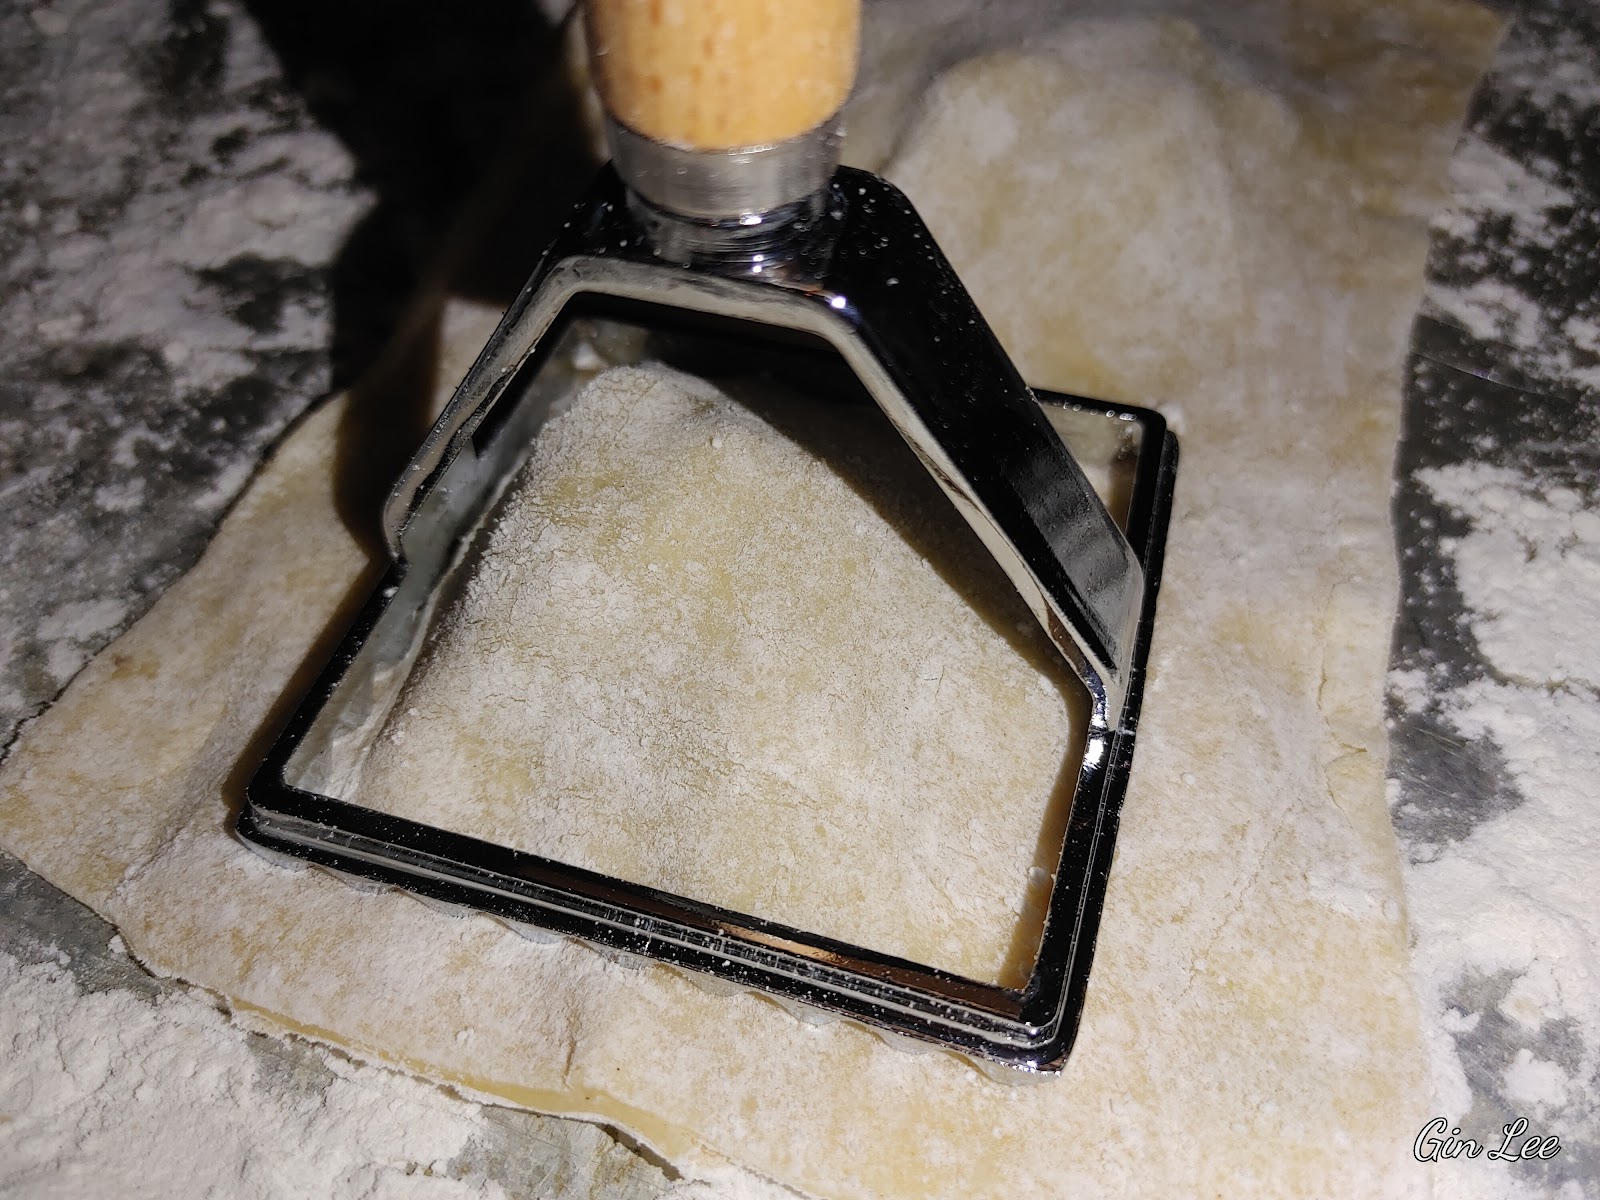
Roll another piece of dough the exact size. Transfer it and place it on top of the other prepared piece. Gently press dough and then cut into ravioli squares. You can use different shaped ravioli presses to adjust the sizes to make smaller ravioli or larger ravioli. If you don't have a ravioli press, use a knife to cut them into shape. Firmly press the sides of the pasta with your fingers or crimp all four sides of the ravioli with a fork.
Now, allow the ravioli to dry for fifteen to thirty minutes on a lightly floured surface. Cook immediately, or place the ravioli in an airtight container and transfer it to a freezer.
Drying fresh pasta once it's cut for later use:
Yes, another round of drying your pasta is necessary if you're not planning on cooking it straight away.
Drying pasta to store in the refrigerator for twenty-four hours:
If you don't have a drying rack, place your noodles onto a lightly floured lined baking tray. Arrange your spaghetti, linguine, fettuccine noodles into circled nest piles. Then allow the pasta to dry for thirty minutes before transferring it to the refrigerator. Fresh pasta should be cooked within twenty-four hours after it's made.
Air-drying pasta:
Air-drying can take anywhere from ten to twenty-four hours or sometimes longer than that. Drape your pasta over anything clean to dry it. If you don't own a dry rack, make one out of paper towel holders, etc.. A hanging mesh air-dehydrator also works great. Air-dried pasta will stay good for up to two to six months.
Freezing pasta:
Another option is to freeze your homemade pasta. Pasta will keep for up to eight to ten months when frozen fresh.
Dehydrating pasta in an electric dehydrator:
Another quick way to dry your homemade pasta is to place it on dehydrator trays and dehydrate it. You can dry most fresh egg pasta usually at 160 degrees F for two hours. If it's not completely dry after two hours, leave it to dehydrate longer.

© 2025 Olden Oasis
oldenoasis.blogspot.com


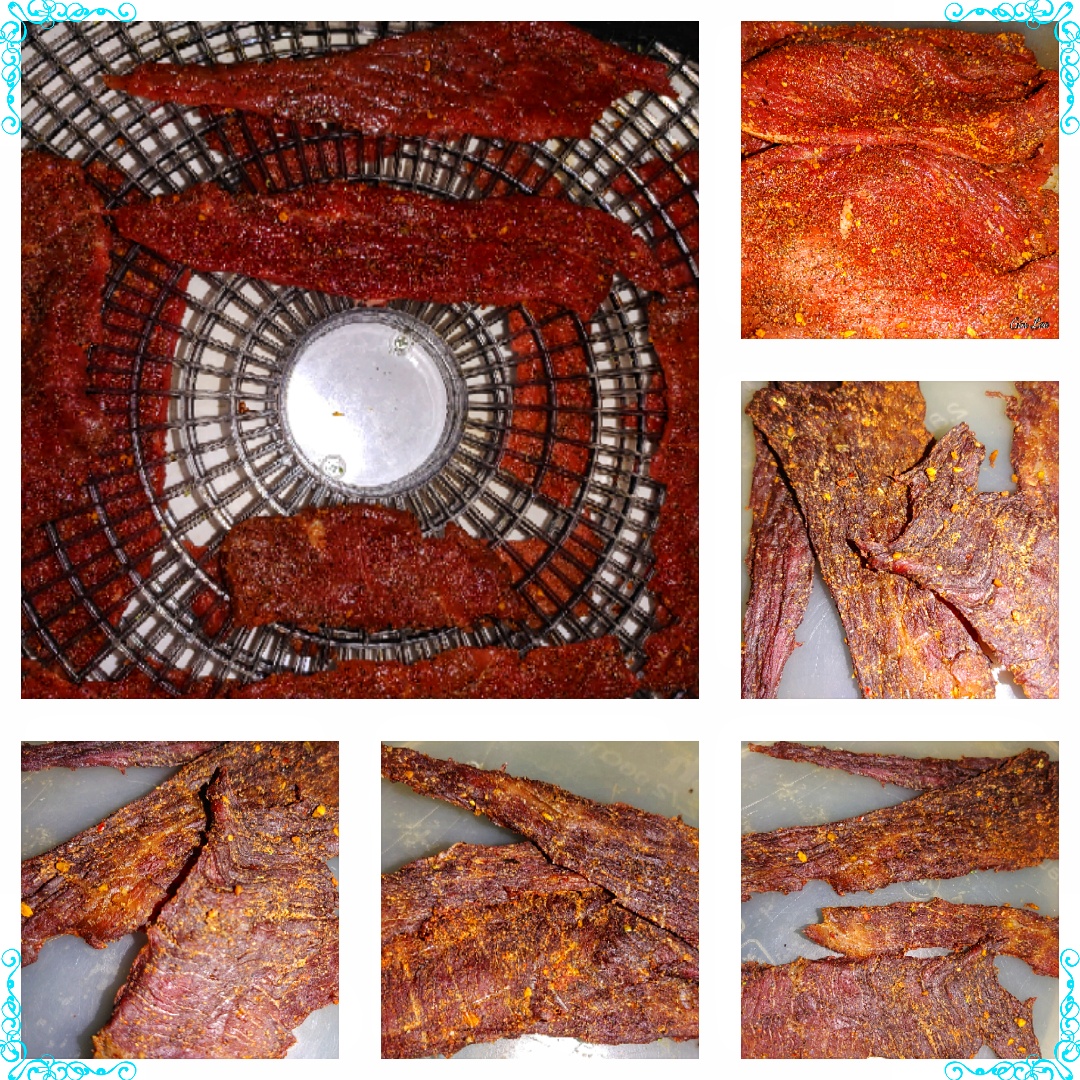 Peppered beef jerky