
Homemade peppered pork jerky
Here’s how you can make homemade peppered pork jerky using your dehydrator. It will take you just a few hours, and it will come out very delicious.
First, I sliced and marinated the meat. Then I pre-cooked the pork until it was at an internal temperature of 160-165 degrees F. This isn't a step that has to be done if your dehydrator has the higher settings to dehydrate meat safely when making pork or beef jerky. However, I do this step just to ensure that any and all bacteria in the meat are killed. Plus, today I made this jerky out of a Boston butt. So precooking it also helped with cooking some excess fat out of the meat first, before dehydrating it.
The absolute best cut of pork to dehydrate is pork tenderloin. However, any cuts of meat can be dehydrated and made into jerky, or be rehydrated for use in stews, soups, and various other meals later on.
Ingredients:
2 pounds of preheated pork (tenderloin works best, but I used part of a Boston butt today)
2 tablespoons of Splenda or sugar
2 tablespoons of honey
1 tablespoon of soy sauce
2 tablespoons of ground black pepper
1 ½ teaspoons of smoked paprika
¾ cup of Worcestershire sauce
1 tablespoon of liquid-smoke
1 ½ teaspoons of cayenne pepper
1 tablespoon of onion powder
1 tablespoon of garlic powder
Water, about 2 cups
Instructions:
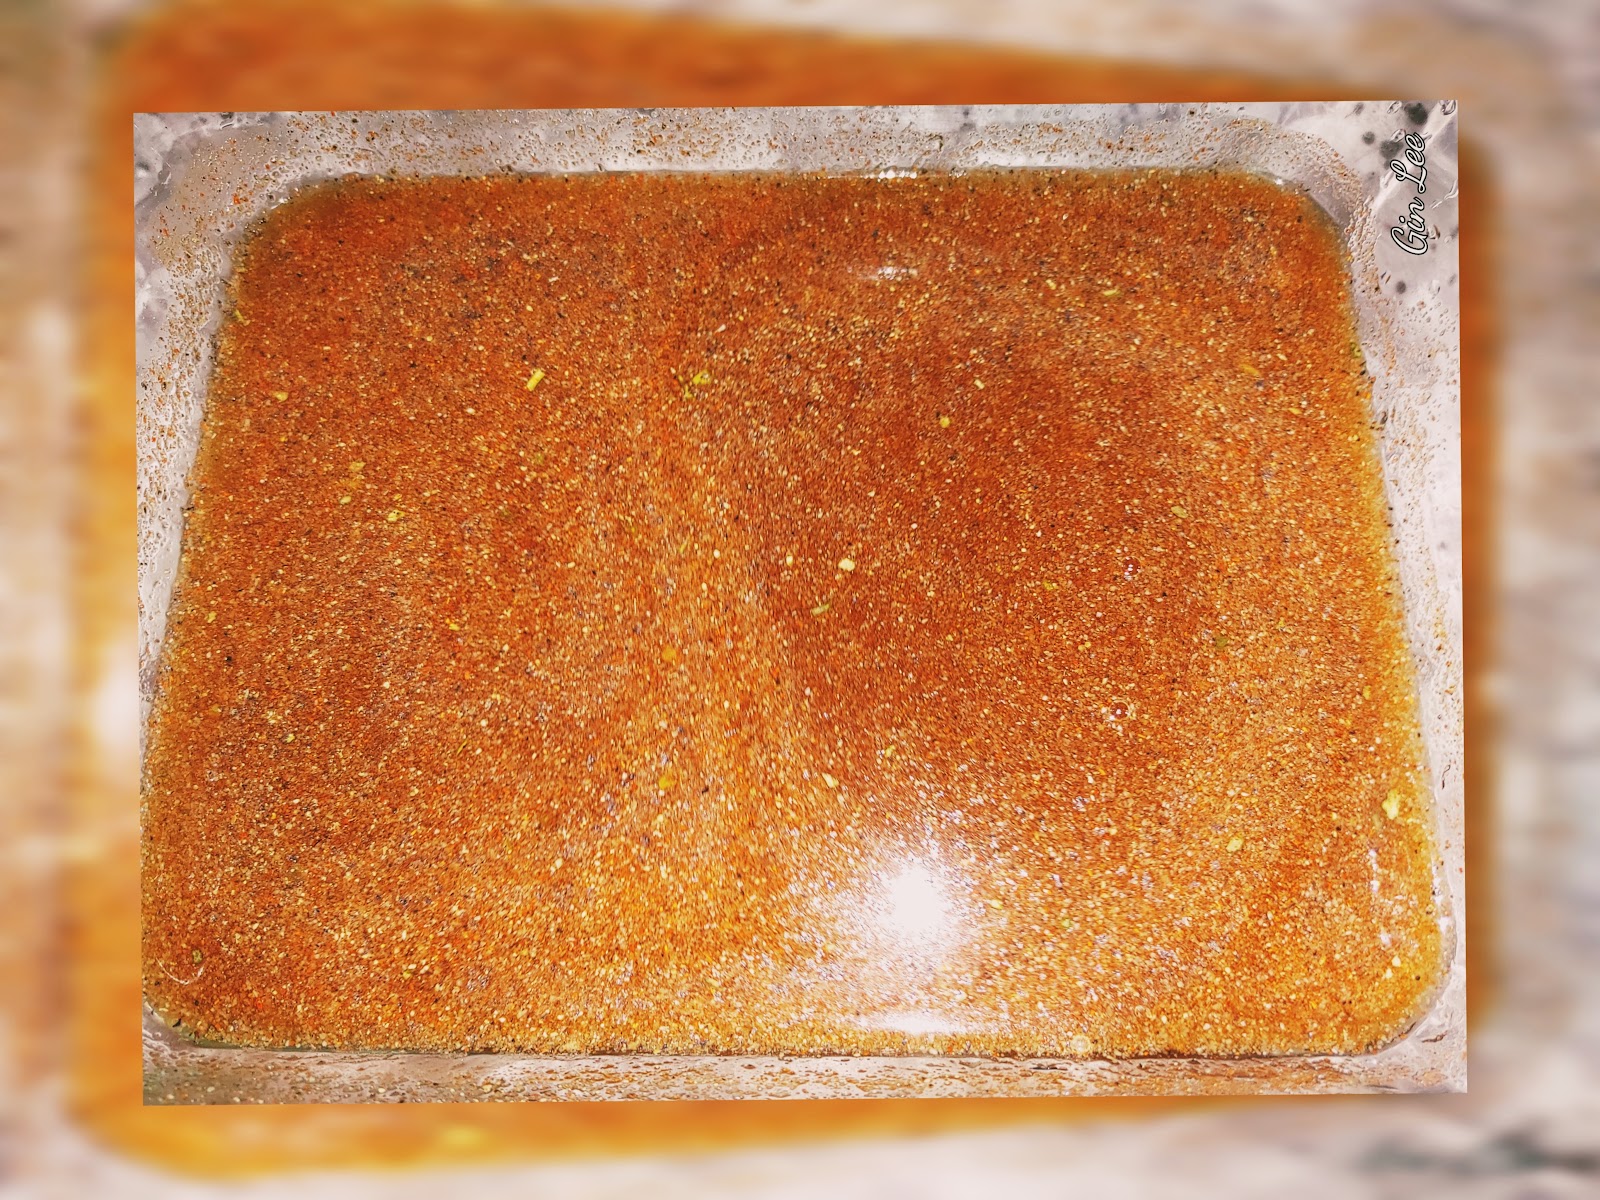
First, in a large dish, mix the soy sauce, Worcestershire sauce, Splenda (or sugar), onion powder, garlic powder, black pepper, honey, liquid smoke, cayenne pepper, and smoked paprika. Stir well, until the Splenda (or sugar) has completely dissolved.
Now, slice the meat into strips and trim any excess fat off of the meat. After that, you will need to marinate the pork.
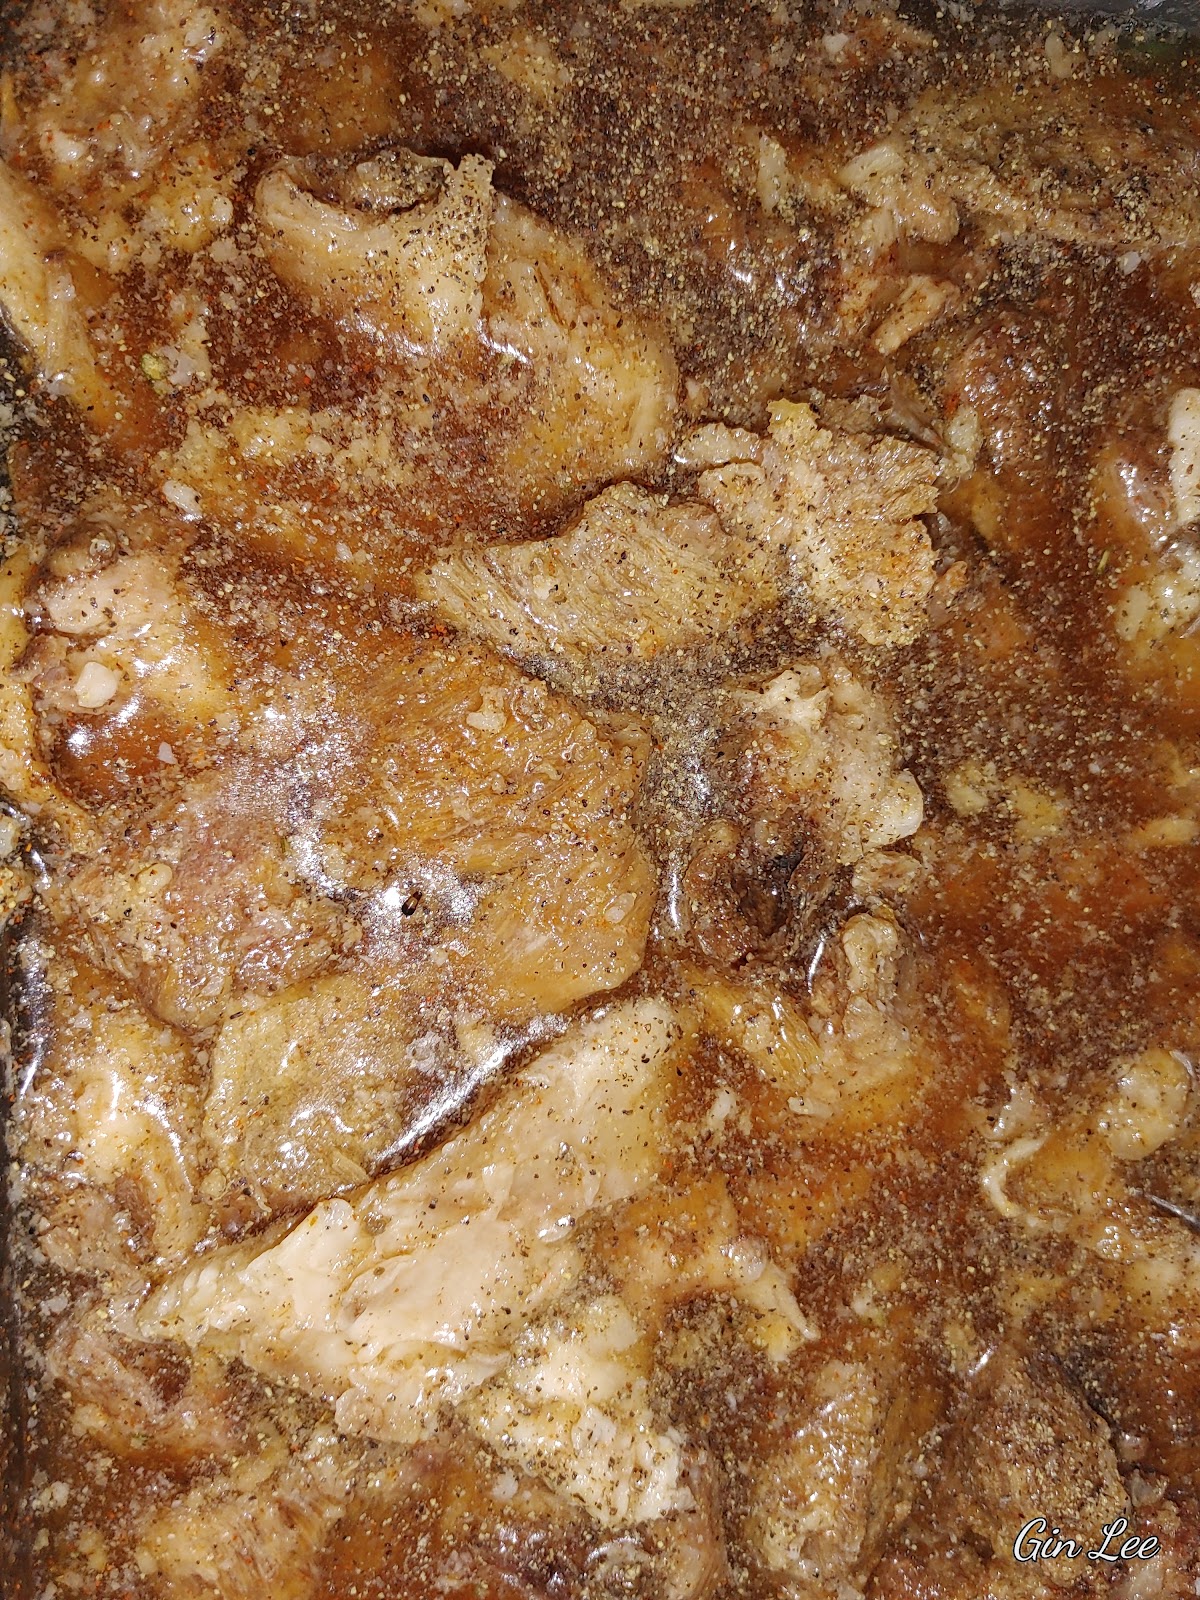
Place the slices of pork into the bowl of marinade; add just enough water to allow the marinade to cover the meat. Using a spoon, stir to combine the water and marinade seasoning in with the pork. Cover the bowl with plastic wrap, and place it in the refrigerator for one to two hours. For optimal flavor, marinate the pork for twenty-four hours.
Next, once the meat has marinated; shake the excess marinade off each piece and place the slices on trays and precook the meat in the oven until it comes to an internal temperature of 160-165 degrees F.
Once that is complete, add the slices of pork to the dehydrator trays. Set the dehydrator at 160. The dehydrating time may vary due to the thickness of the meat and the dehydrator that you use. Generally, it takes me about four to six hours since I normally pre-cook the meat. Again, the dehydrating time varies depending on how thin I slice the meat.
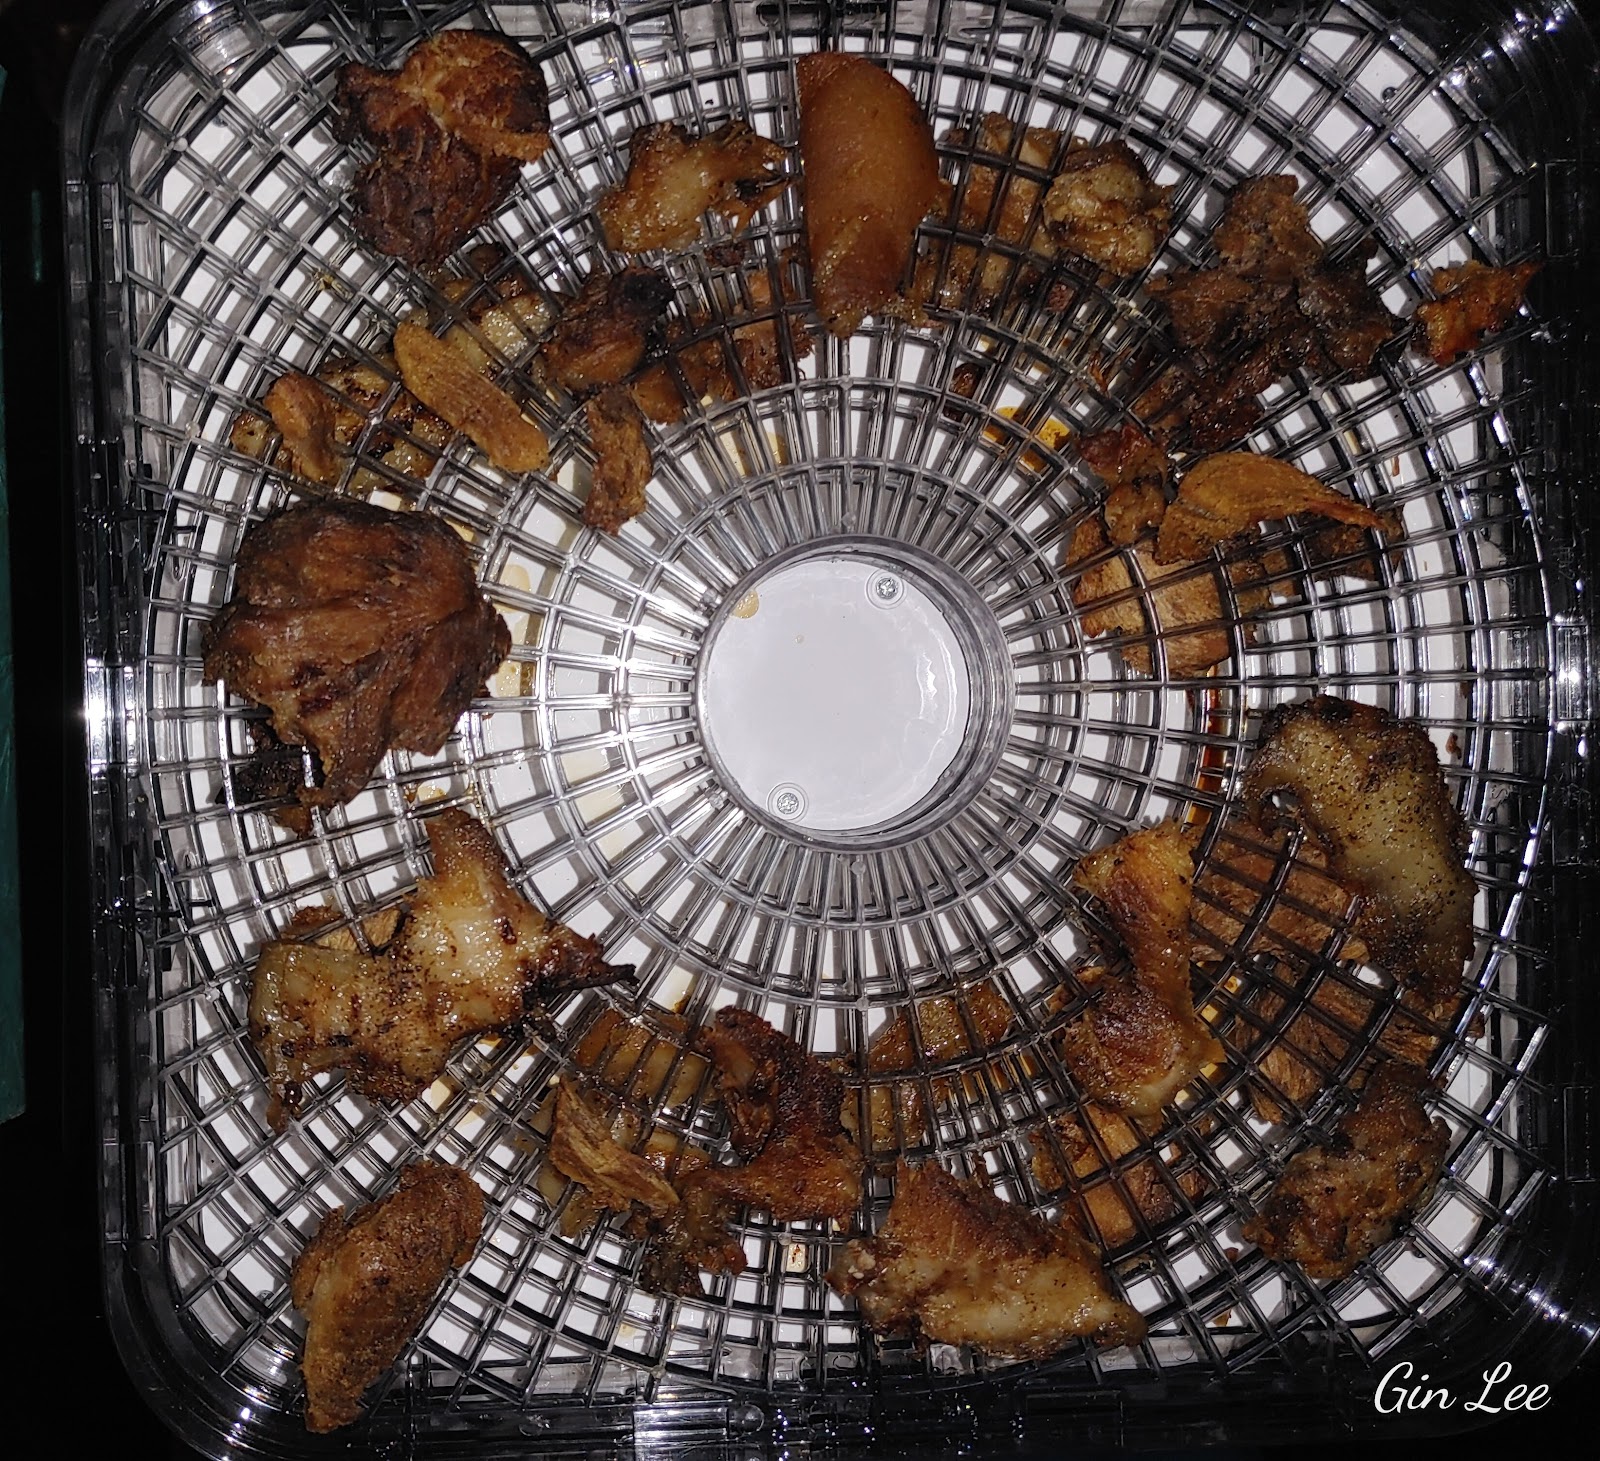
You'll know when the jerky is done because it will feel dry to the touch, and be leathery. Dehydrate longer if the meat bends easily, or feels greasy, or wet.
Once the meat is fully dried, take it out of the dehydrator; store in an airtight container and place the jerky in the refrigerator or freezer.
The peppered pork jerky can be kept in a dark pantry for two weeks. If stored in the refrigerator, it will keep for one month. When stored in the freezer, it will keep well for four months.
Note:
If vacuum-sealed, the pork jerky will last about two months in a dark pantry. When stored in the refrigerator, the jerky will keep well for four plus months. When vacuum-sealed and stored in the freezer, the jerky will keep the longest, at about one year.
The jerky will last even longer if you salt cure it. To do this, brine the meat in a solution using 2 ½ cups of pickling salt with about three quarts of water, plus the ingredients for the marinade above. After one day, remove the meat from the brine, shake the excess off, or pat the meat dry with paper towels. Then proceed with dehydrating the meat.
The peppered marinade works well with beef and other cuts of meat as well.
As stated previously, when making pork and beef jerky, precooking is not required, as long as your dehydrator has higher settings for dehydrating the meat. However, when using chicken or turkey, always make sure to pre-cook it first. This will prevent any chances of getting sick from harmful bacteria such as salmonella.
I'm using a Ronco turbo dehydrator to dehydrate my peppered pork jerky, and it does have higher settings to make jerky. However, I still pre-cooked the pork that I used, simply because I don't even want to chance getting any food-borne illnesses.
I forgot to mention this earlier when placing the slices of meat onto the dehydrator trays, leaving plenty of space between each of the pieces of meat. Doing so allows more air to flow through the trays, which also decreases the dehydrating time. Also, rotate the trays, and flip each piece of jerky over midway through.

© 2025 Olden Oasis
oldenoasis.blogspot.com