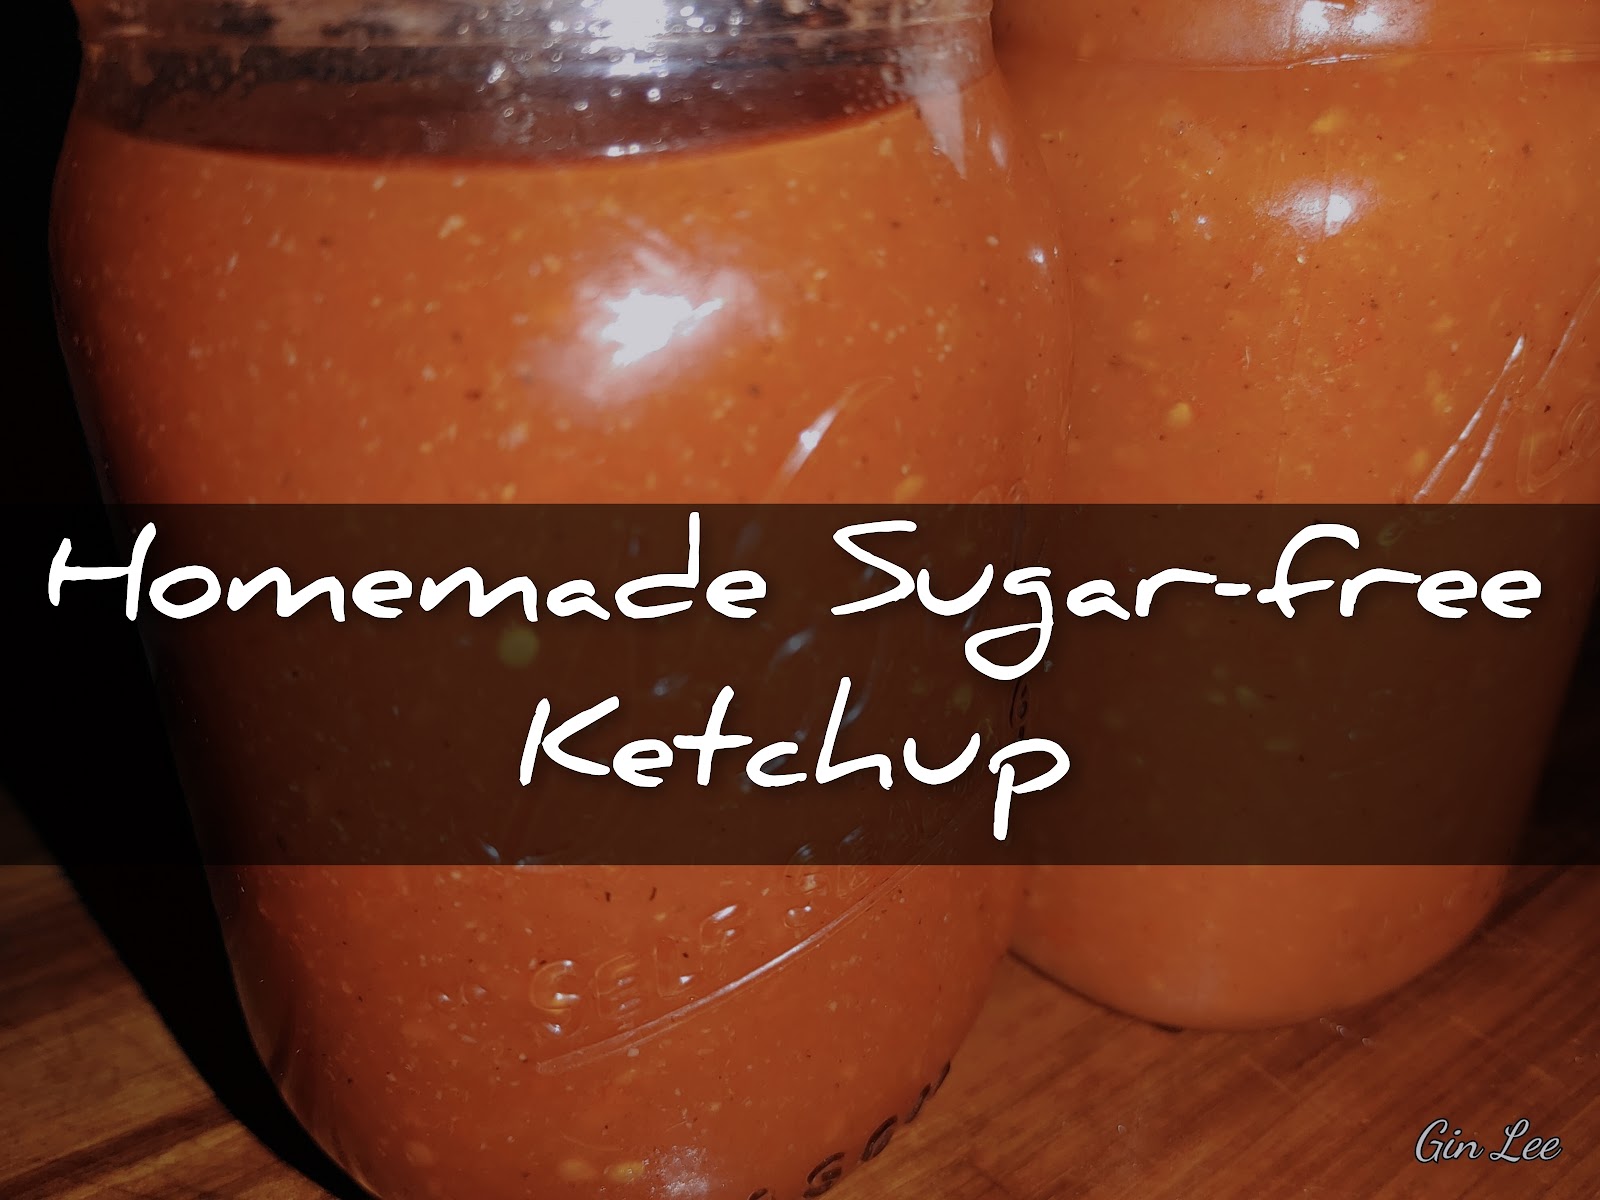
Homemade sugar-free ketchup
It's been a saucy past couple of days! I have prepared tomato sauce, spicy barbecue sauce, original barbecue sauce, and today I am making another one of my favorite condiments, which happens to be sugar-free ketchup. (If you prefer to use regular sugar instead, you can.) This is such a delicious ketchup, it's thick and tangy, with a slight hint of sweetness.
Ingredients:
2 cups of tomatoes, chopped (fresh or canned)
2 tablespoons of apple cider vinegar
1 teaspoon of minced garlic
½ teaspoon of yellow mustard
1 teaspoon of onion powder
½ teaspoon of seasoning salt
¼ teaspoon of soul seasoning
½ teaspoon of freshly ground black pepper
1 tablespoon of Splenda, or granulated monk fruit
Instructions:
Wash and rinse your tomatoes with fresh water. Then coarsely chop them. (Remove the seeds and tomato skins if you prefer, I do not.)
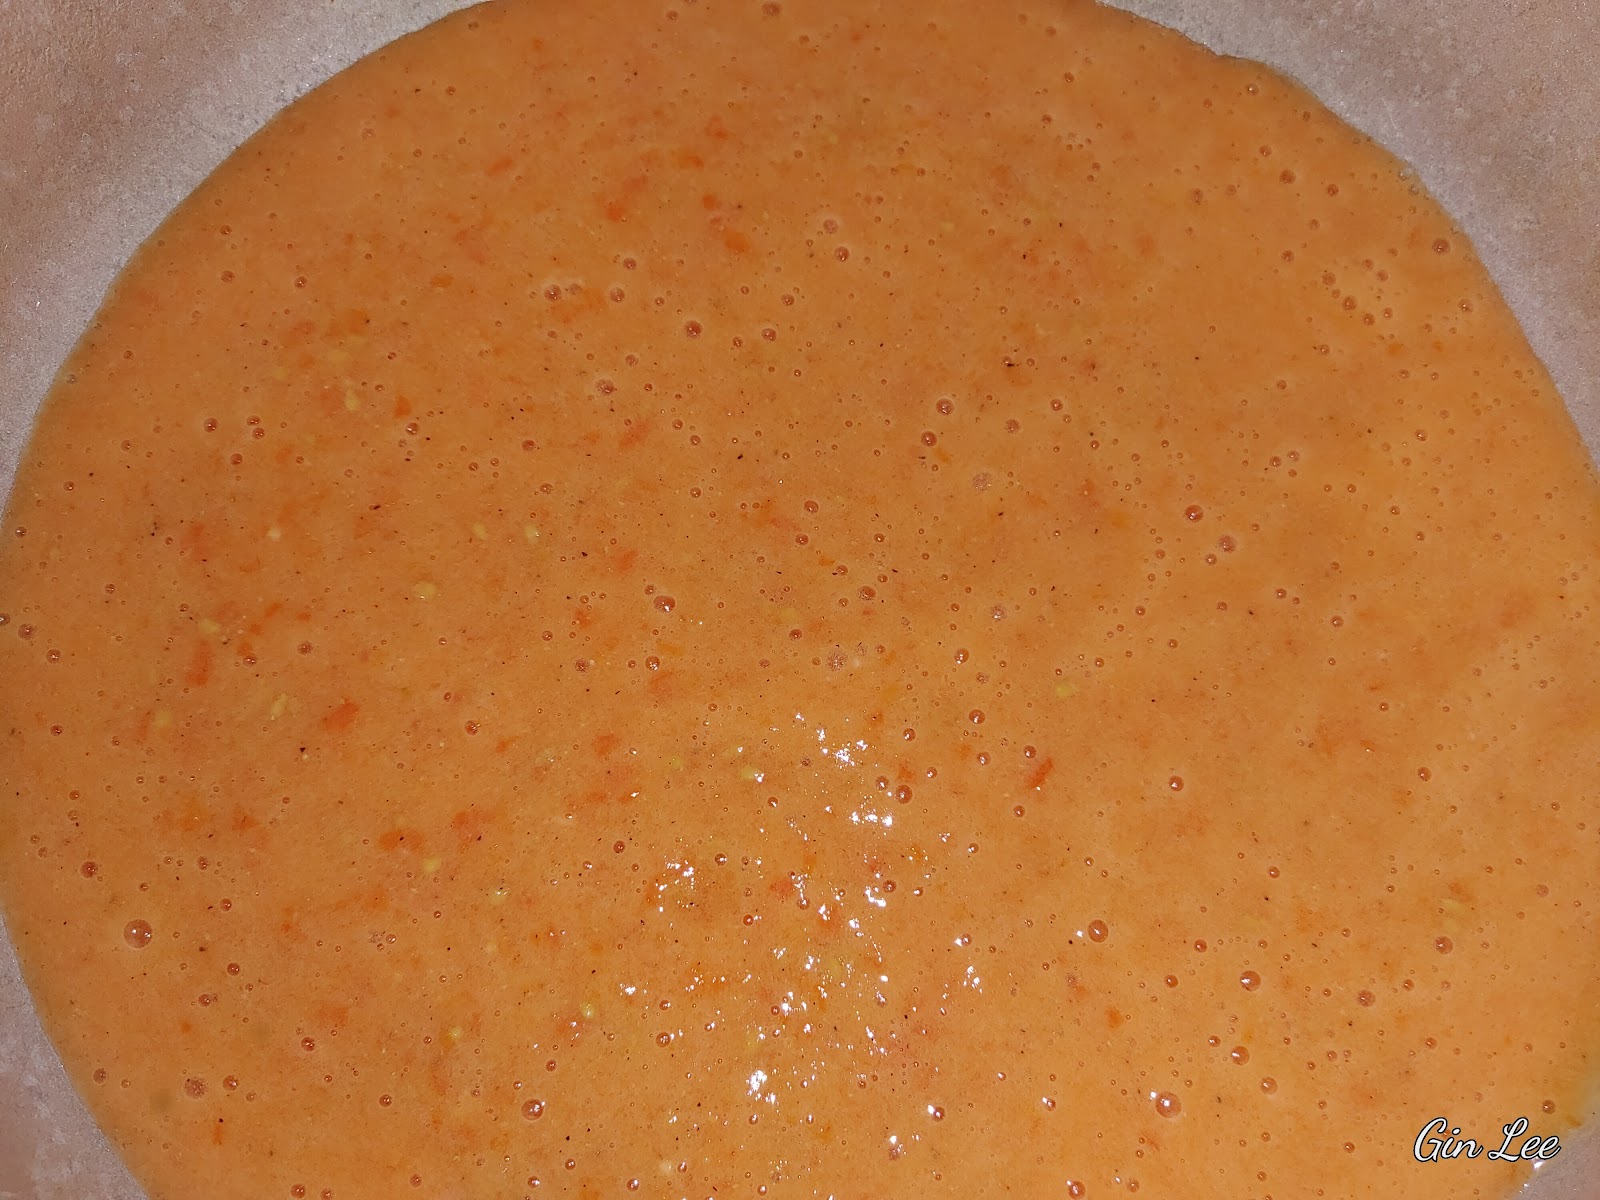
Now, add the tomatoes into a blender and blend them until they're smooth.
Pour the tomato purée into a saucepan, add the other list of ingredients; combine well.
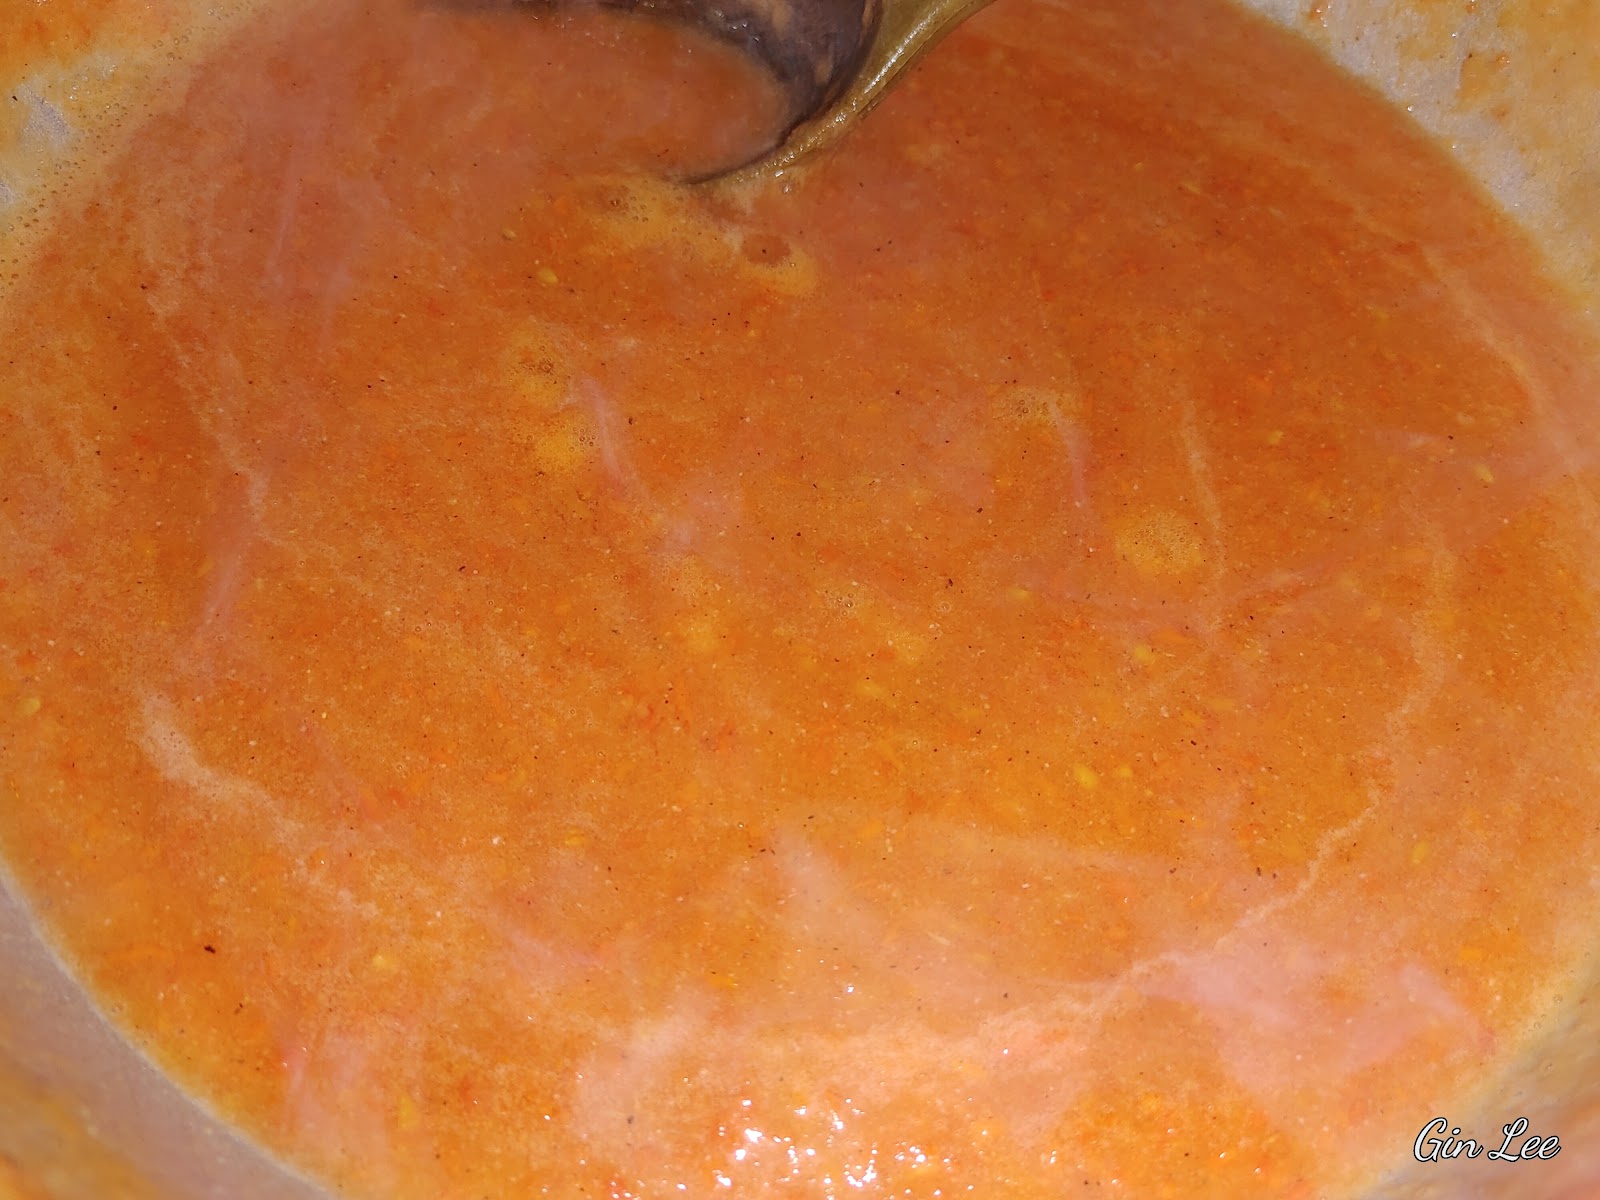
Bring the tomato mixture to a boil at high temperature. Then lower the heat to medium and simmer for thirty-five to forty-five minutes. Stir occasionally. Your ketchup will be reduced by half when it's finished.
As your ketchup cooks, you'll notice how the color changes. It starts out being a light pink, then turns almost orange red, before it initially turns into a deeper red.
Allow your homemade ketchup to cool. Then transfer it to a bottle or jar with a lid. Store it inside your refrigerator.
Note:
Taste your ketchup as you go. Add more (or fewer) seasonings if desired. If you prefer a sweeter ketchup, add more sweetener to your taste. You can also add hot sauce or peppers to yours, if you prefer a spicy ketchup.
Since this recipe uses vinegar, your ketchup will keep (when properly stored) for a long time.

© 2025 Olden Oasis
oldenoasis.blogspot.com