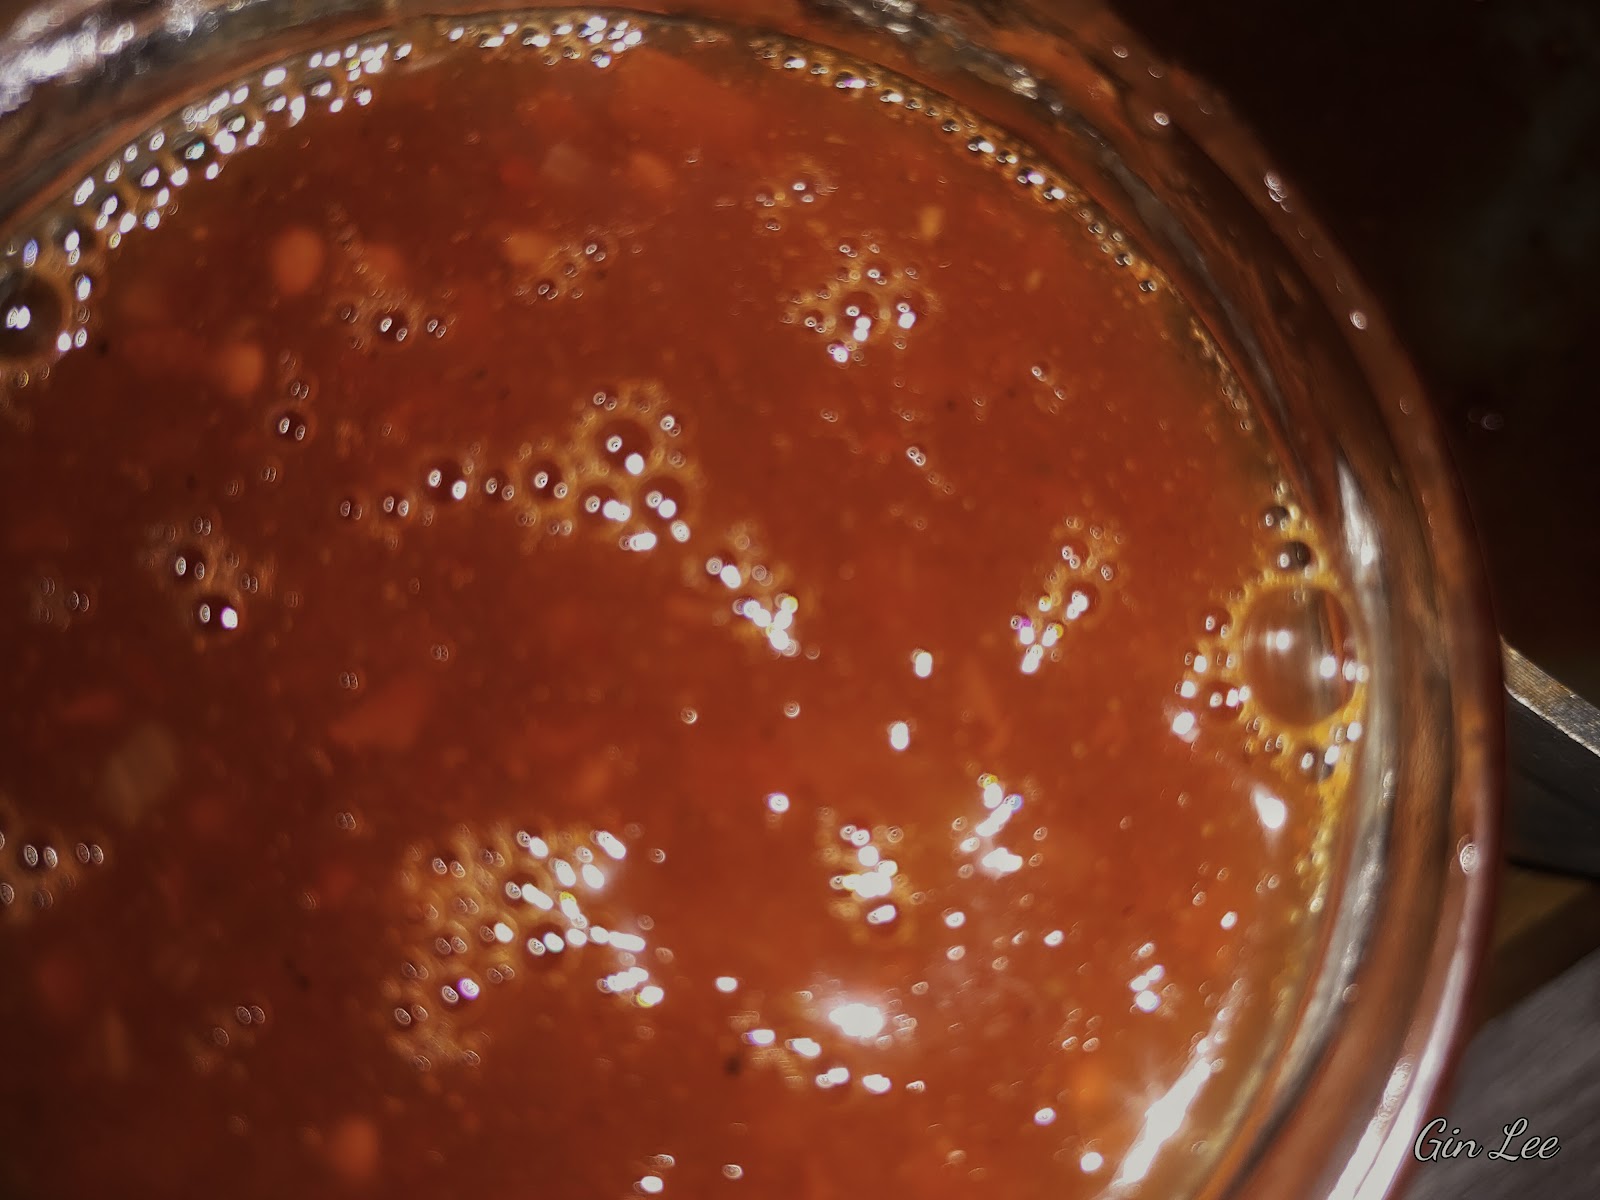
Homemade spicy barbecue sauce
I hope y'all enjoy homemade sauces. Today, I prepared a spicy barbecue sauce that's one of my family's favorites. If you don't have ripe tomatoes, you can use canned tomatoes for this recipe. I used ten large ripe tomatoes, but a twenty-eight ounce can of tomatoes equals two pounds of ripe tomatoes, which averages about ten tomatoes.
For my spicy barbecue sauce, I used cayenne pepper flakes, because that's the type that I had on hand. You can use fresh jalapeno, habanero, chilies, or whatever type of hot peppers that you prefer.
Ingredients:
10 large tomatoes, or 28-ounce can of tomatoes
1 cup of onion, finely diced
2-½ teaspoons of garlic powder
1 tablespoon of cayenne pepper flakes
½ cup of hot sauce
2 teaspoons of smoked paprika
2 teaspoons of freshly ground black pepper
1 teaspoon of seasoning salt
½ cup to 1 cup of Splenda brown sugar, or regular brown sugar (amount depends on your taste)
1 can of tomato paste, to be used as a thickener
Instructions:
If you're using fresh tomatoes, wash and rinse them well. Then slice them in half. (If you prefer seedless sauce, take the seeds out by squeezing each half.) Now, chop each of the tomato halves coarsely.
Add your prepared tomatoes, diced onion, and cayenne pepper flakes to a blender or food processor. Start processing the mixture at high speed first, then to medium, low, and then pulse the machine about eight to ten more times.
Next, pour your prepared tomato mixture into a saucepan. Add the other ingredients; stir and combine well.
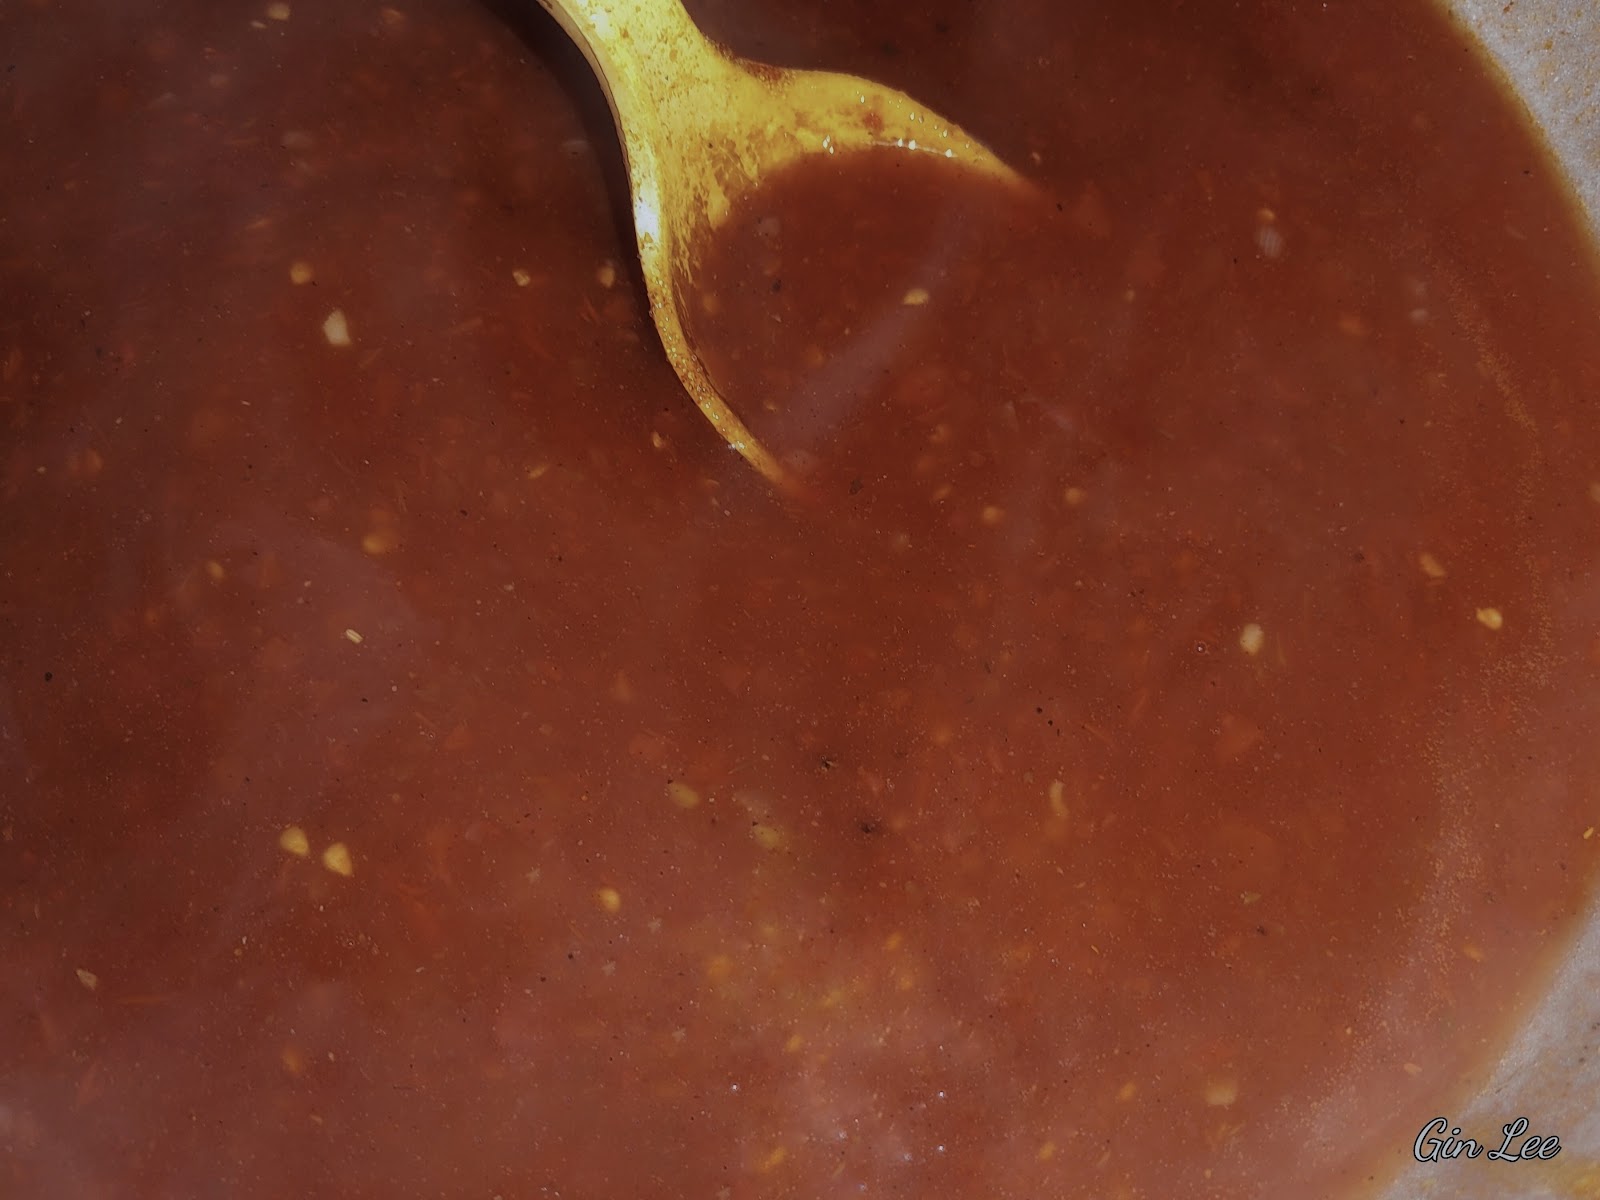
Cook the barbecue sauce over a high temperature. Once it reaches the boiling point, turn the temperature down to medium heat and simmer the sauce for about forty-five minutes (with a lid on). Stirring occasionally.
Allow your spicy barbecue sauce to cool. Then package it up in whatever containers you prefer to use. Store your barbecue sauce either inside the refrigerator or freezer.

© 2025 Olden Oasis
oldenoasis.blogspot.com