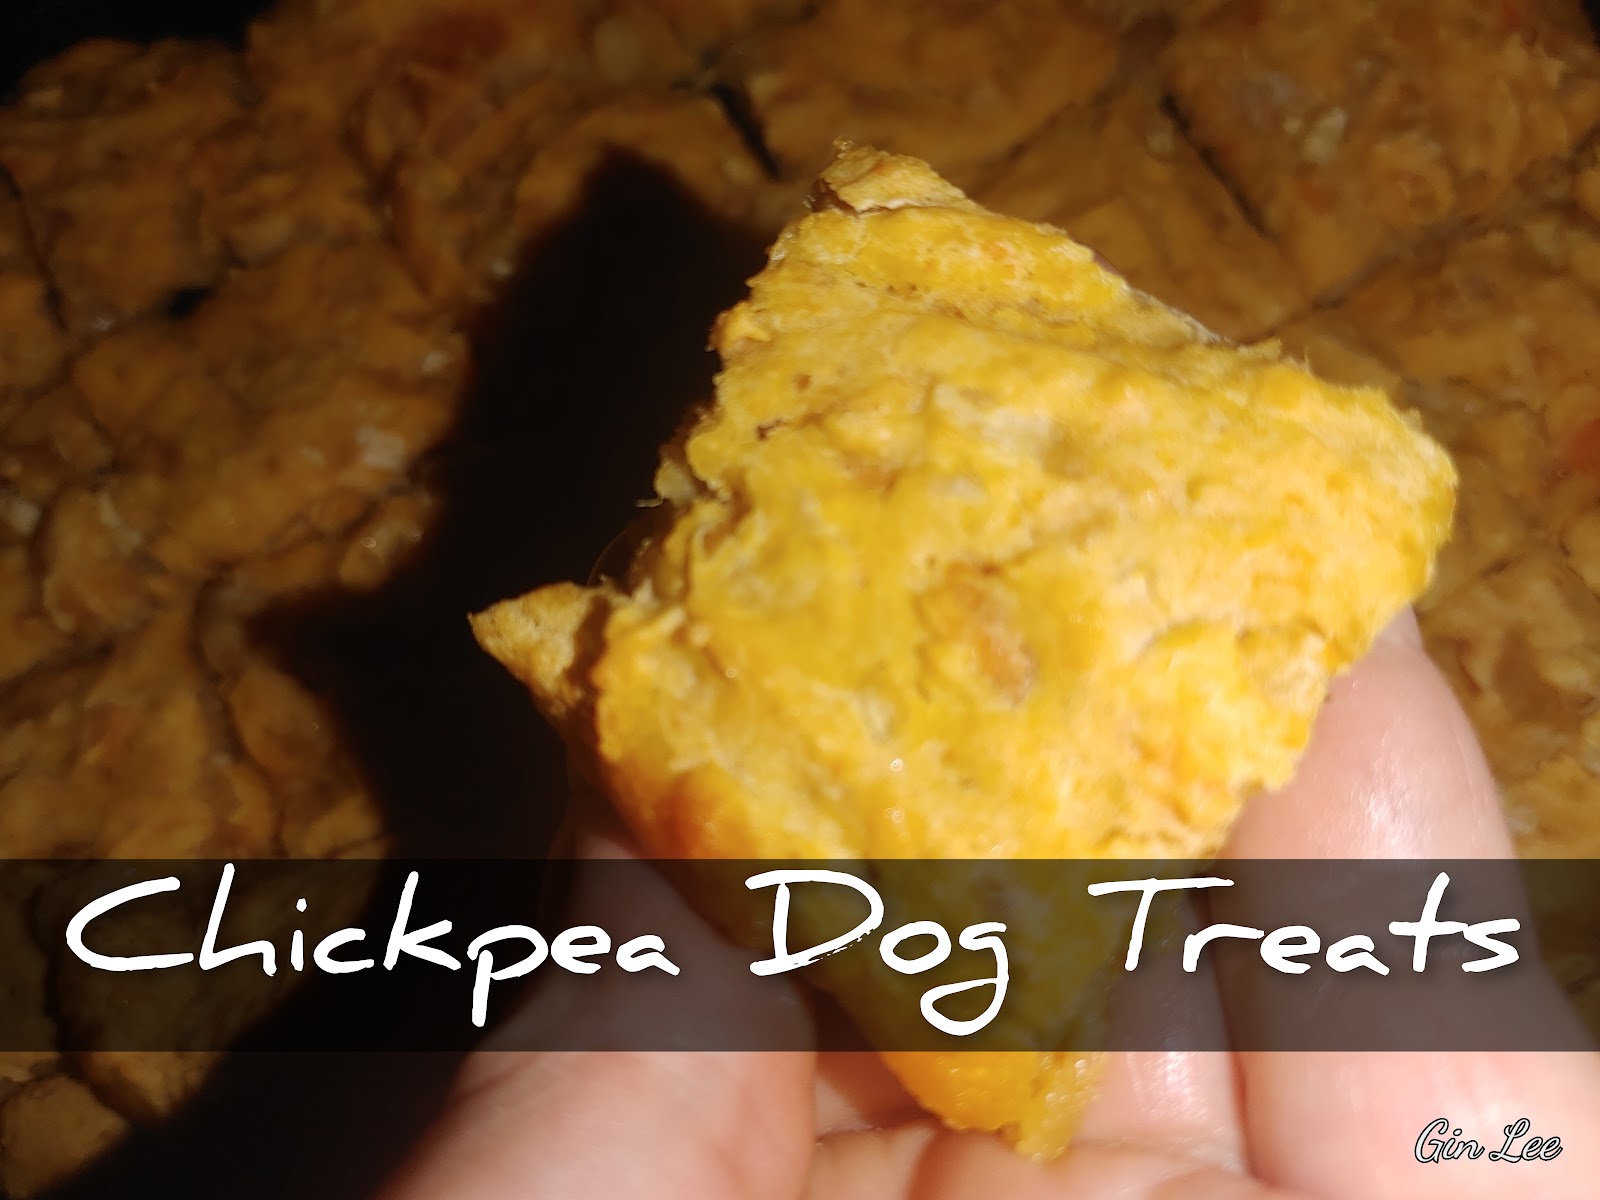
Chickpea dog treats

Chickpea dog treats

This is a healthy dog treat that's packed with nutritional benefits. The dough in this dog treat recipe can be prepared in two ways, baked or dehydrated. I am baking mine today, but I will also include the instructions (towards the end of my article) on how you can dehydrate the dog treats. 

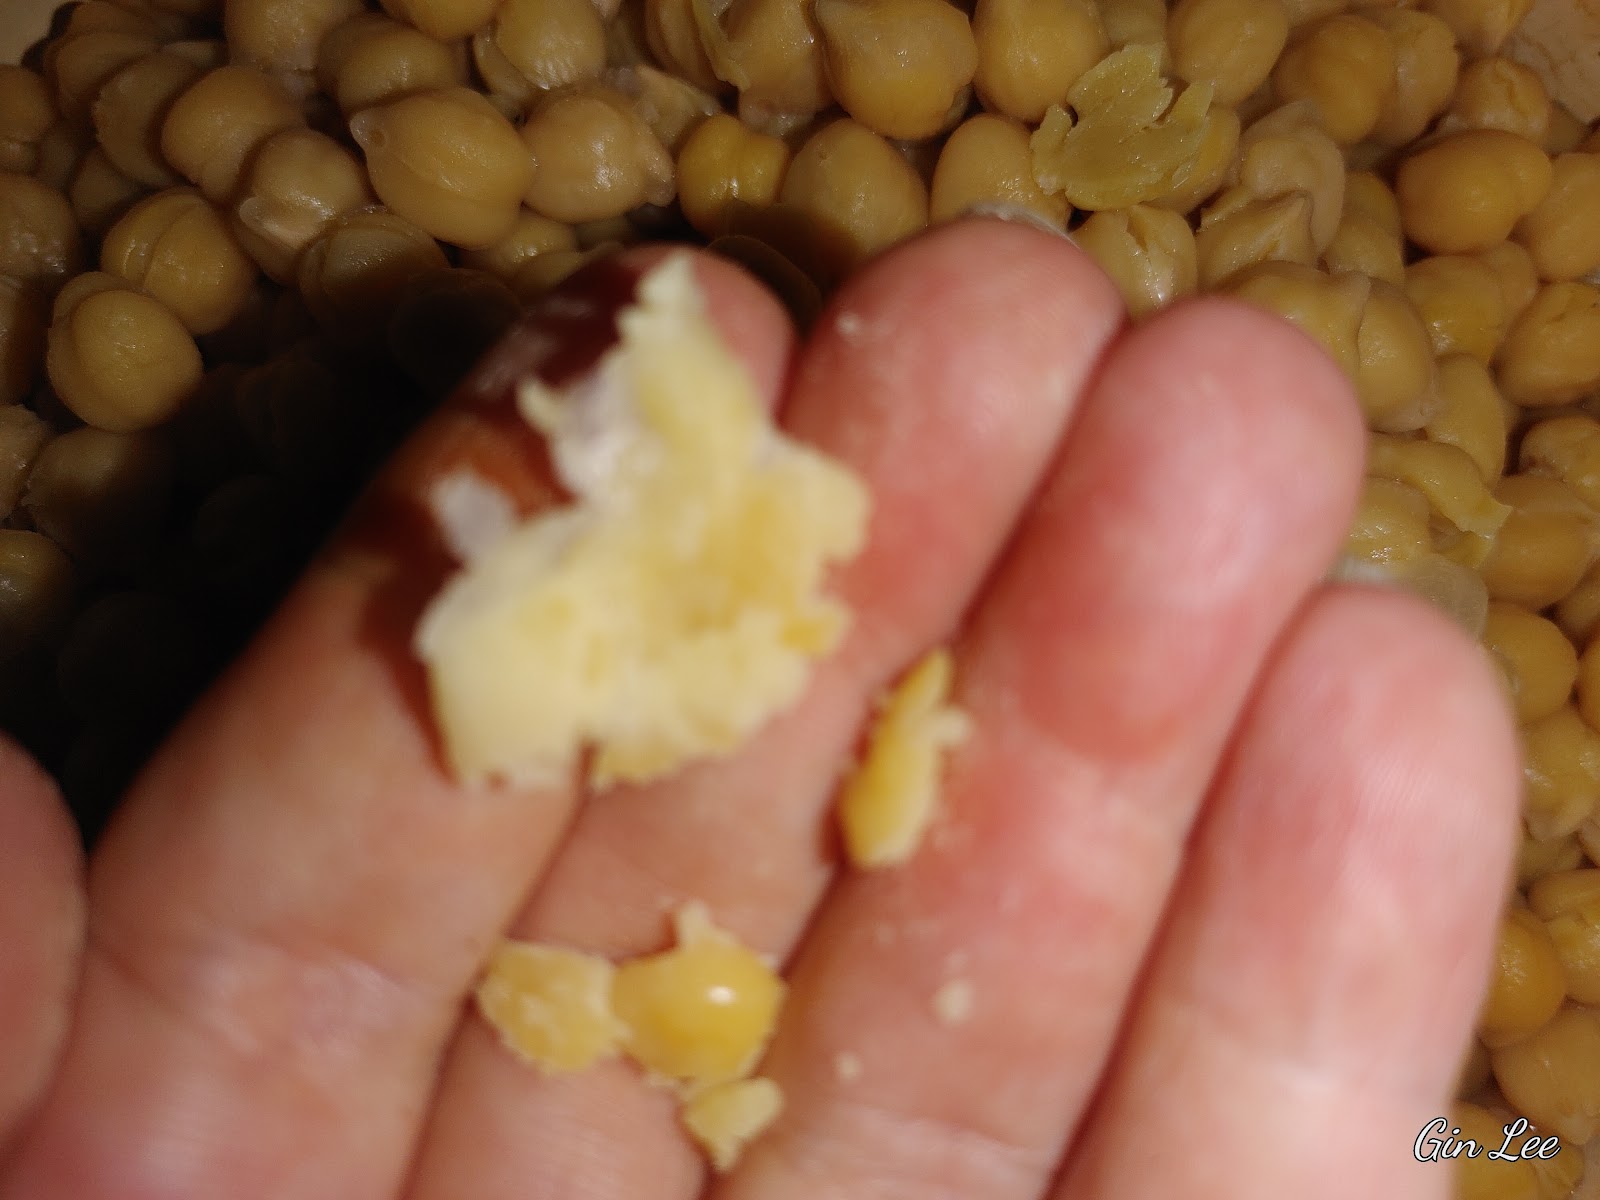
The chickpeas are super easy to smash once they're cooked.

Ingredients:

  • 1 cup of chickpeas, cooked

  • ½ cup of sweet potato, cooked and peeled

  • ½ cup of carrots, cooked

  • 2 tablespoons of oil

  • 1 cup flour

  • ¼ cup water


Instructions:

If you need the cooking instructions for chickpeas, go back to read my article "Chickpeas for pooches". In that article I went through all the steps to show how I cook them specifically for pet food.


To cook the sweet potato, place it into a pan of boiling water and cook it until it's tender. Boiling a sweet potato usually takes about thirty-five minutes. Drain the water off, allow the sweet potato to cool; peel it and mash it. Set aside.


In a bowl, mix all the ingredients together until they’re well blended. You can use a potato masher, blender or a food processor if you'd prefer, or use a large fork and mash all the ingredients together (I just used a fork to mash my ingredients).


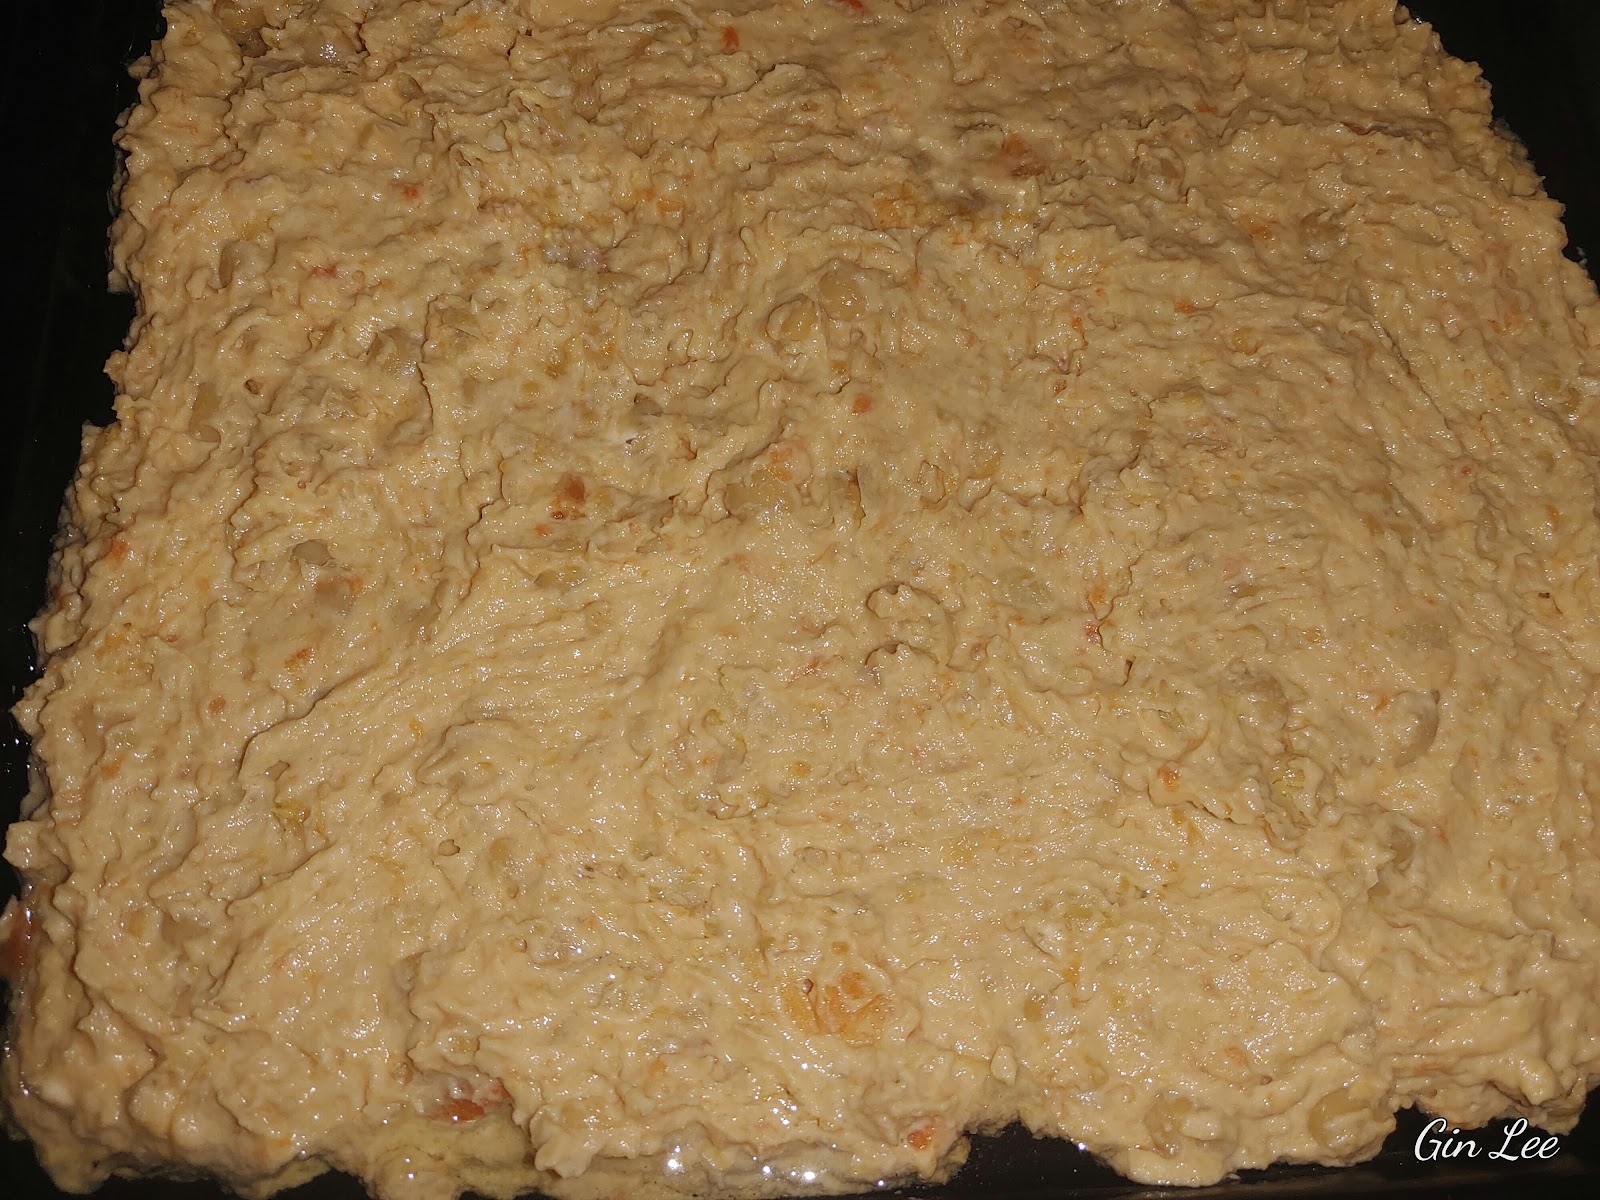
Transfer the chickpea mixture by the spoonfuls onto a baking pan and spread it out evenly inside the pan. I just used a large spoon, but you can take your time and spread the dough mixture out with a spatula to make it smoother if you prefer.


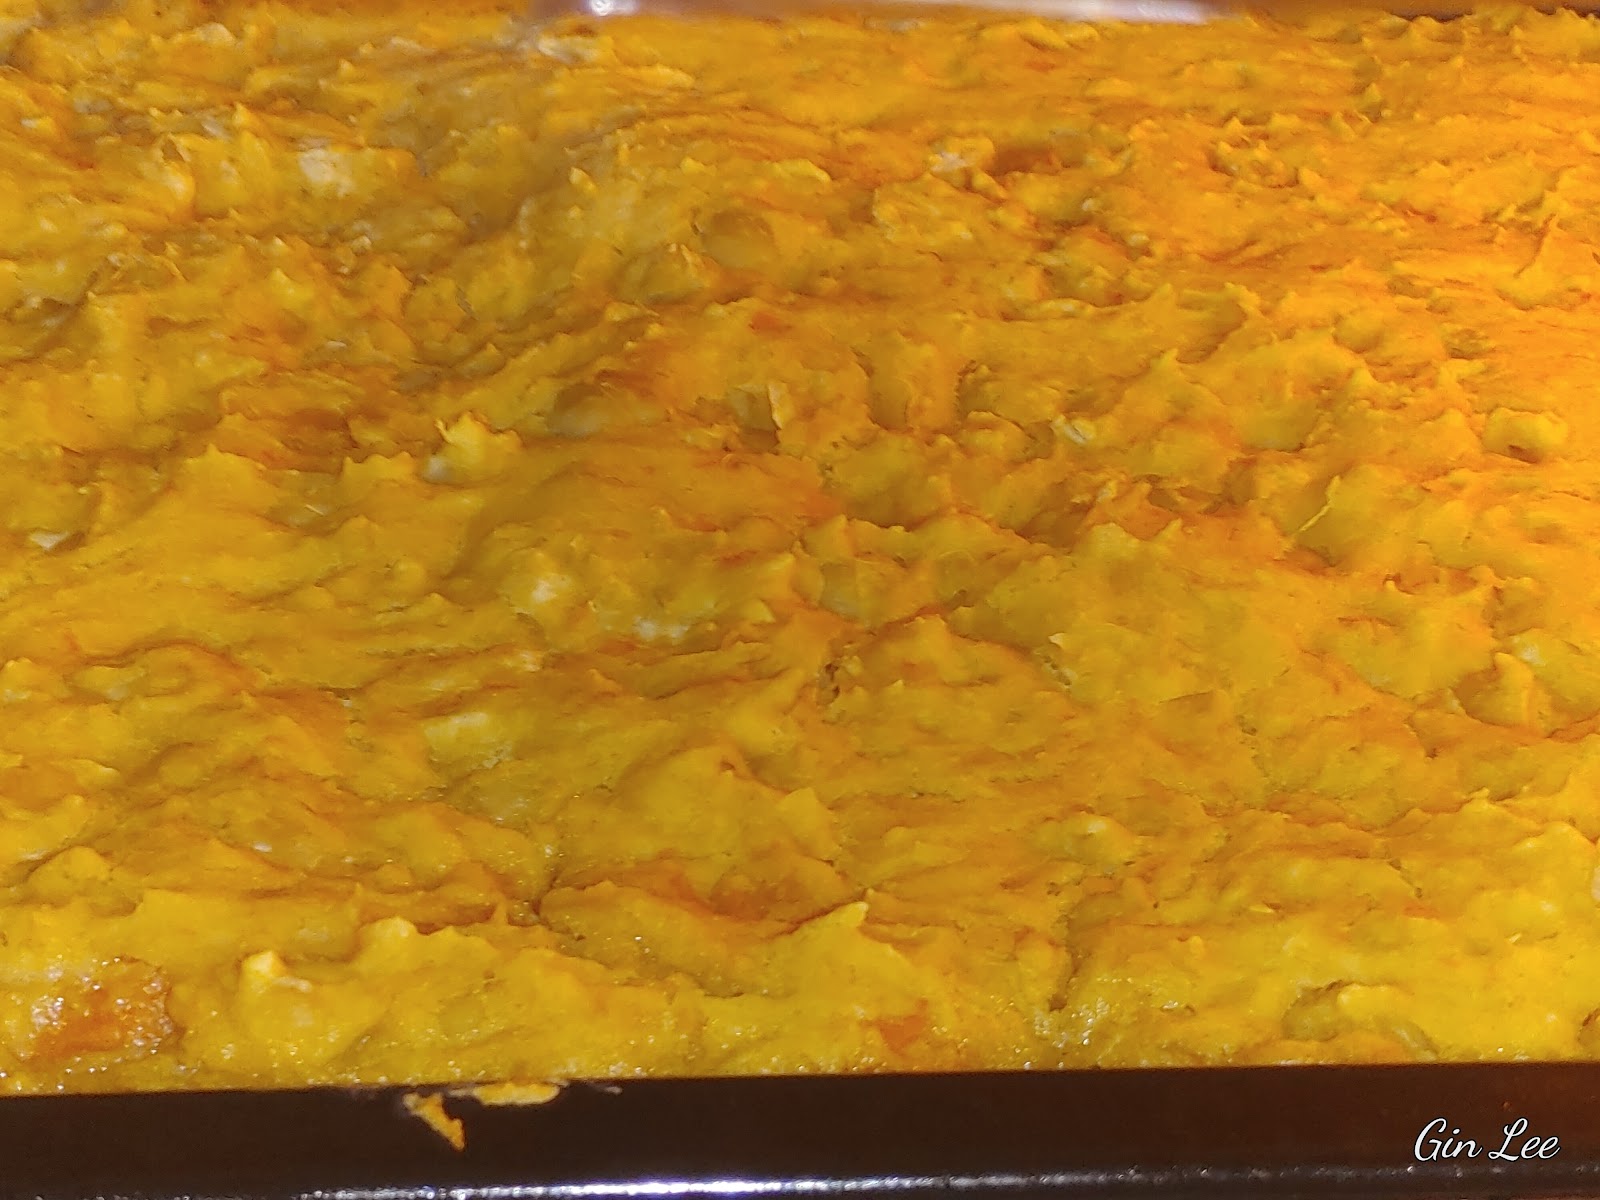
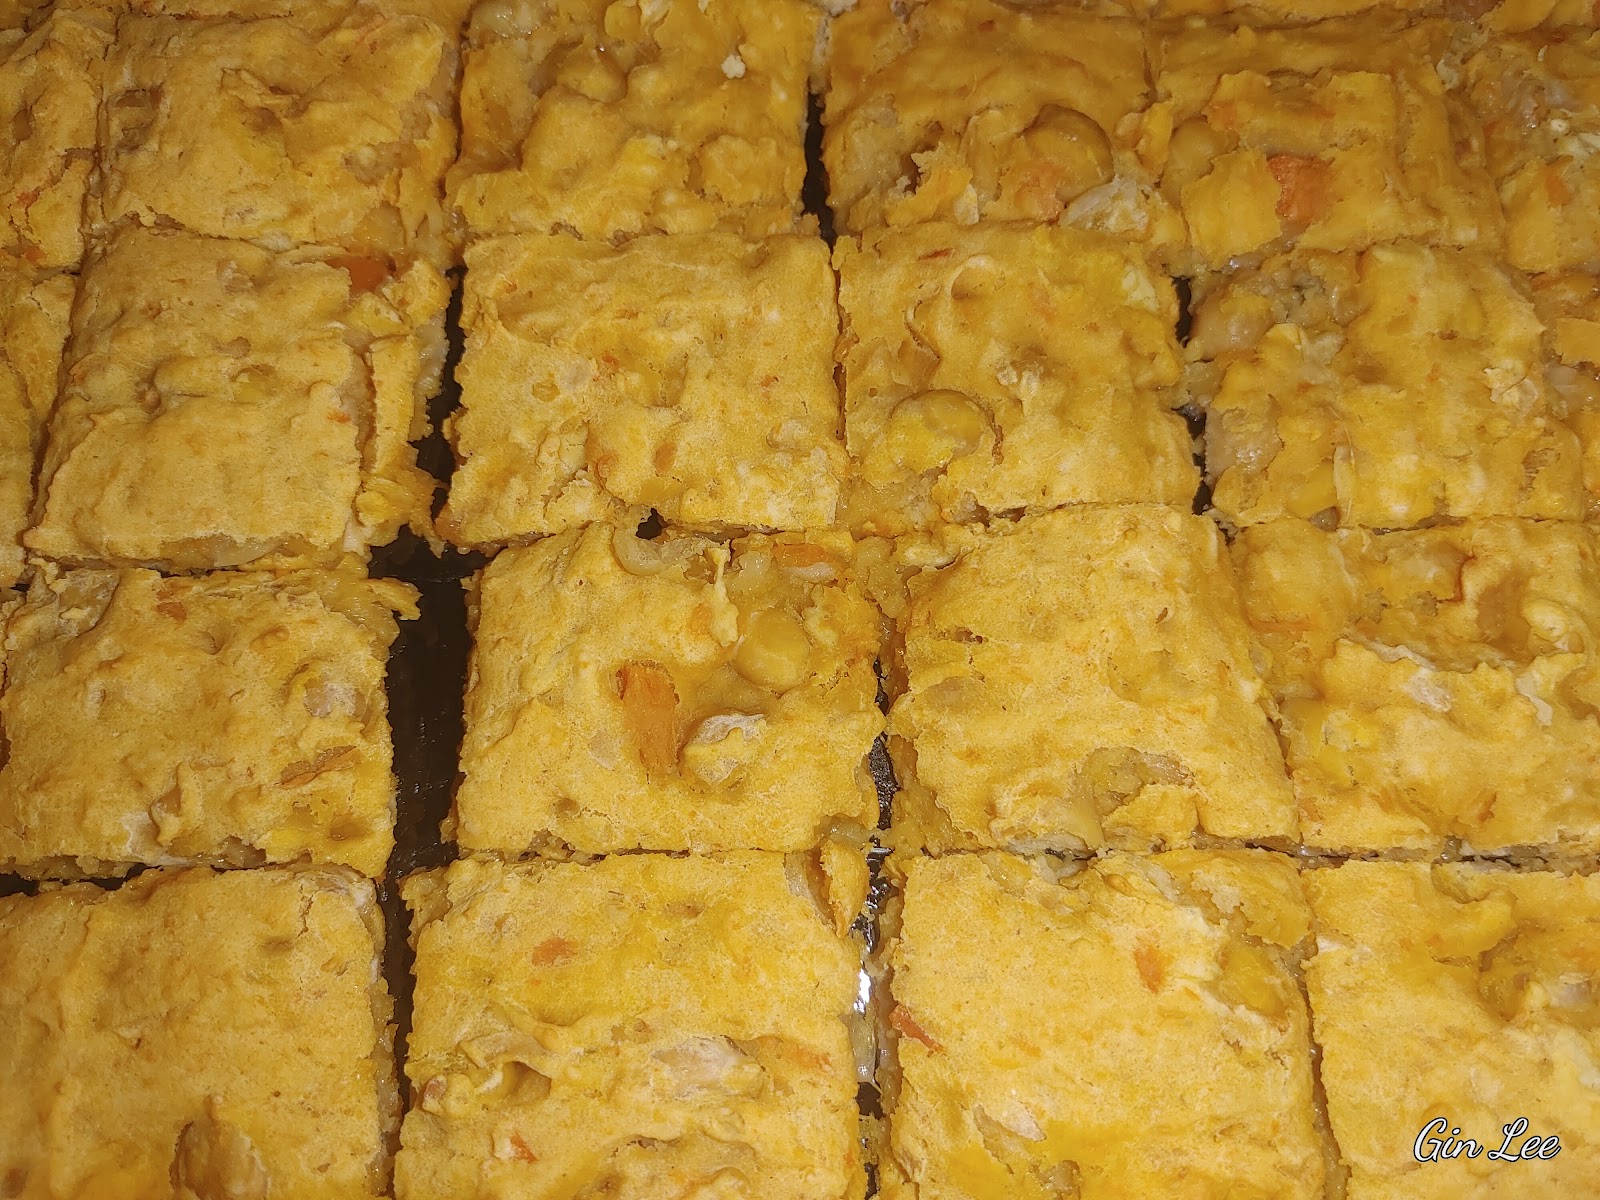
Bake in a 350 degree F oven for about thirty-five minutes. Allow the treats to cool, then cut them into square-shaped pieces and place them in an airtight container and store them inside the refrigerator. The dog treats can also be frozen, then taken out as needed.

Note:

To dehydrate the dog treats, add the dough by small spoonfuls on silicone trays, or pipe it out of a bag. (Take a Ziploc bag, cut a dime-sized hole out at one corner, fill the bag with the dough and squeeze it out onto the silicone trays.)


Set the temperature at 150 degrees F and dehydrate for about twelve hours or until done. (The time may vary depending on your dehydrator.)


© 2024 Olden Oasis

oldenoasis.blogspot.com


Popular posts from this blog

How to Grow Lentils in Hydroponic Trays

How to Grow Lentils in Hydroponic Trays Introduction Lentils are a nutritious and delicious legume that can easily be grown in hydroponic trays. Hydroponic gardening is a method of growing plants without soil, using nutrient-rich water instead. In this article, we will discuss the steps on how to grow lentils in hydroponic trays with nutrient solution and without it using only water. Materials Needed To grow lentils in hydroponic trays, you will need the following materials: Hydroponic trays Hydroponic trays that will hold the lentils and nutrient solution. Lentil seeds Make sure to use high-quality lentil seeds for the best results. Nutrient solution A mix of water and nutrient solution that will feed the lentil plants. Grow lights Since lentils need plenty of light to grow, you will need grow lights if you don't have access to natural sunlight. Steps to Grow Lentils Step 1: Prepare the Hydroponic Tray Fill the hydroponic tray with the nutrient solution according to the instru...

Introduction to Holiday Flock Blocks Made With Applesauce

Holiday Flock Blocks Made With Applesauce Welcome to my guide on creating delicious and nutritious Holiday Flock Blocks made with applesauce! Designed to provide your flock with a festive and healthy treat, these homemade blocks are packed with the goodness of applesauce and can be customized with various flavors and ingredients. In this article, we will explore the benefits of using applesauce in flock blocks, provide a step-by-step guide on how to make them, suggest creative variations and flavor combinations, offer tips on storing and presenting the blocks, discuss the health benefits for your flock, address common questions and troubleshooting, and conclude with our final thoughts. Let's dive in and create some delightful treats for your feathered friends this holiday season! Introduction to Holiday Flock Blocks Made With Applesauce What are Holiday Flock Blocks? Holiday flock blocks are a fun and nutritious treat for your feathered friends during the festive season. These hand...

Rendering Lard: A Sizzle of Tradition and Flavor

Rendering Lard: A Sizzle of Tradition and Flavor In light of rising prices, allow me to demonstrate how you can save money on cooking oil by creating your own lard at home. Rendering lard, the process of melting down and purifying pork fat to create a versatile cooking ingredient, has a rich history deeply rooted in culinary traditions around the world. While lard fell out of favor for a period, it is experiencing a resurgence due to its unique flavor profile and various benefits in cooking. My article today explores the art of rendering lard, from understanding its origins to selecting the right fats, different rendering methods, storage techniques, culinary uses, and essential tips for achieving optimal results. Historical Significance of Lard Lard holds a prestigious place in culinary history, being a key ingredient in traditional recipes across various cultures. It was prized for its versatility and ability to enhance the taste of dishes. Benefits of Rendering Lard Contrary to popu...